
Turning a Small Figured Maple Bowl

Recently I ventured into the world of turning bowls. And by no means am I a master bowl turner...far from it if truth be told! But I'm truly having fun with this process. Last December I took a class offered through the Woodcraft store in Seattle, taught by Captain Jack, who has been turning for 20+ years and you can hear the passion in his voice. The day and a half long class cost me an arm and a leg...but I walked away with a beautiful maple bowl and a maple mallet.
After taking that class, I set forth to buy the correct tools I needed in order to start on my new journey. And again, it cost me an arm and a leg! Seriously folks...I don't want to even tell you how much money I have invested in wood working tools, equipment and materials. But I'm proud to say that all of this money comes from the sales I made through my original B.P. Farms Etsy Store, and now through this site!
After purchasing the tools, I decided it was time to turn my very first bowl in MY shop! I would love to say that I walked into the shop, put the padauk bowl blank on my lathe and turned the most beautiful bowl that afternoon. But I can't say that. What I can say is that I nearly shit my pants several times because for some reason I couldn't remember the correct way to hold the knife (lathe tools are called knives) and while attempting to hollow out the inside of the bowl it caught (more than once) and the bowl went flying off the lathe. Imagine a piece of wood spinning 1000+ RPMs...catching on a tool and flying off in your general direction. You'd more than likely almost shit your pants too. Be honest!

Well I decided to take a few week break and work on some other projects. (Read as, "I was too scared to attempt hollowing out the inside of that bowl.") But during that time I set up a time with Captain Jack to have him teach me how to properly sharpen my knives and again go over the proper techniques to turn the bowls. I also watched about 9,876 YouTube videos, watching each of them to see how to properly hold the knives for each cut. And after building up my courage I went back into the shop and turned not only that first bowl...but two others!
Okay...so there is the back story on how I am where I'm currently at with my wood working! Let's make a Figured Maple Bowl! I can honestly say that it was fun getting into the shop with the intention of turning this bowl for this post. Of course most of the time was spent trying to get the camera set up to take the pictures, awkwardly standing with my arms around the tripod all while trying not to let my head or big ol' belly get into the frame. I'm sure that if anyone were to be looking through the window they'd wonder if I'd taken my meds for the day or not. But I digress.
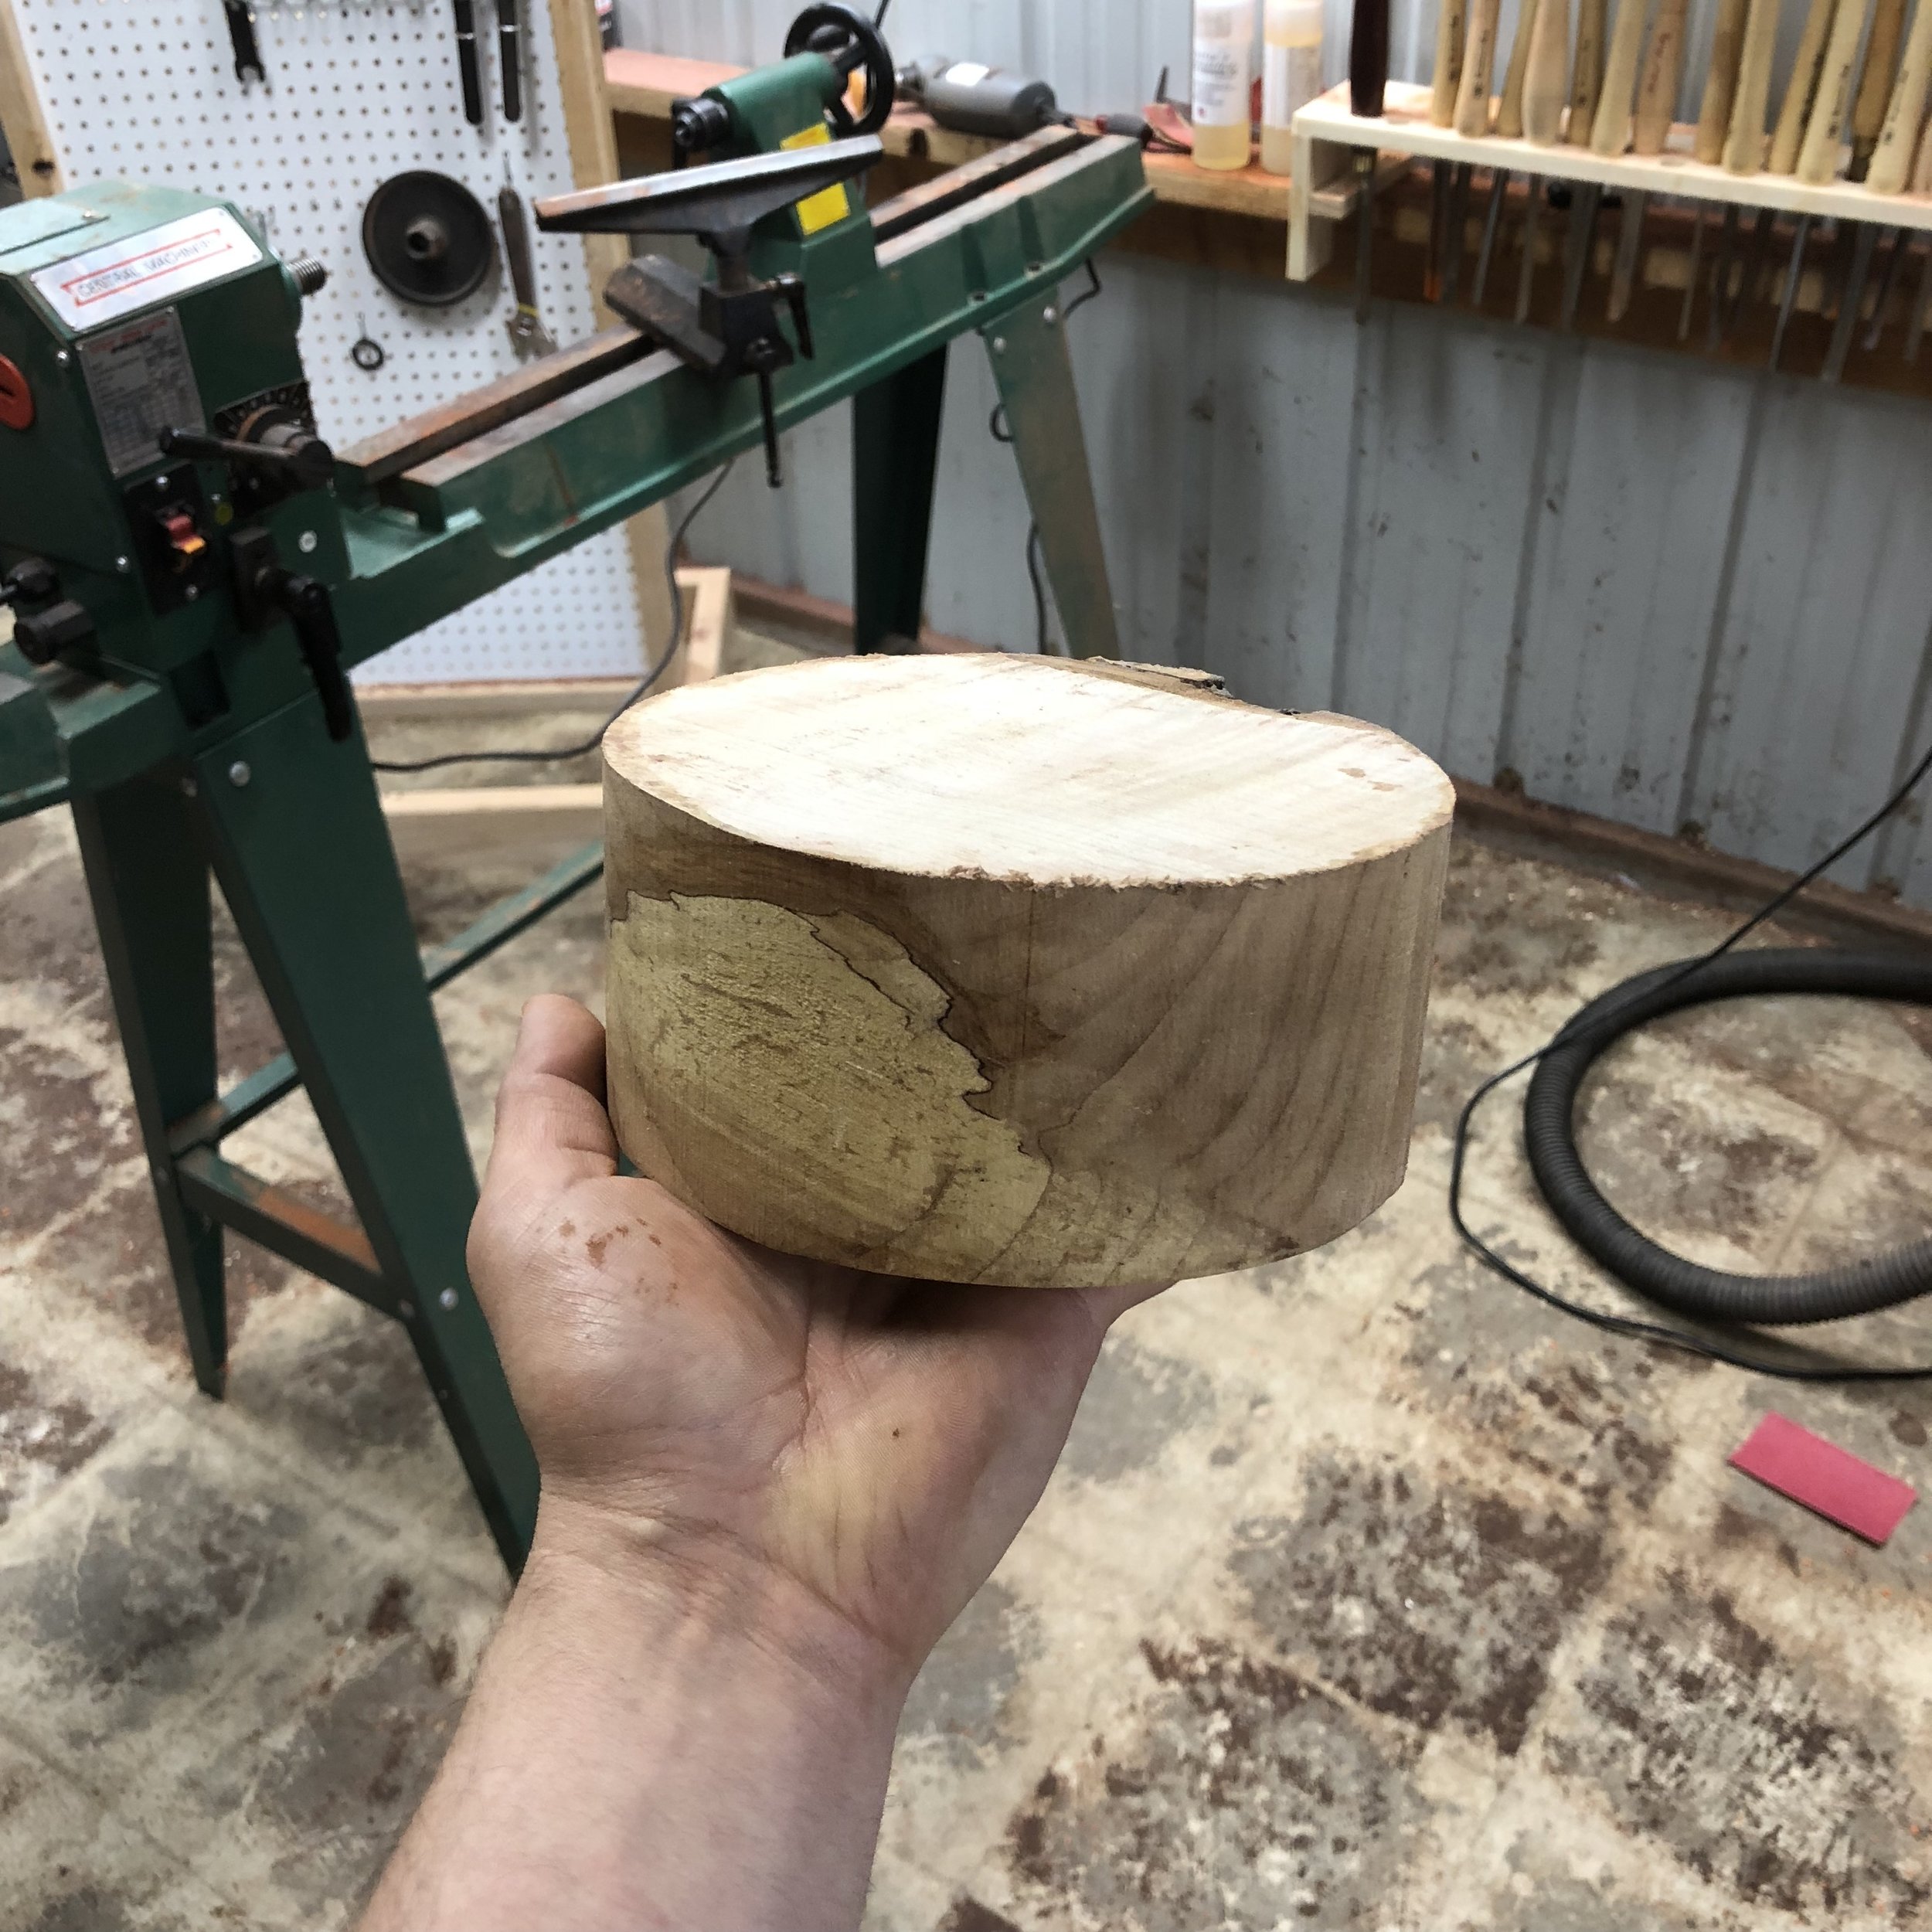
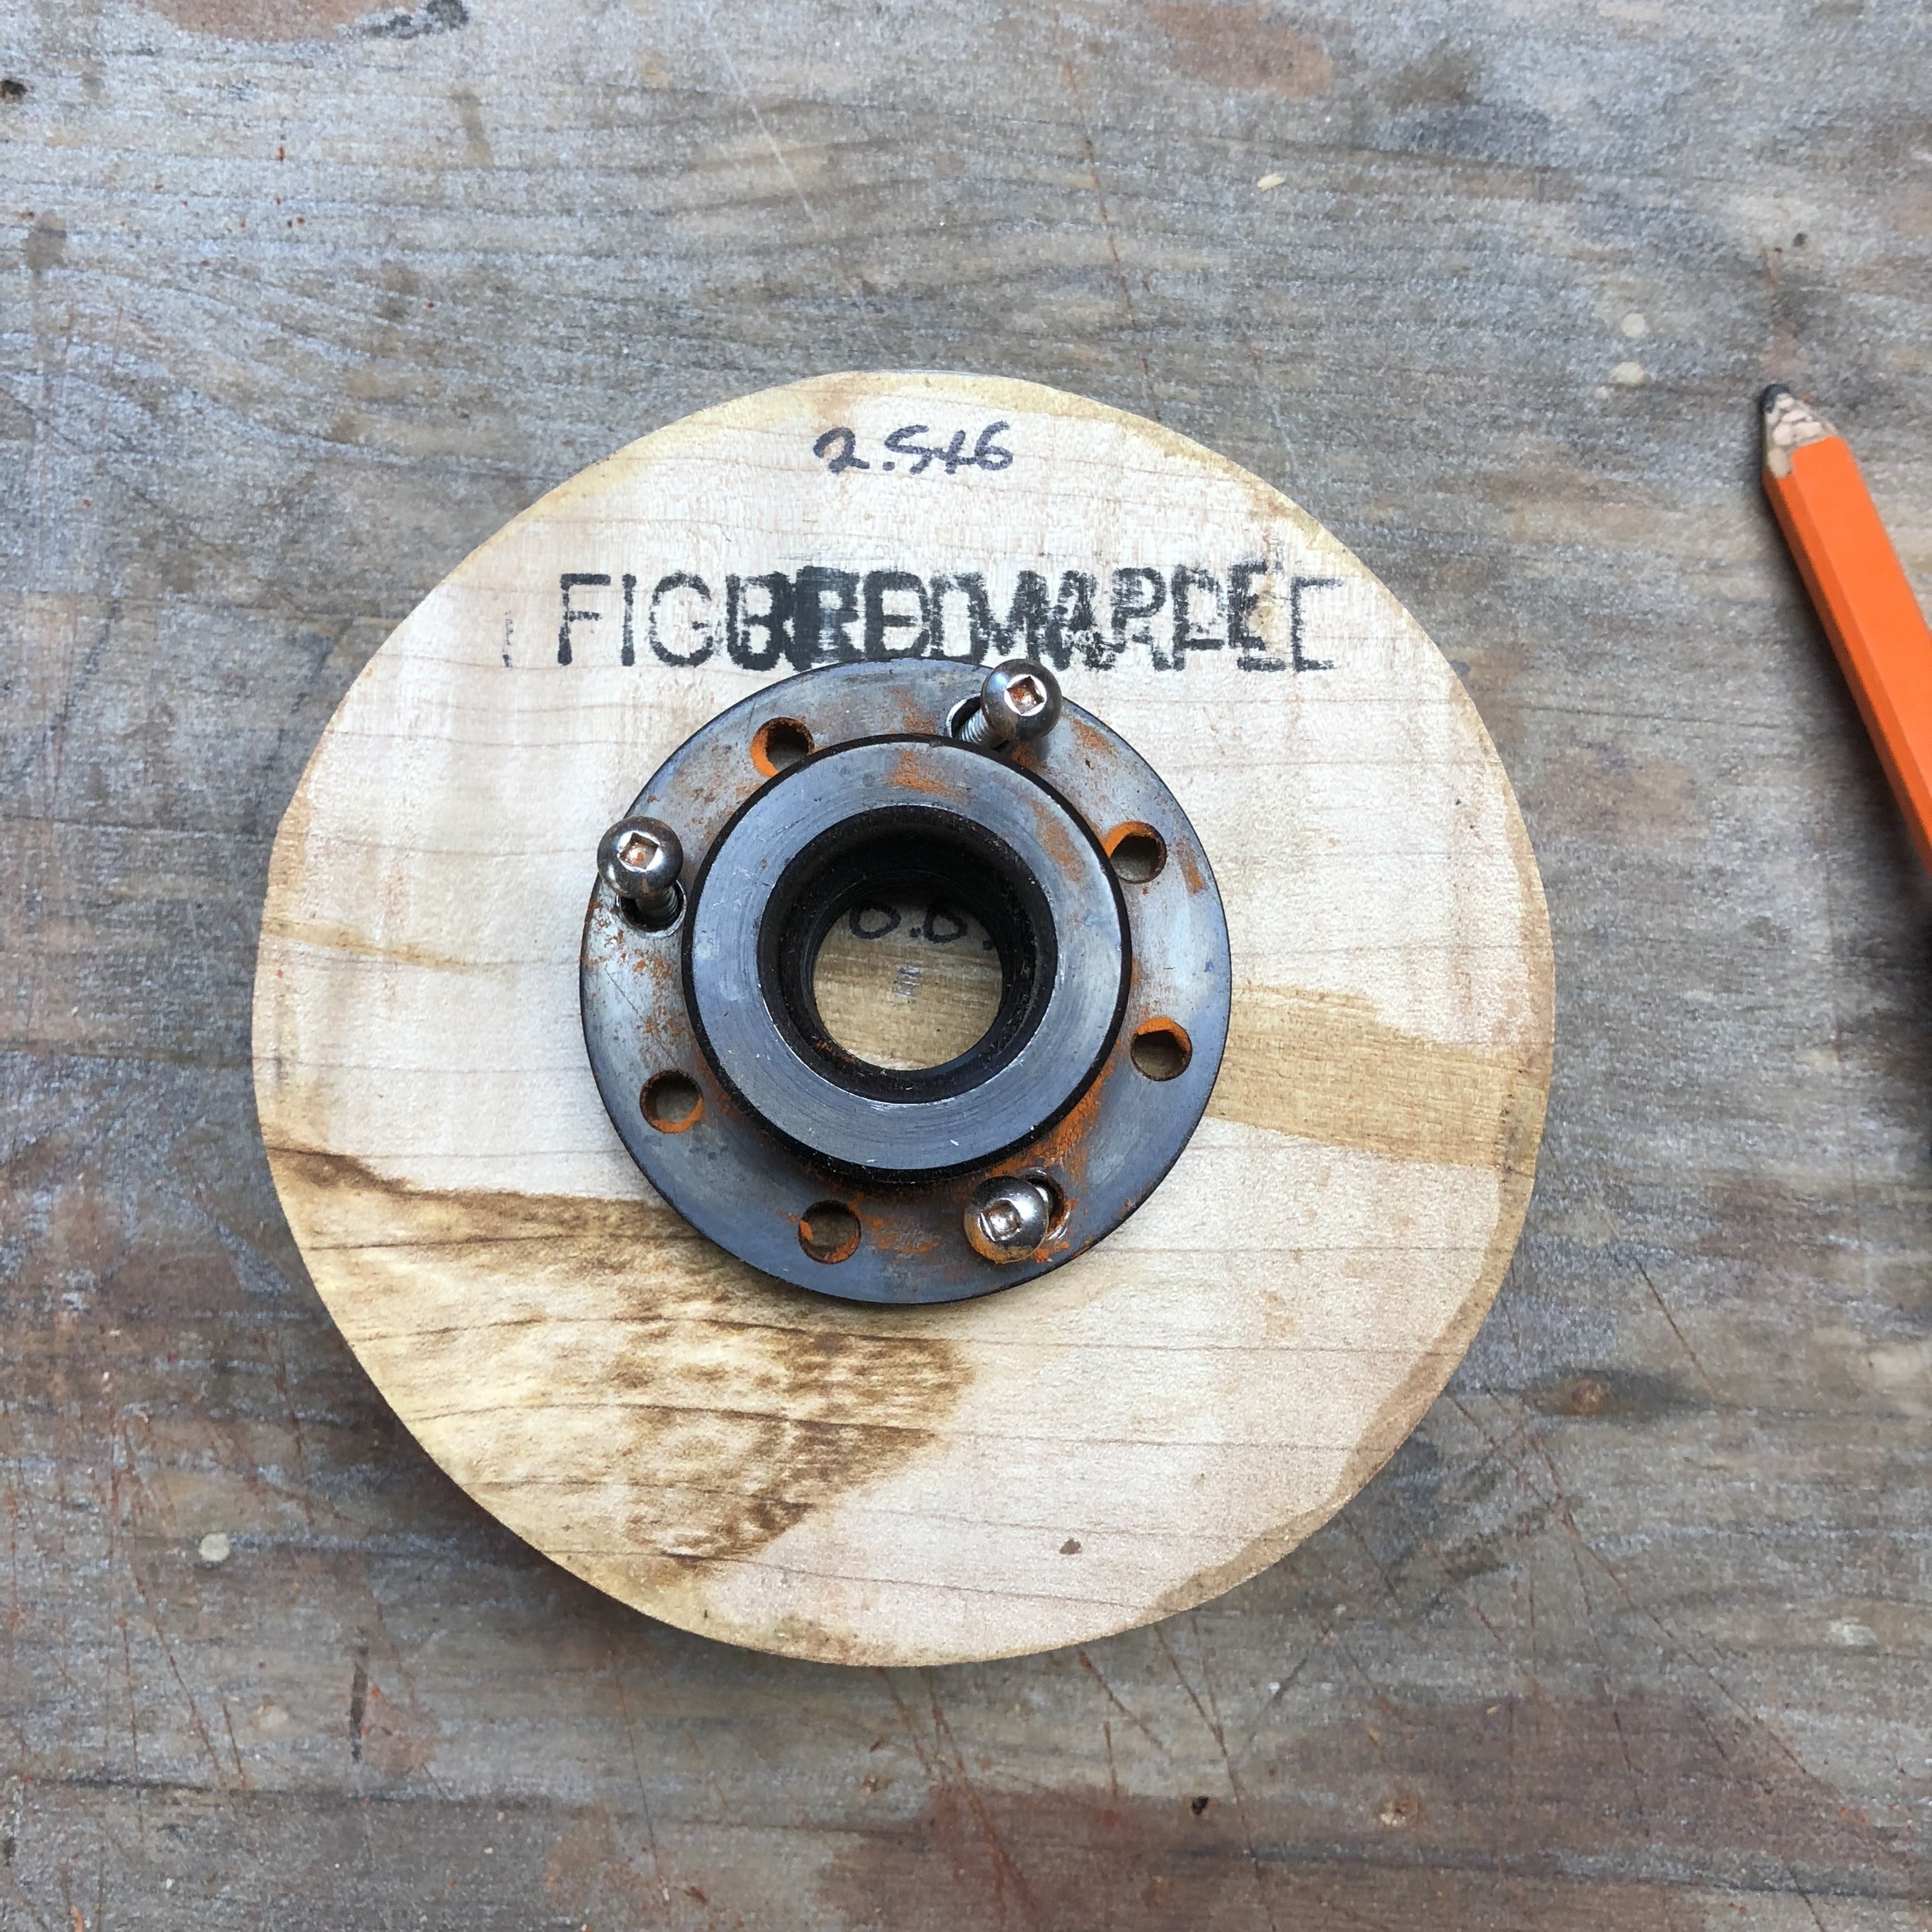
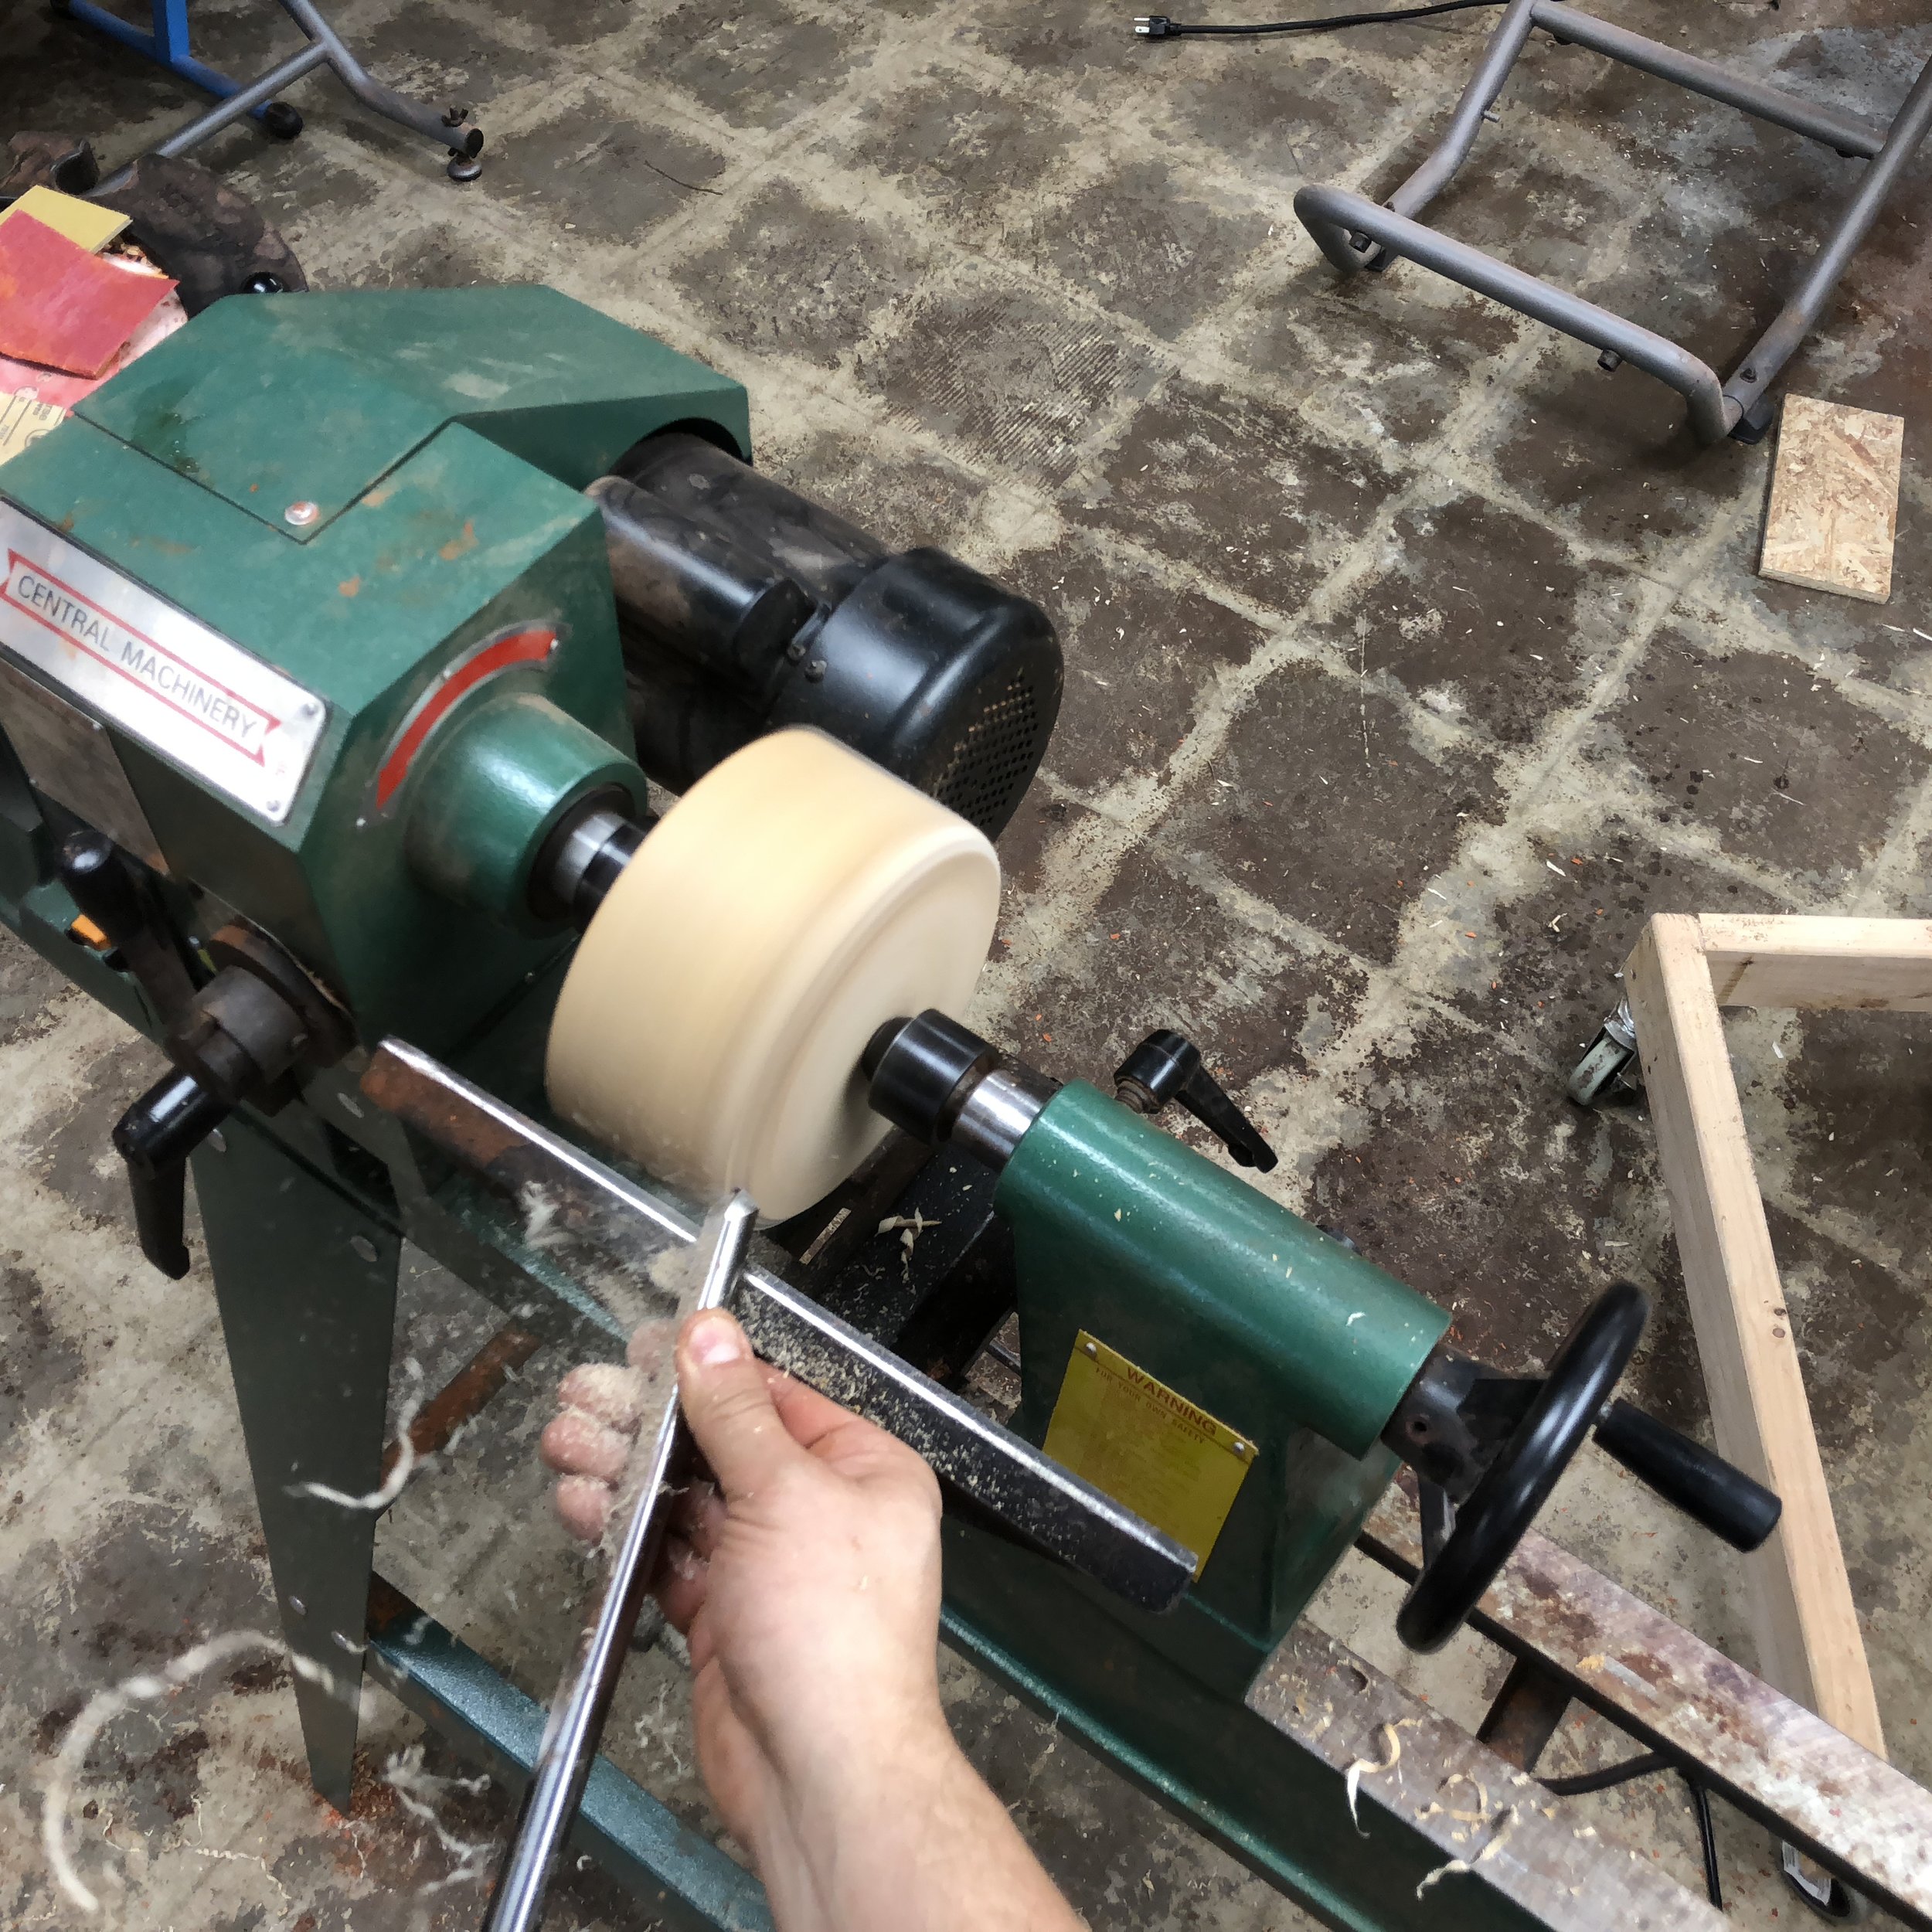
After sharpening my knives I grabbed one of the three figured maple bowl blanks off the work bench and set to work. To start this entire process you clearly need a piece of wood. Most of the ones I find at local stores are actually square pieces of wood, and the easiest way to start is to use the band saw to take the corners off. This makes it a bit easier to turn and get into a rough round shape. But luckily these maple ones were already rounded off. The first step today was to find the approximate center of the blank and attach the faceplate. The faceplate is what will hold the bowl on the headstock of the lathe. Once the faceplate is attached its put on the headstock and the tail stock is pushed up against the other side to help stabilize the blank. Then it's time to rock!
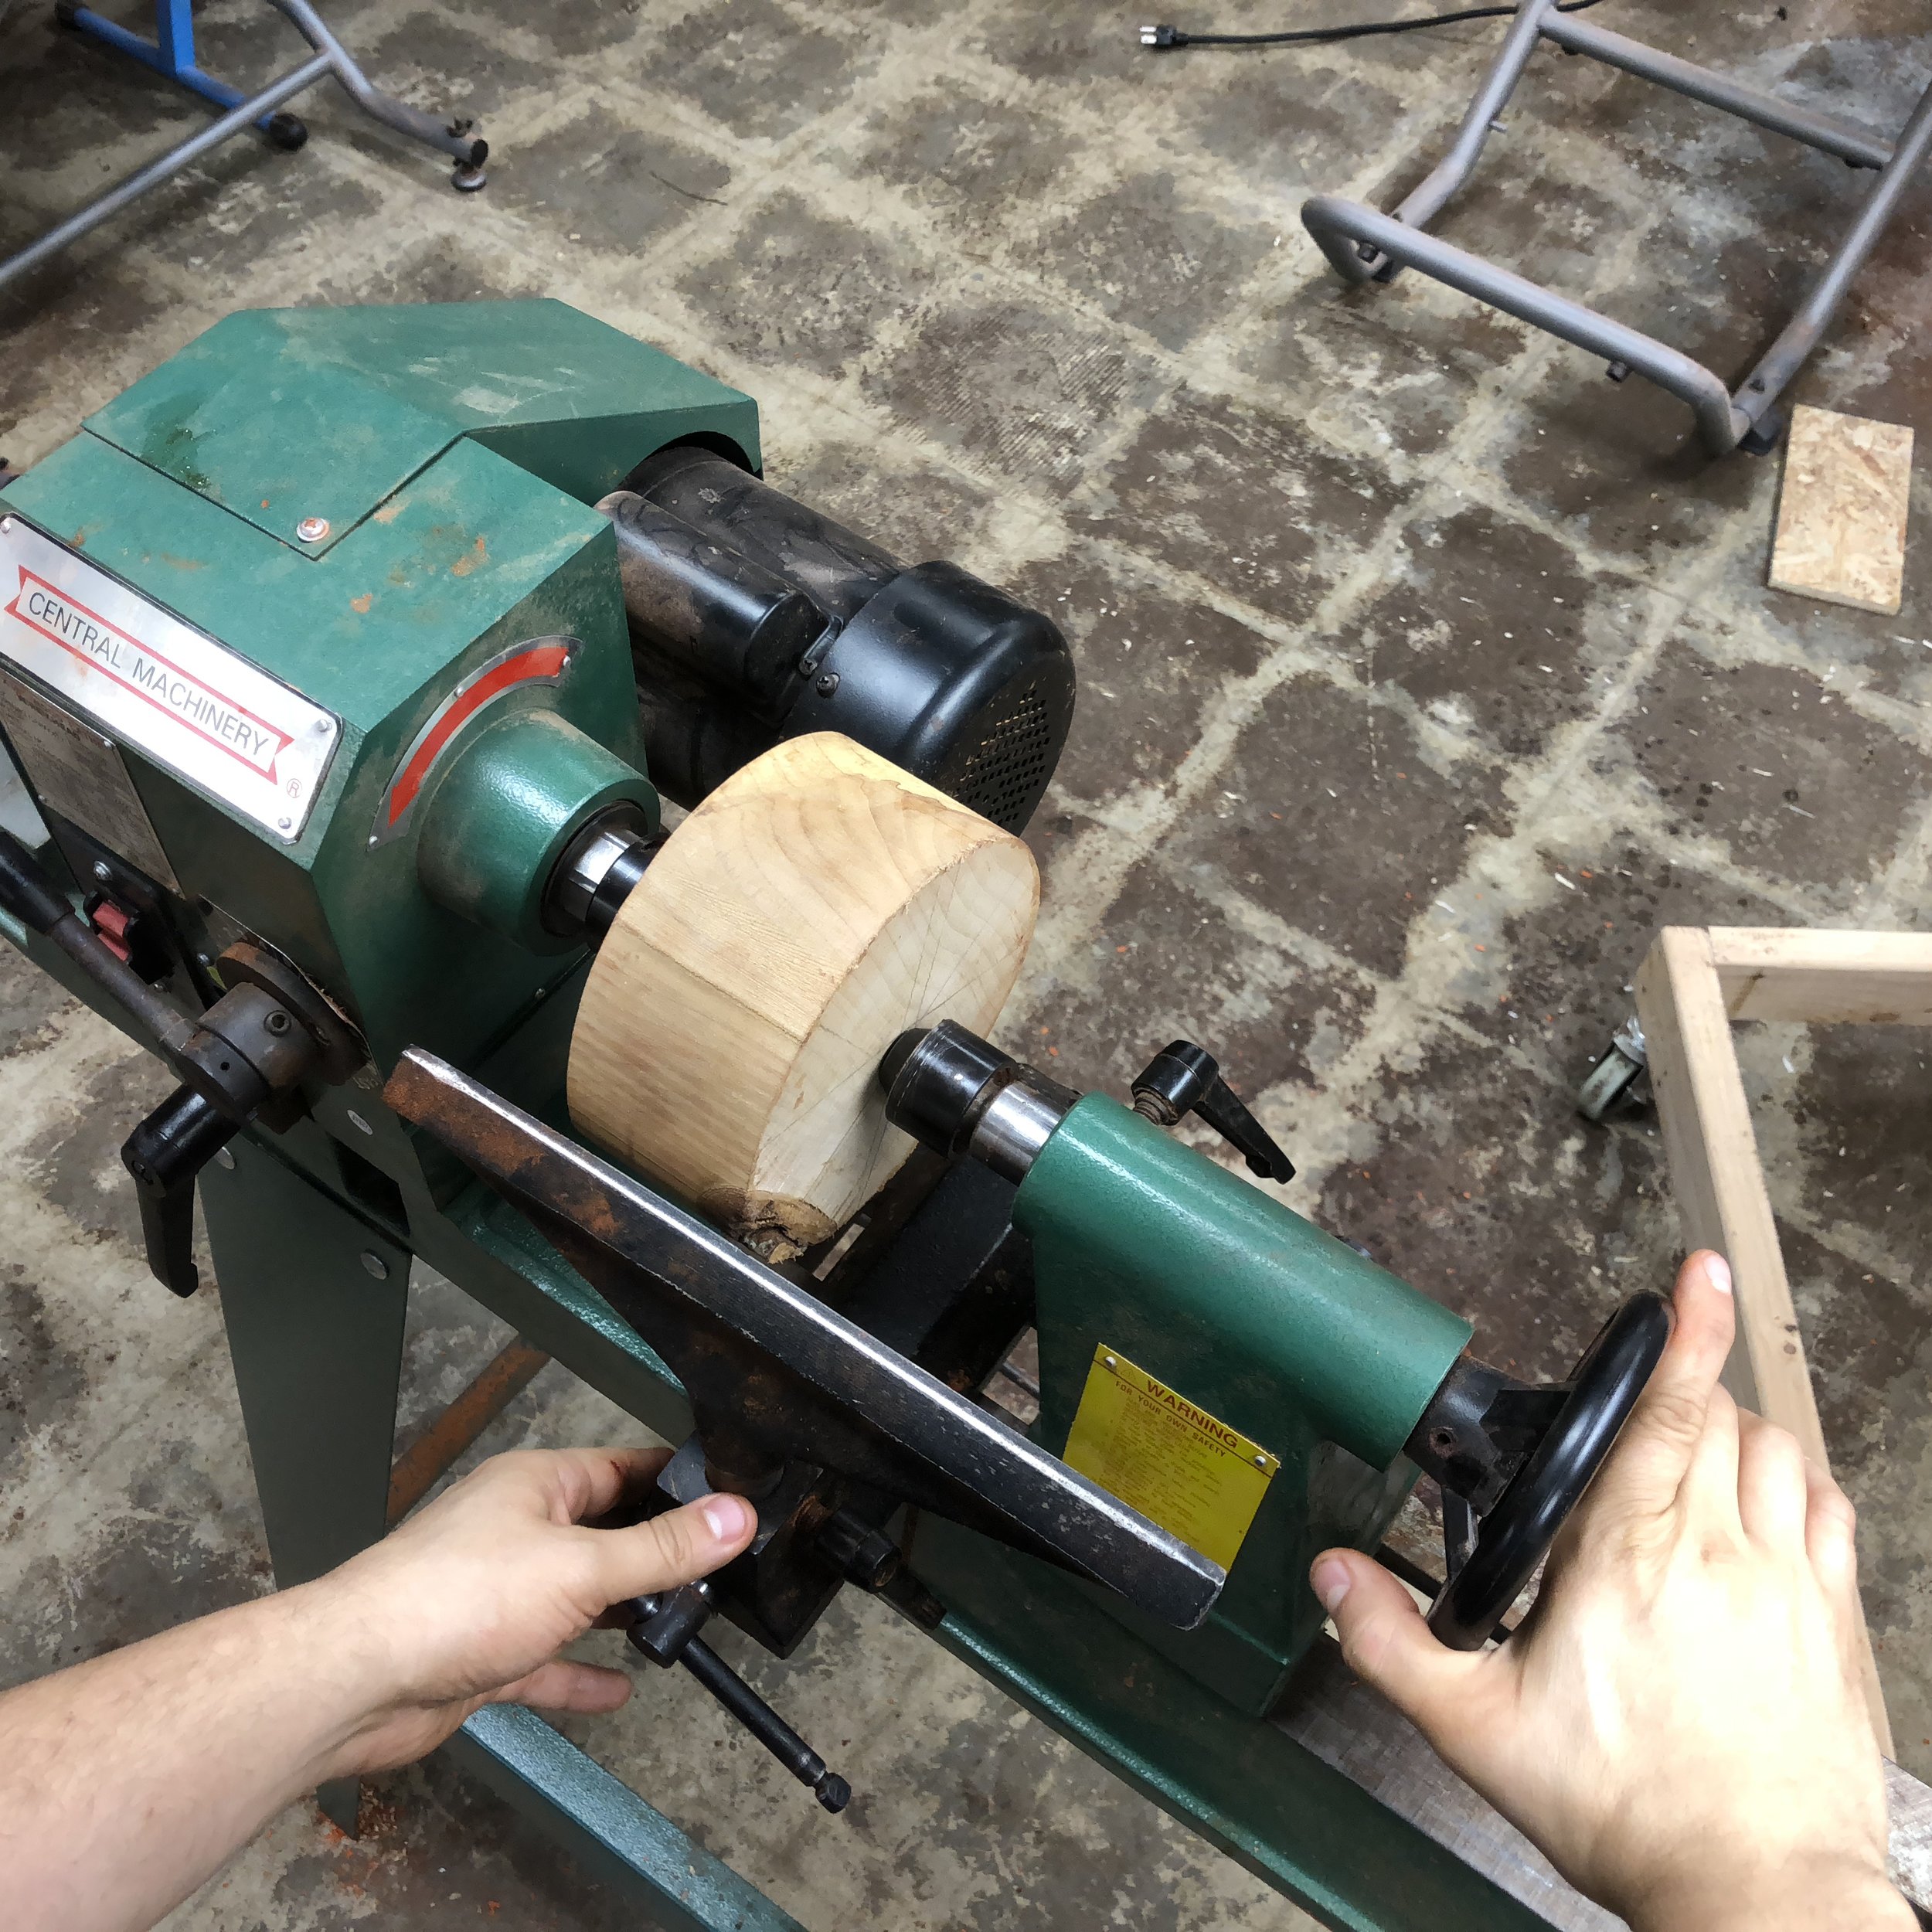
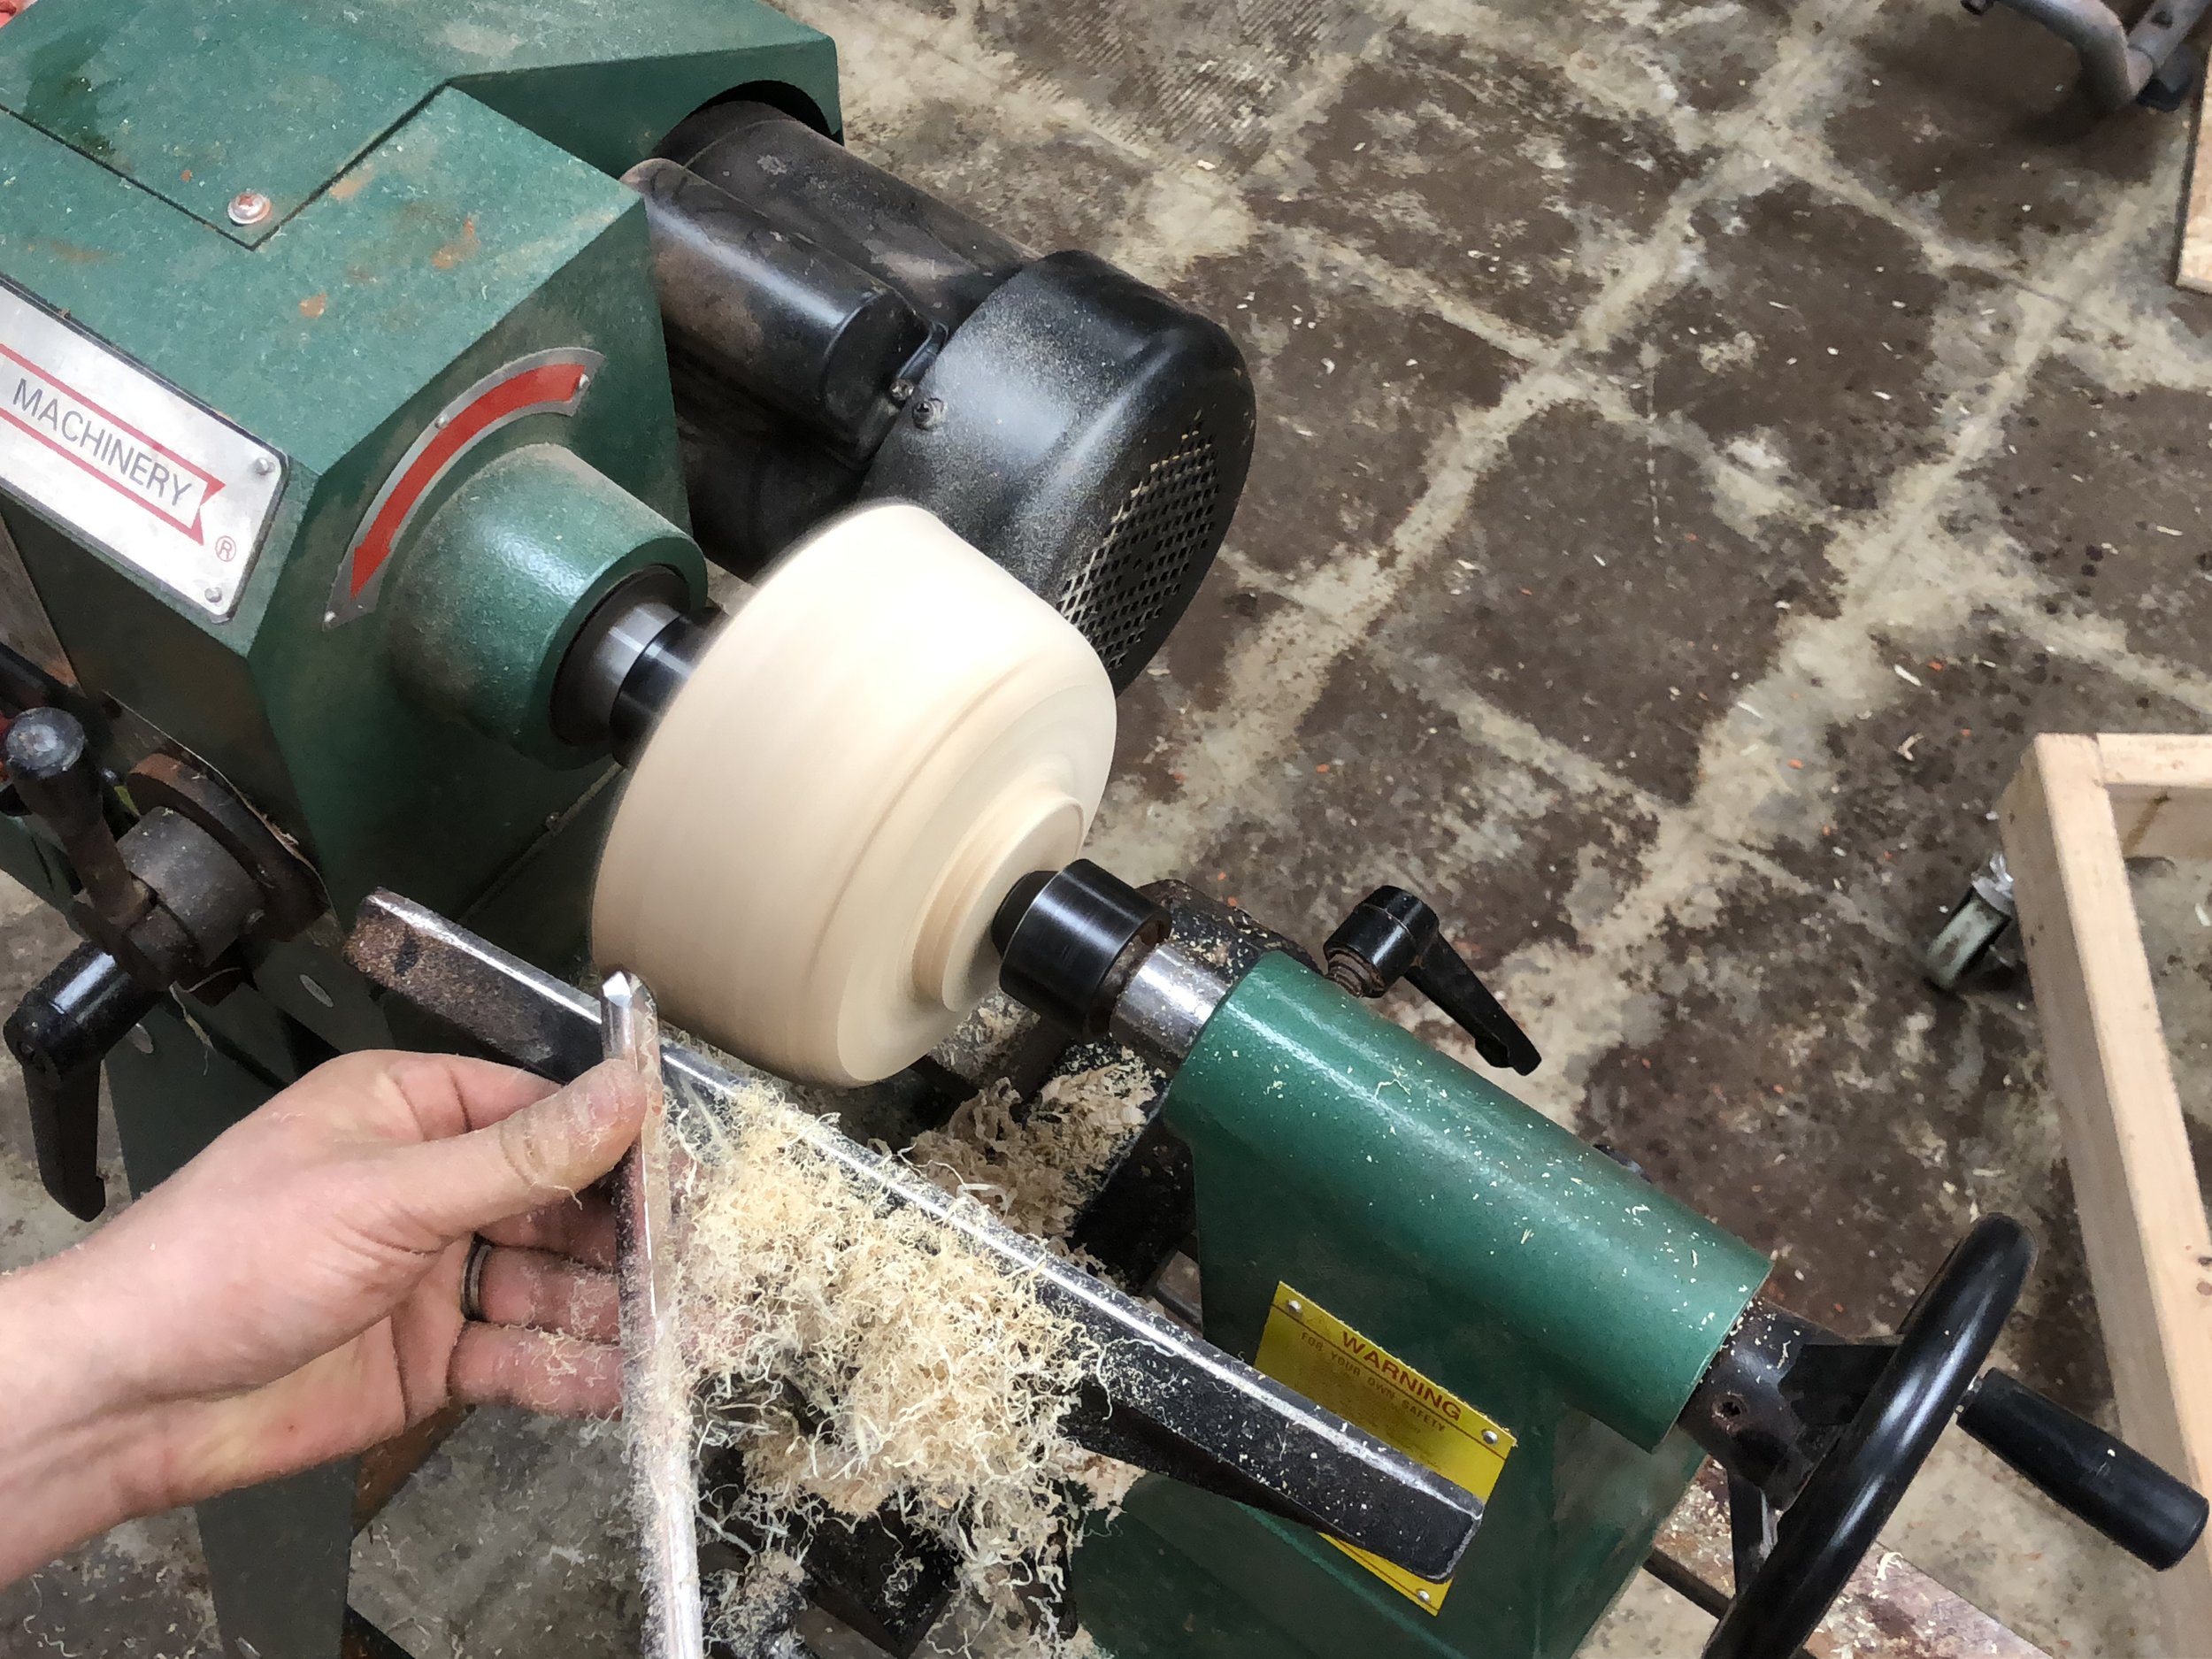
When I turned on the lathe there was a pretty good vibration because the blank isn't completely round, and lets be honest...I didn't get the face plate in the center. So the first few cuts are made to even out the blank before shaping. I learned to turn a bowl by starting with the outside, finishing it completely before hollowing out the inside. So I set to work on shaping the bottom curve of the bowl, getting the shape on the sides and putting a tenon on the bottom that the chuck can hold onto in order to hollow out the inside.
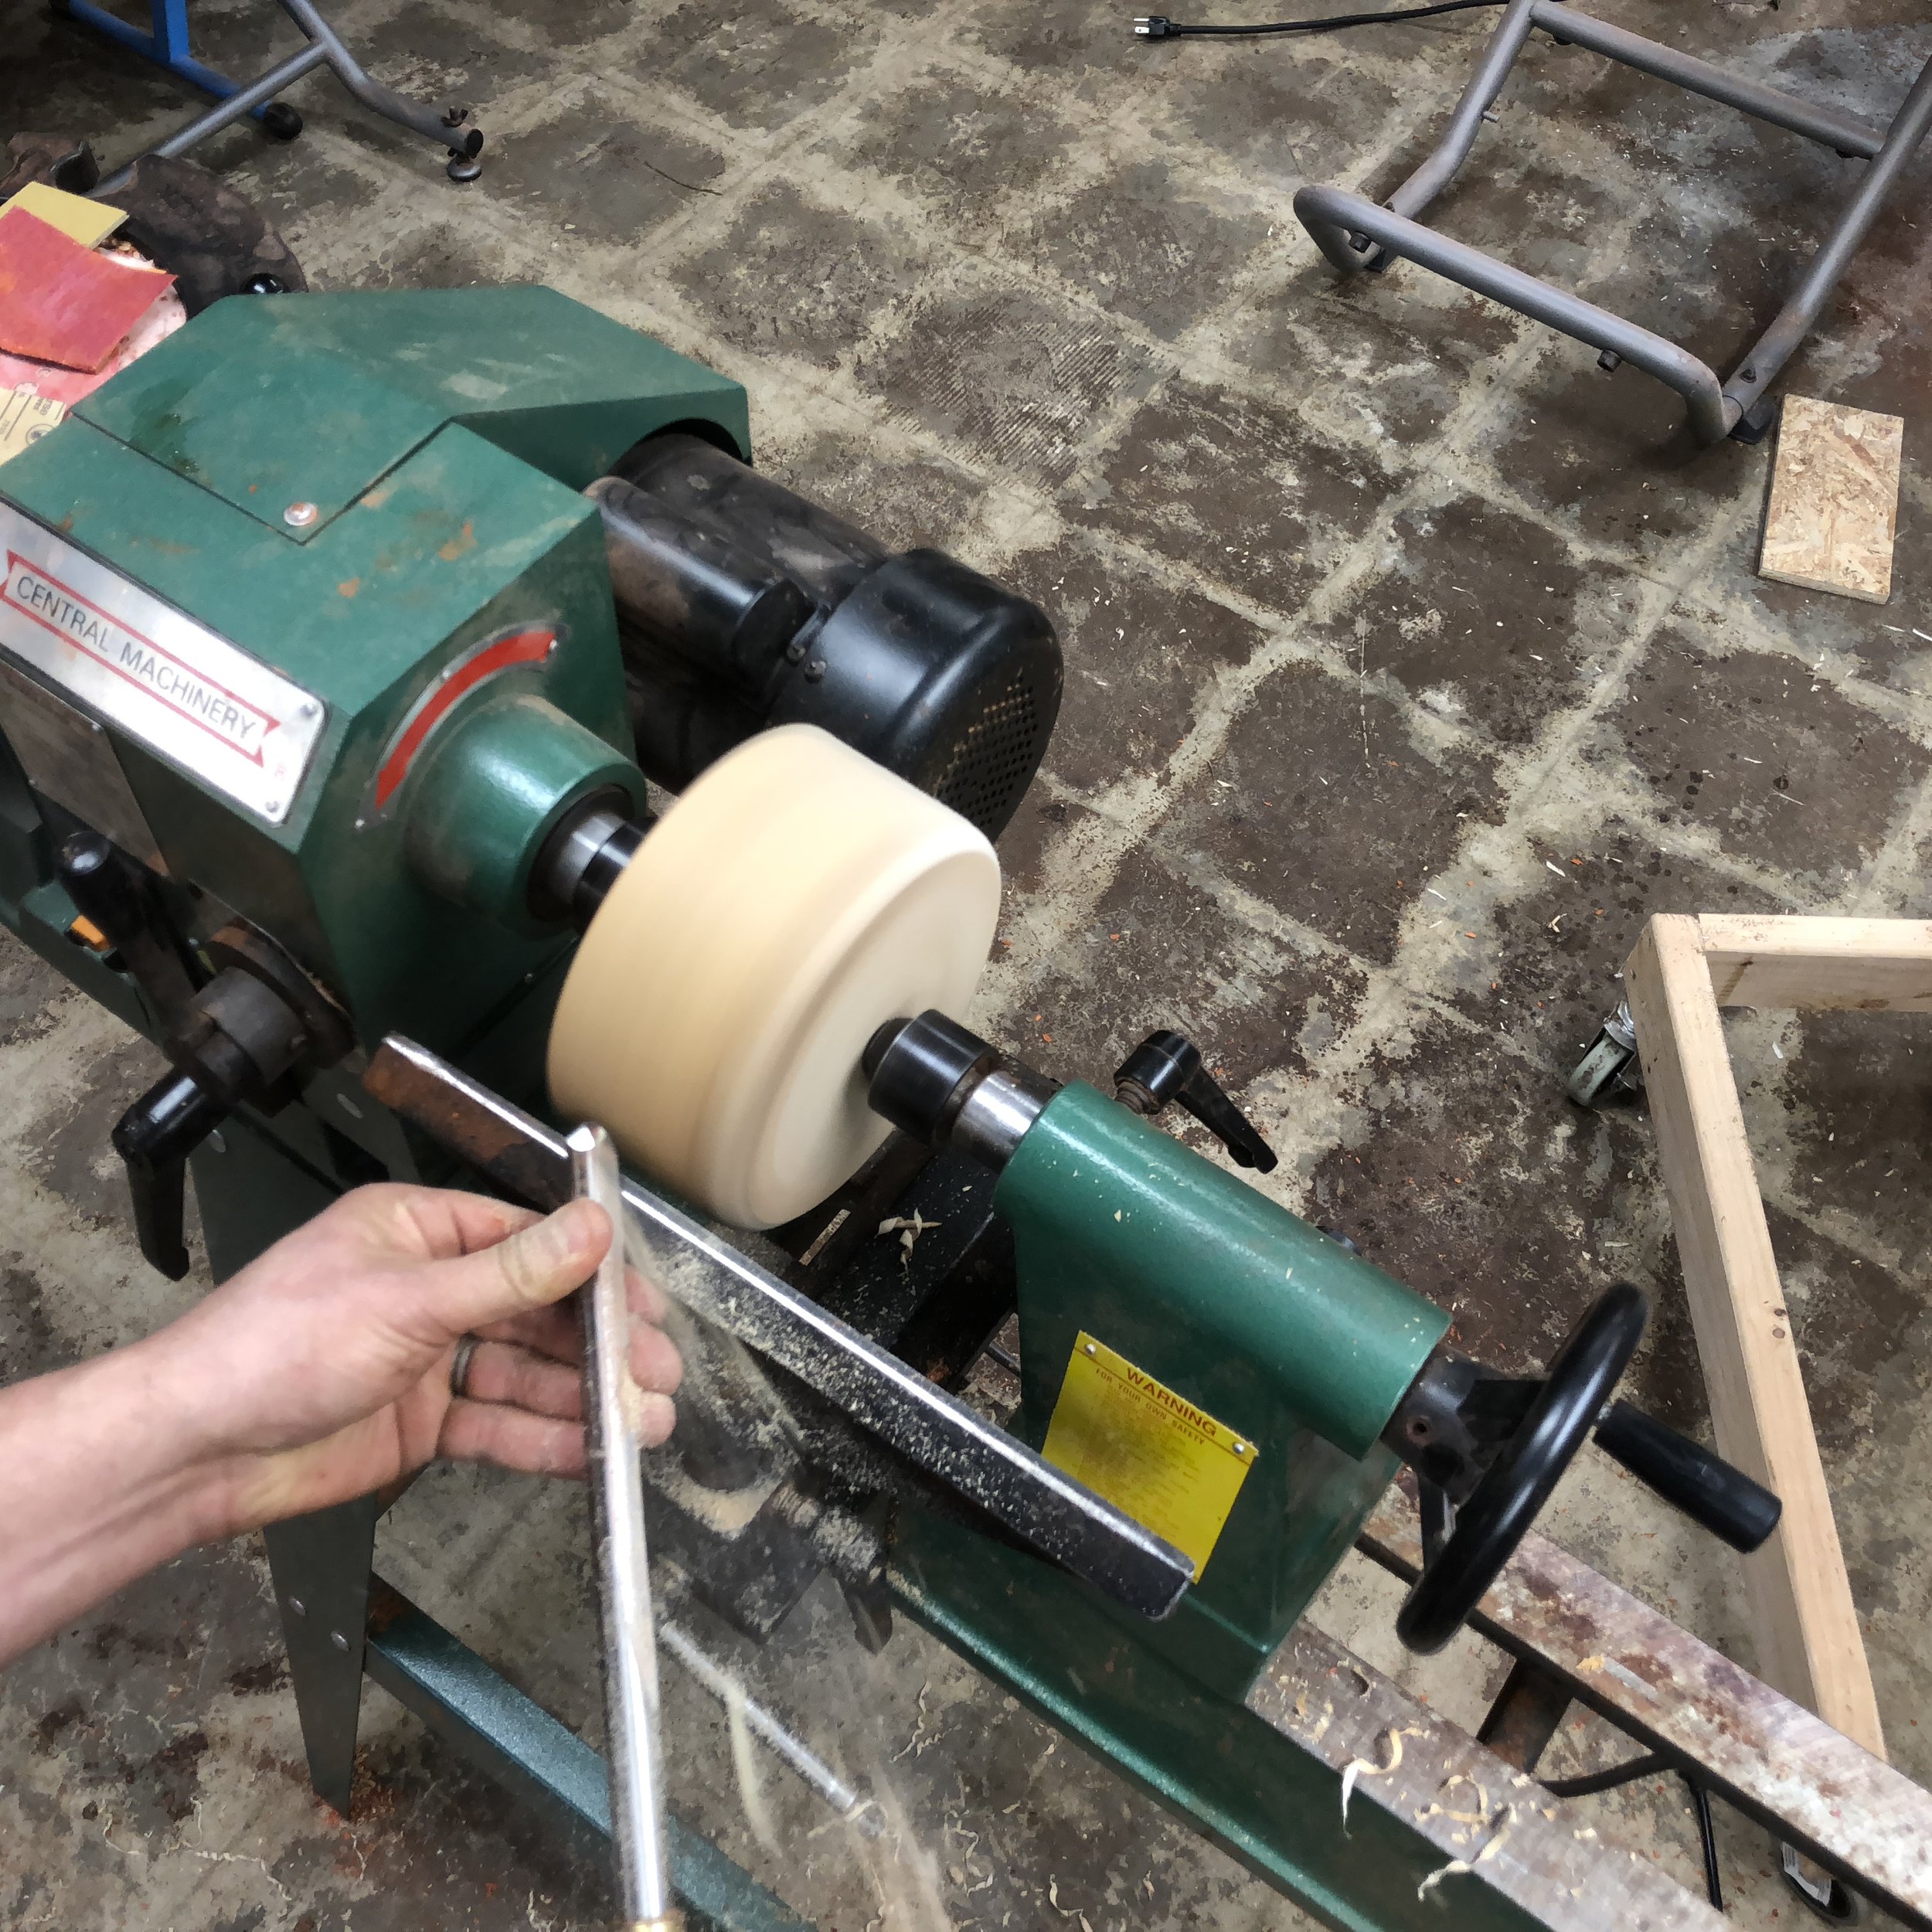
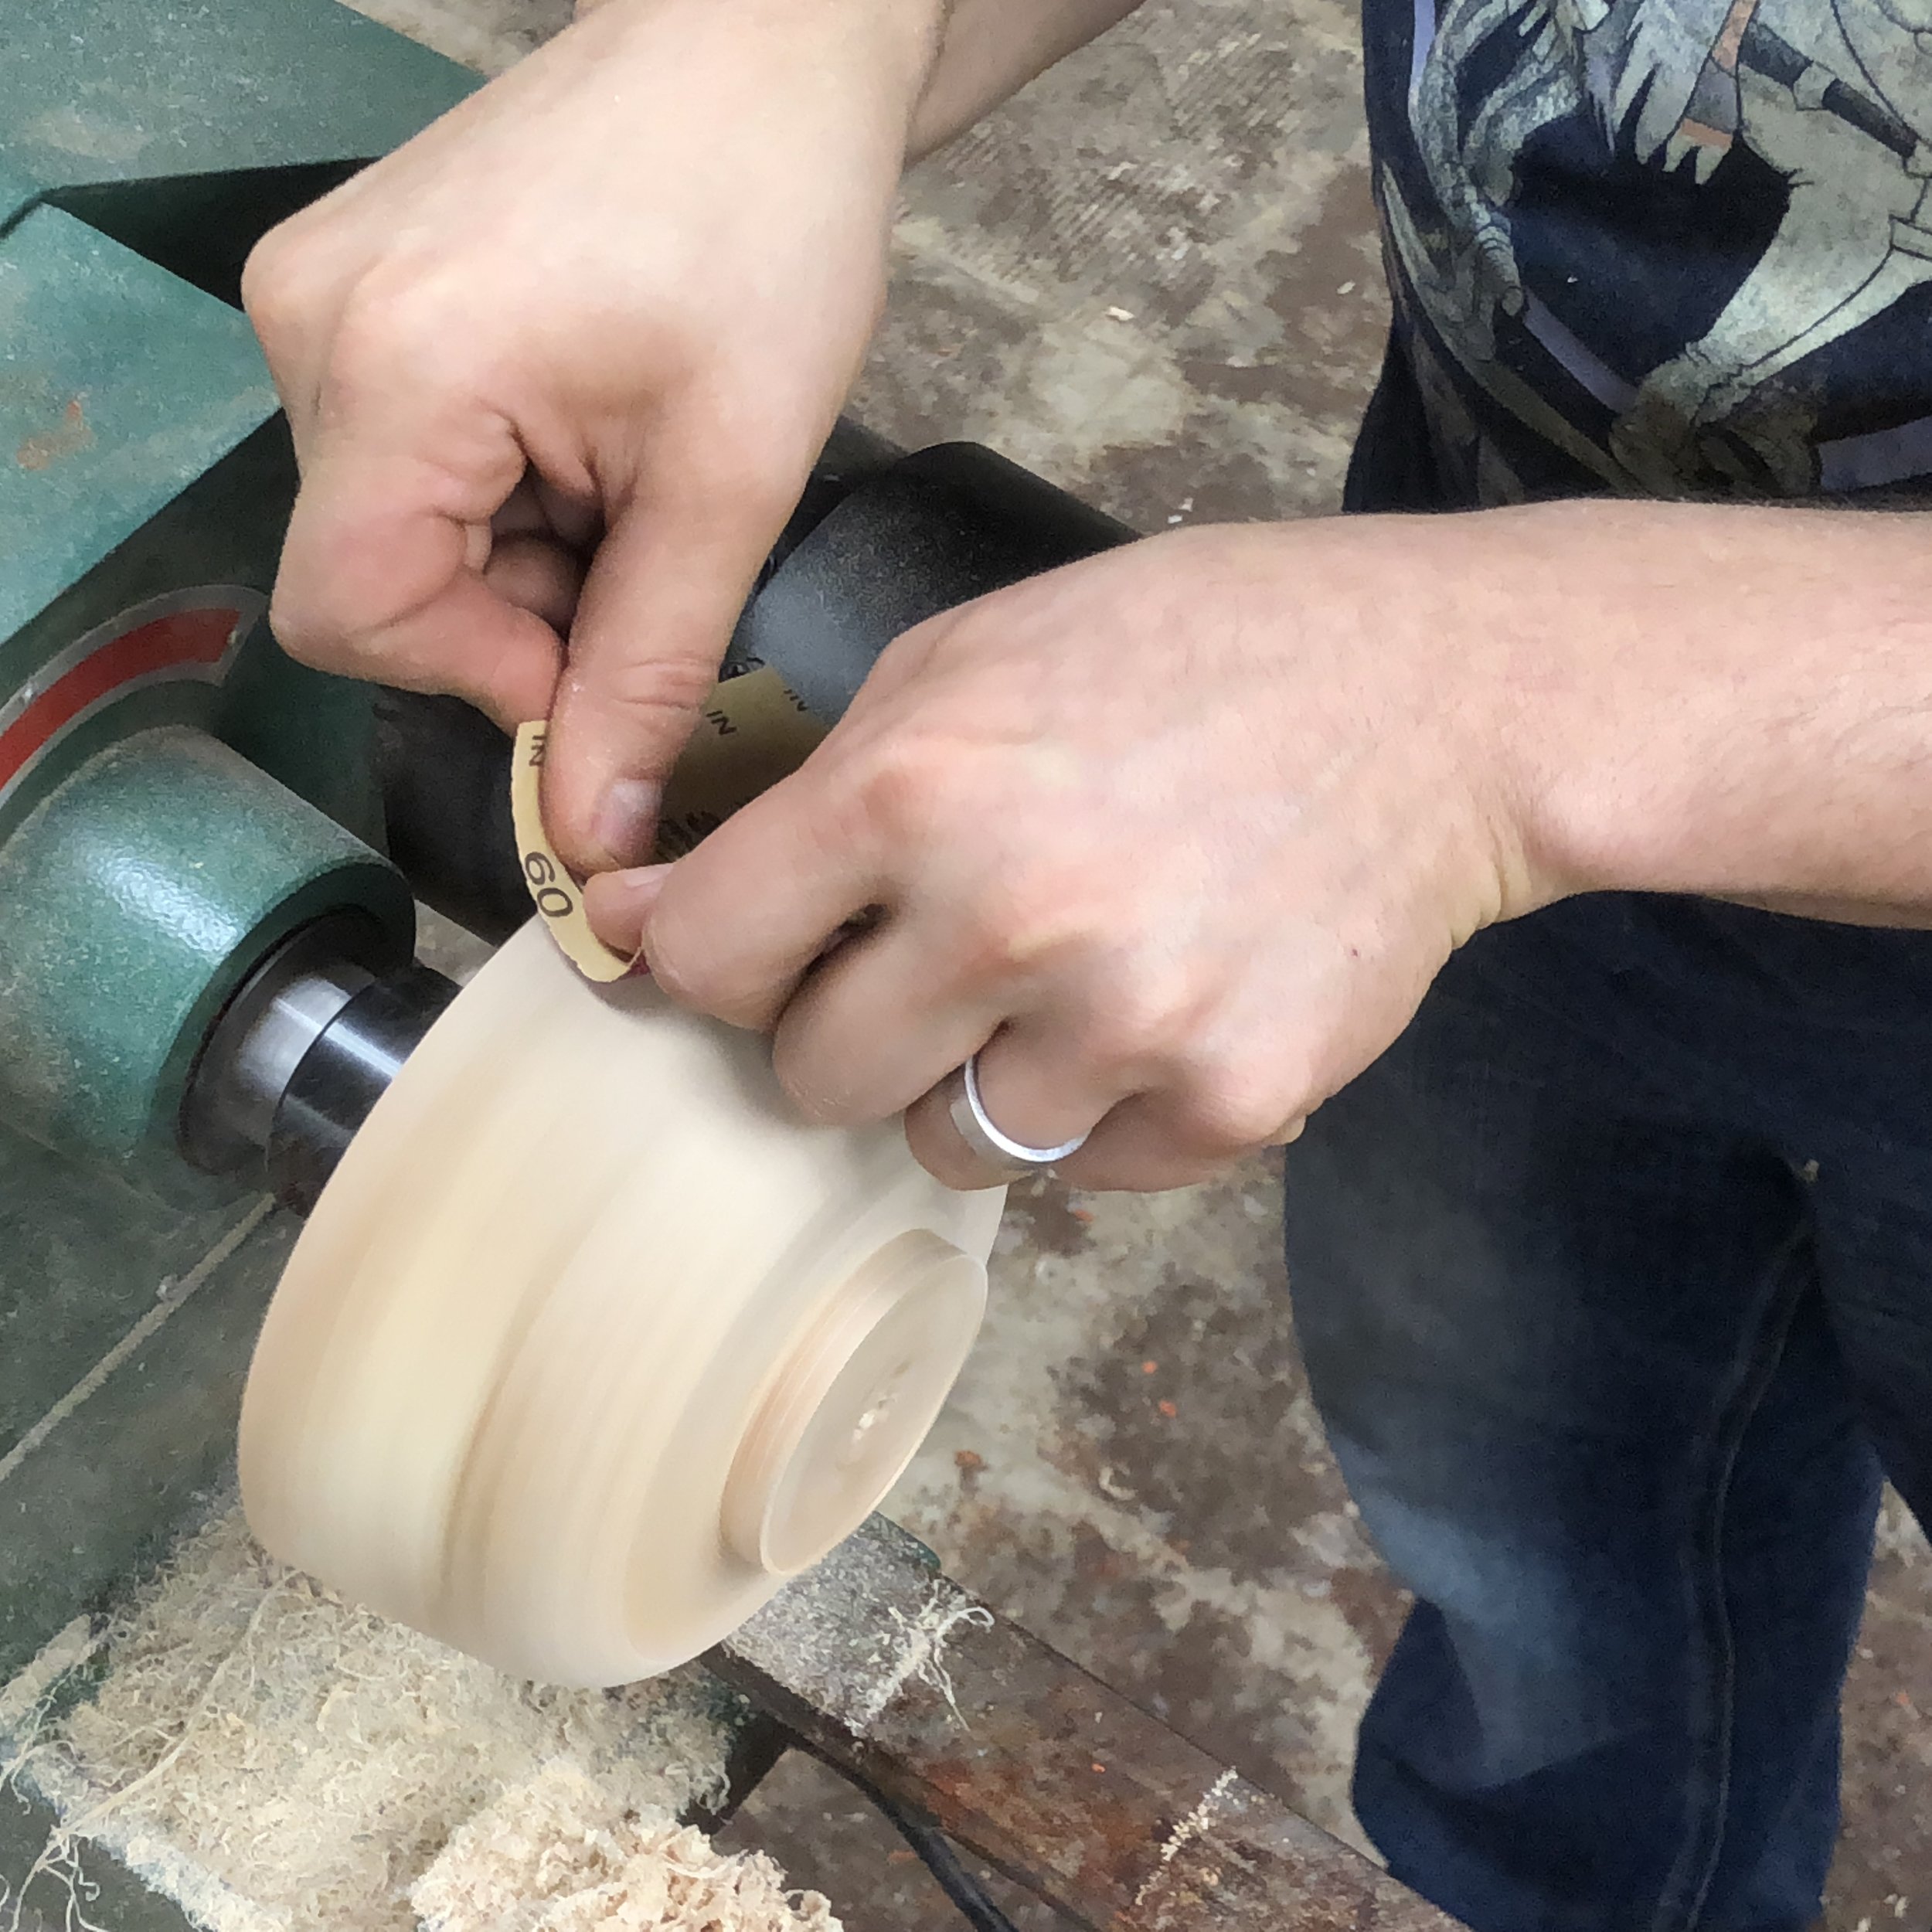
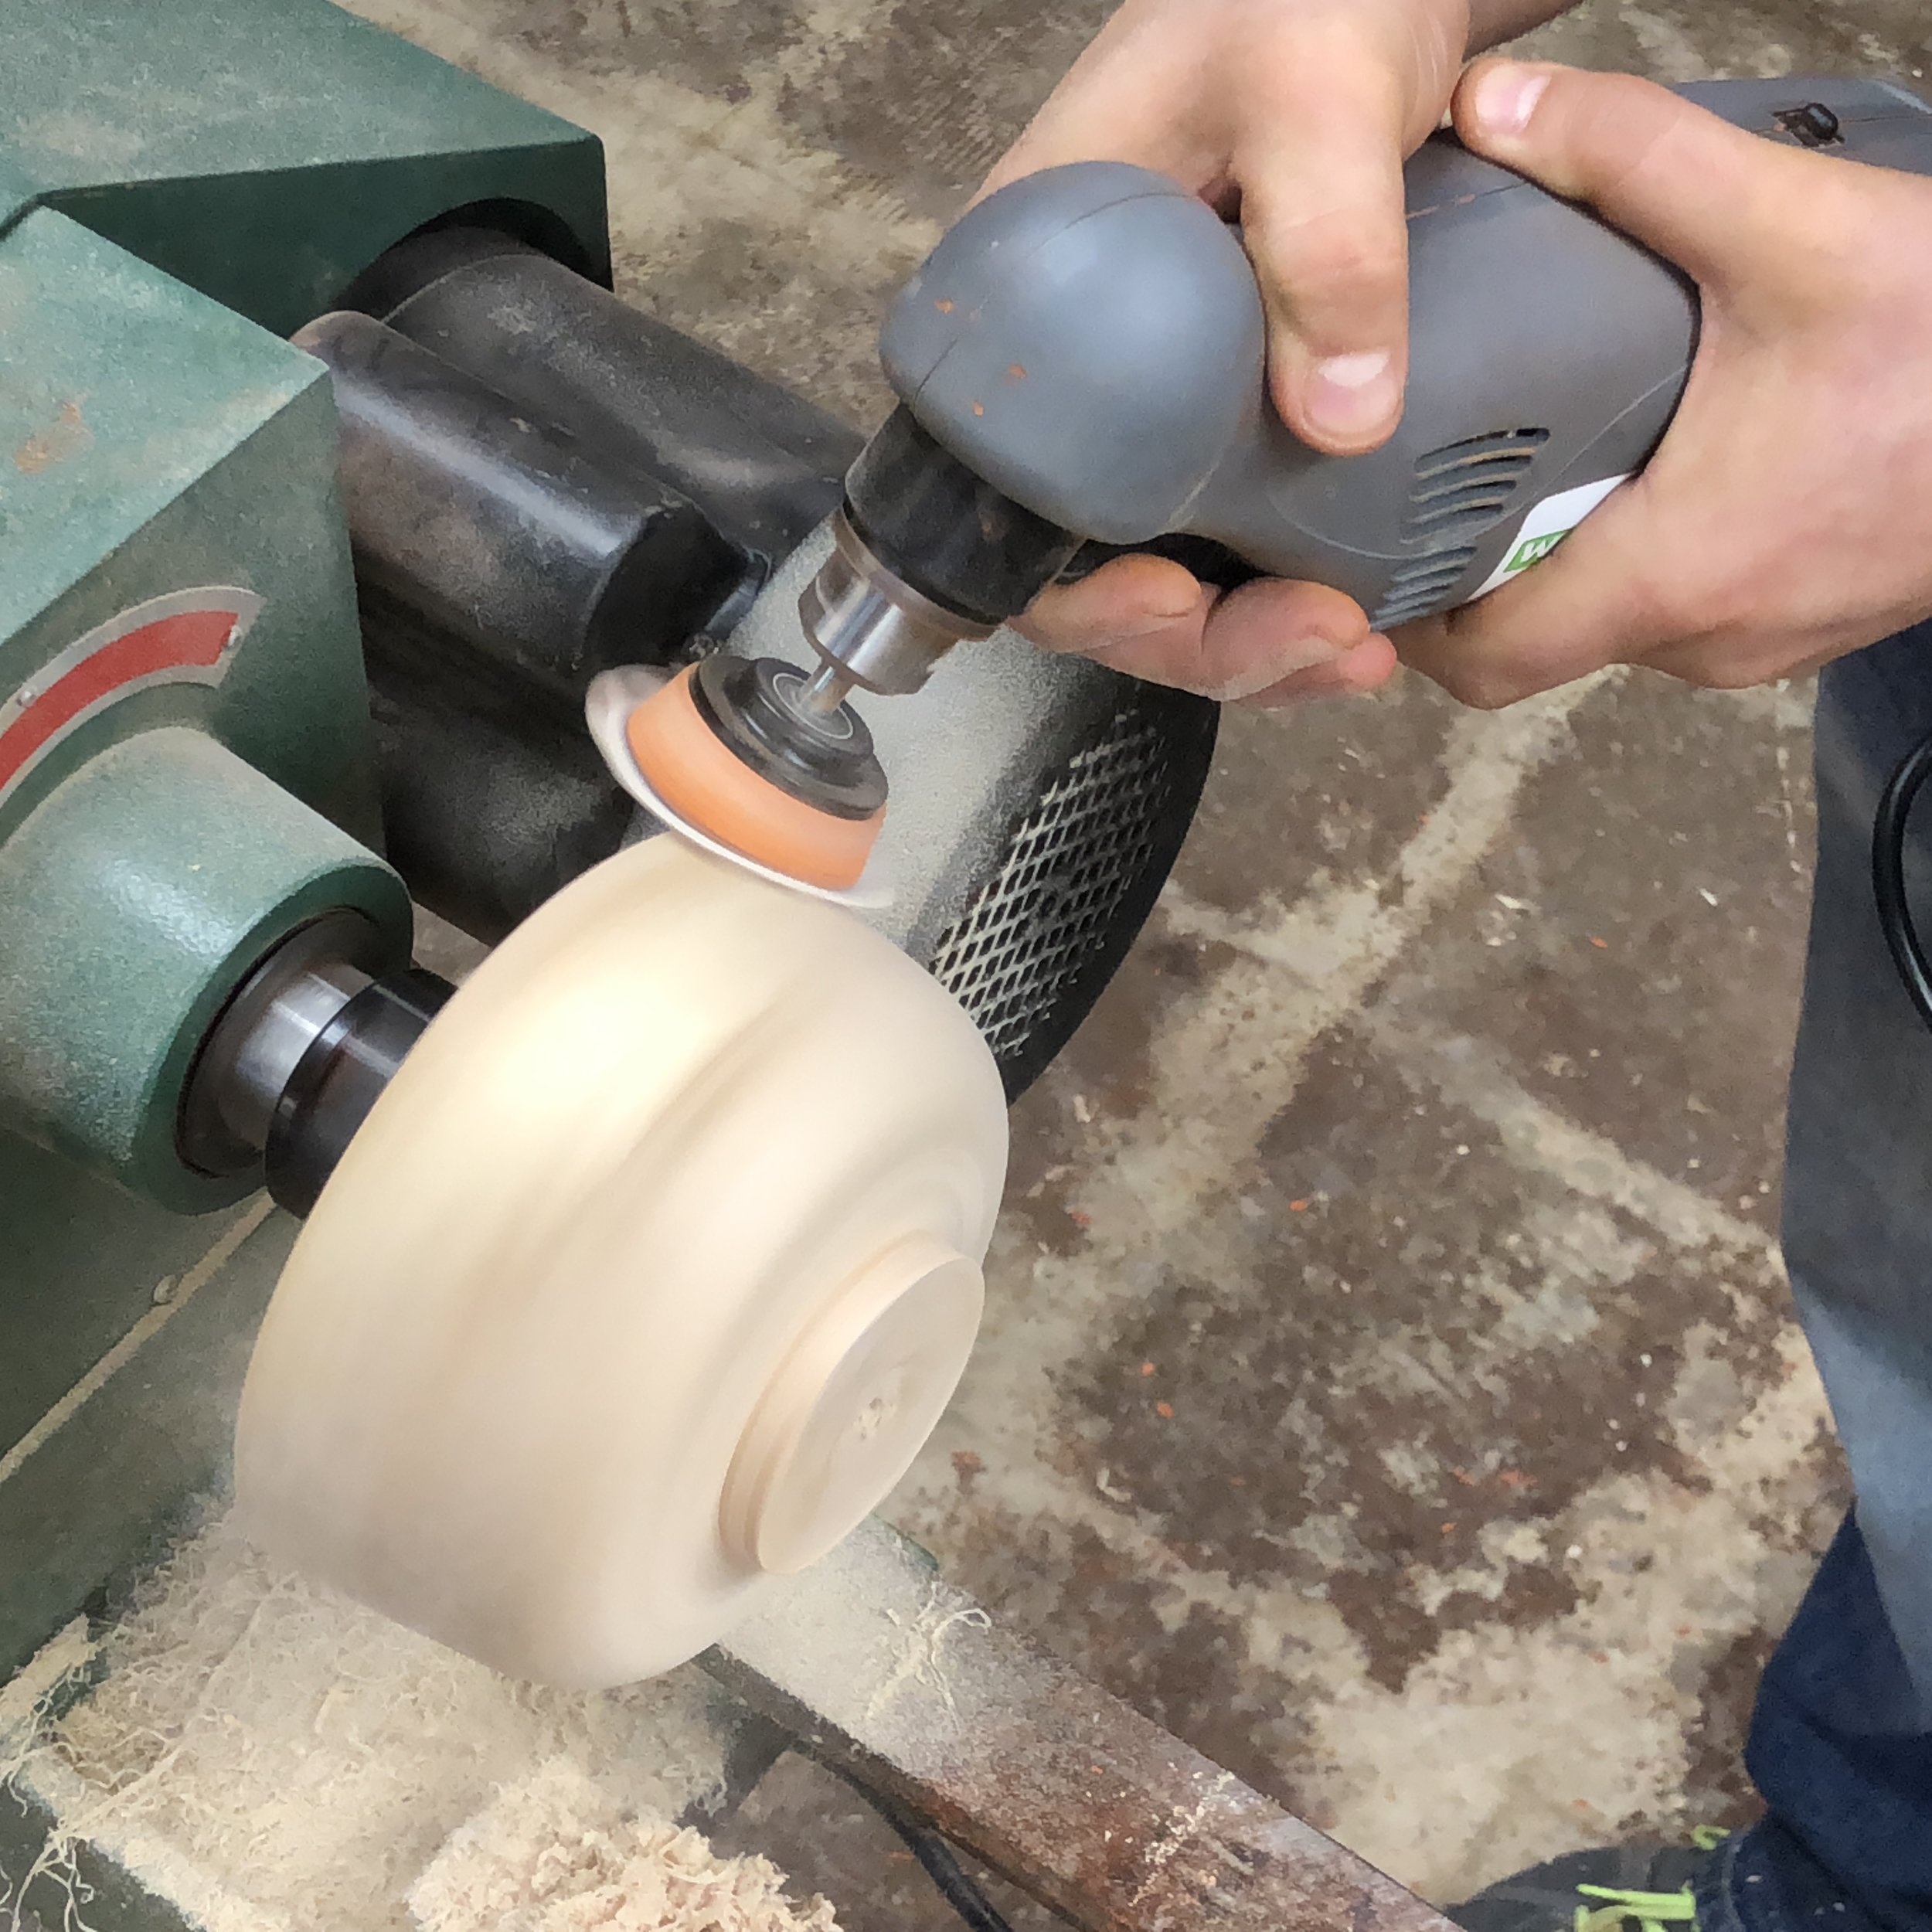
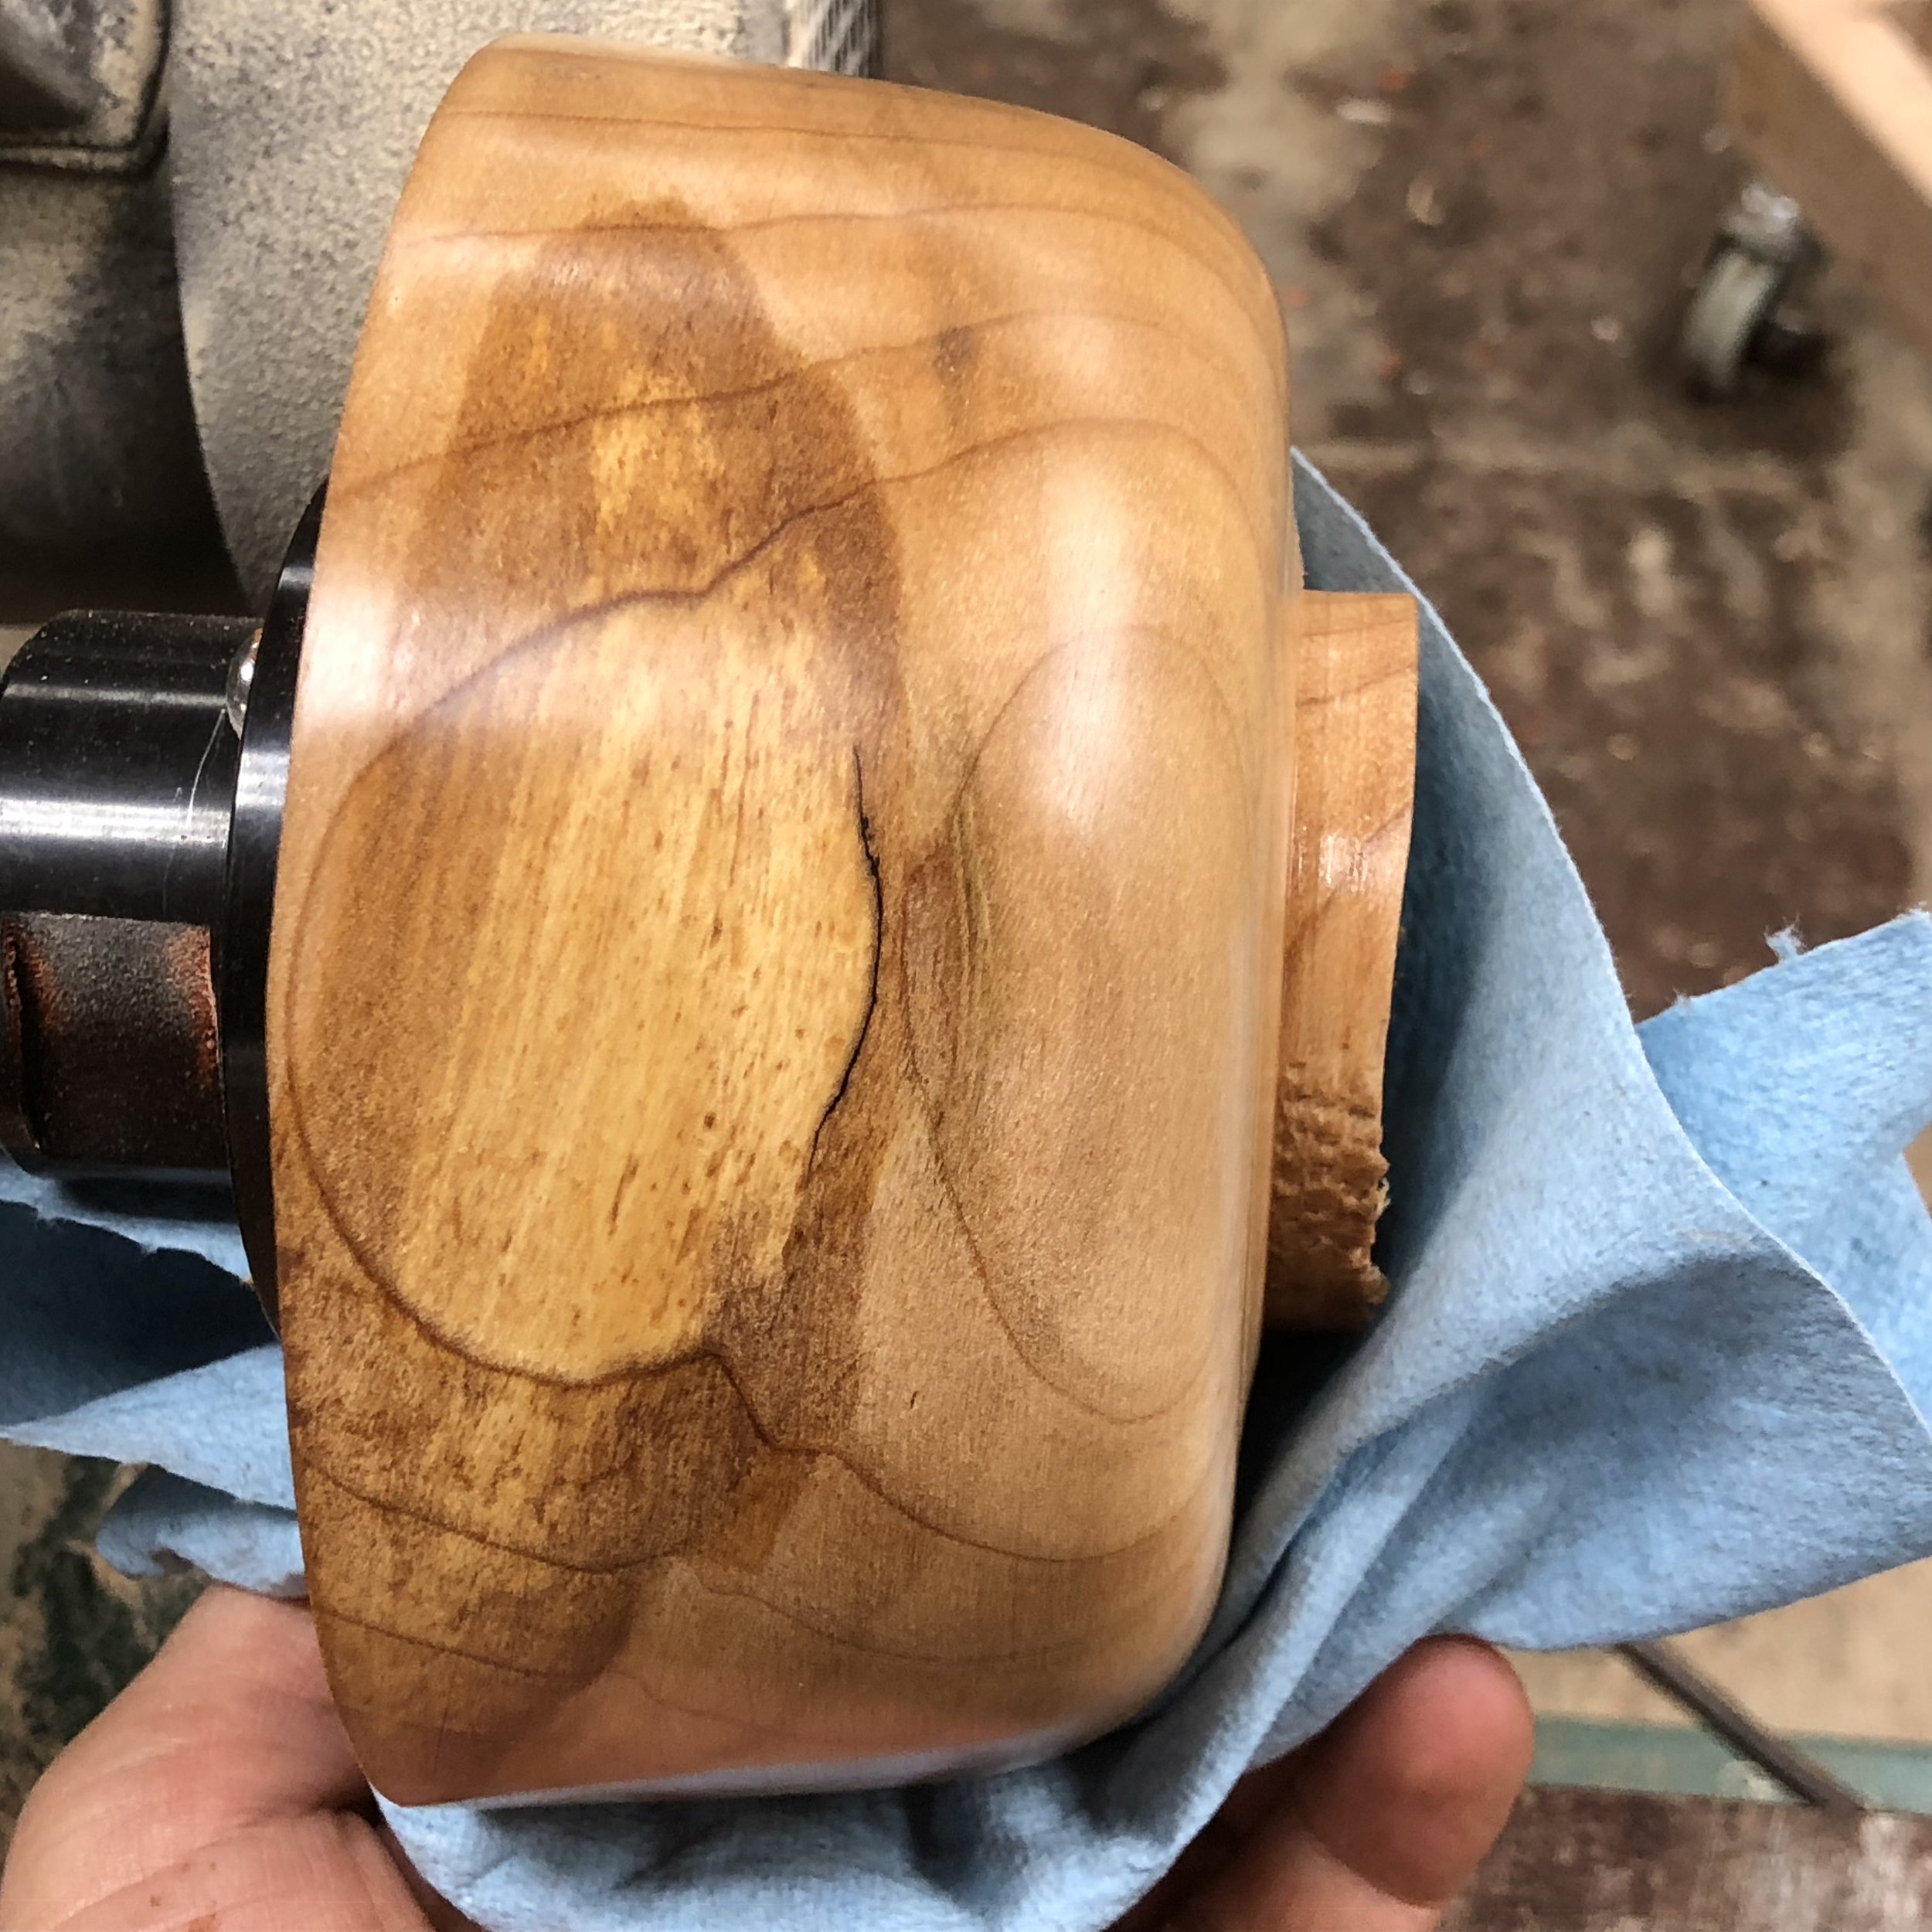
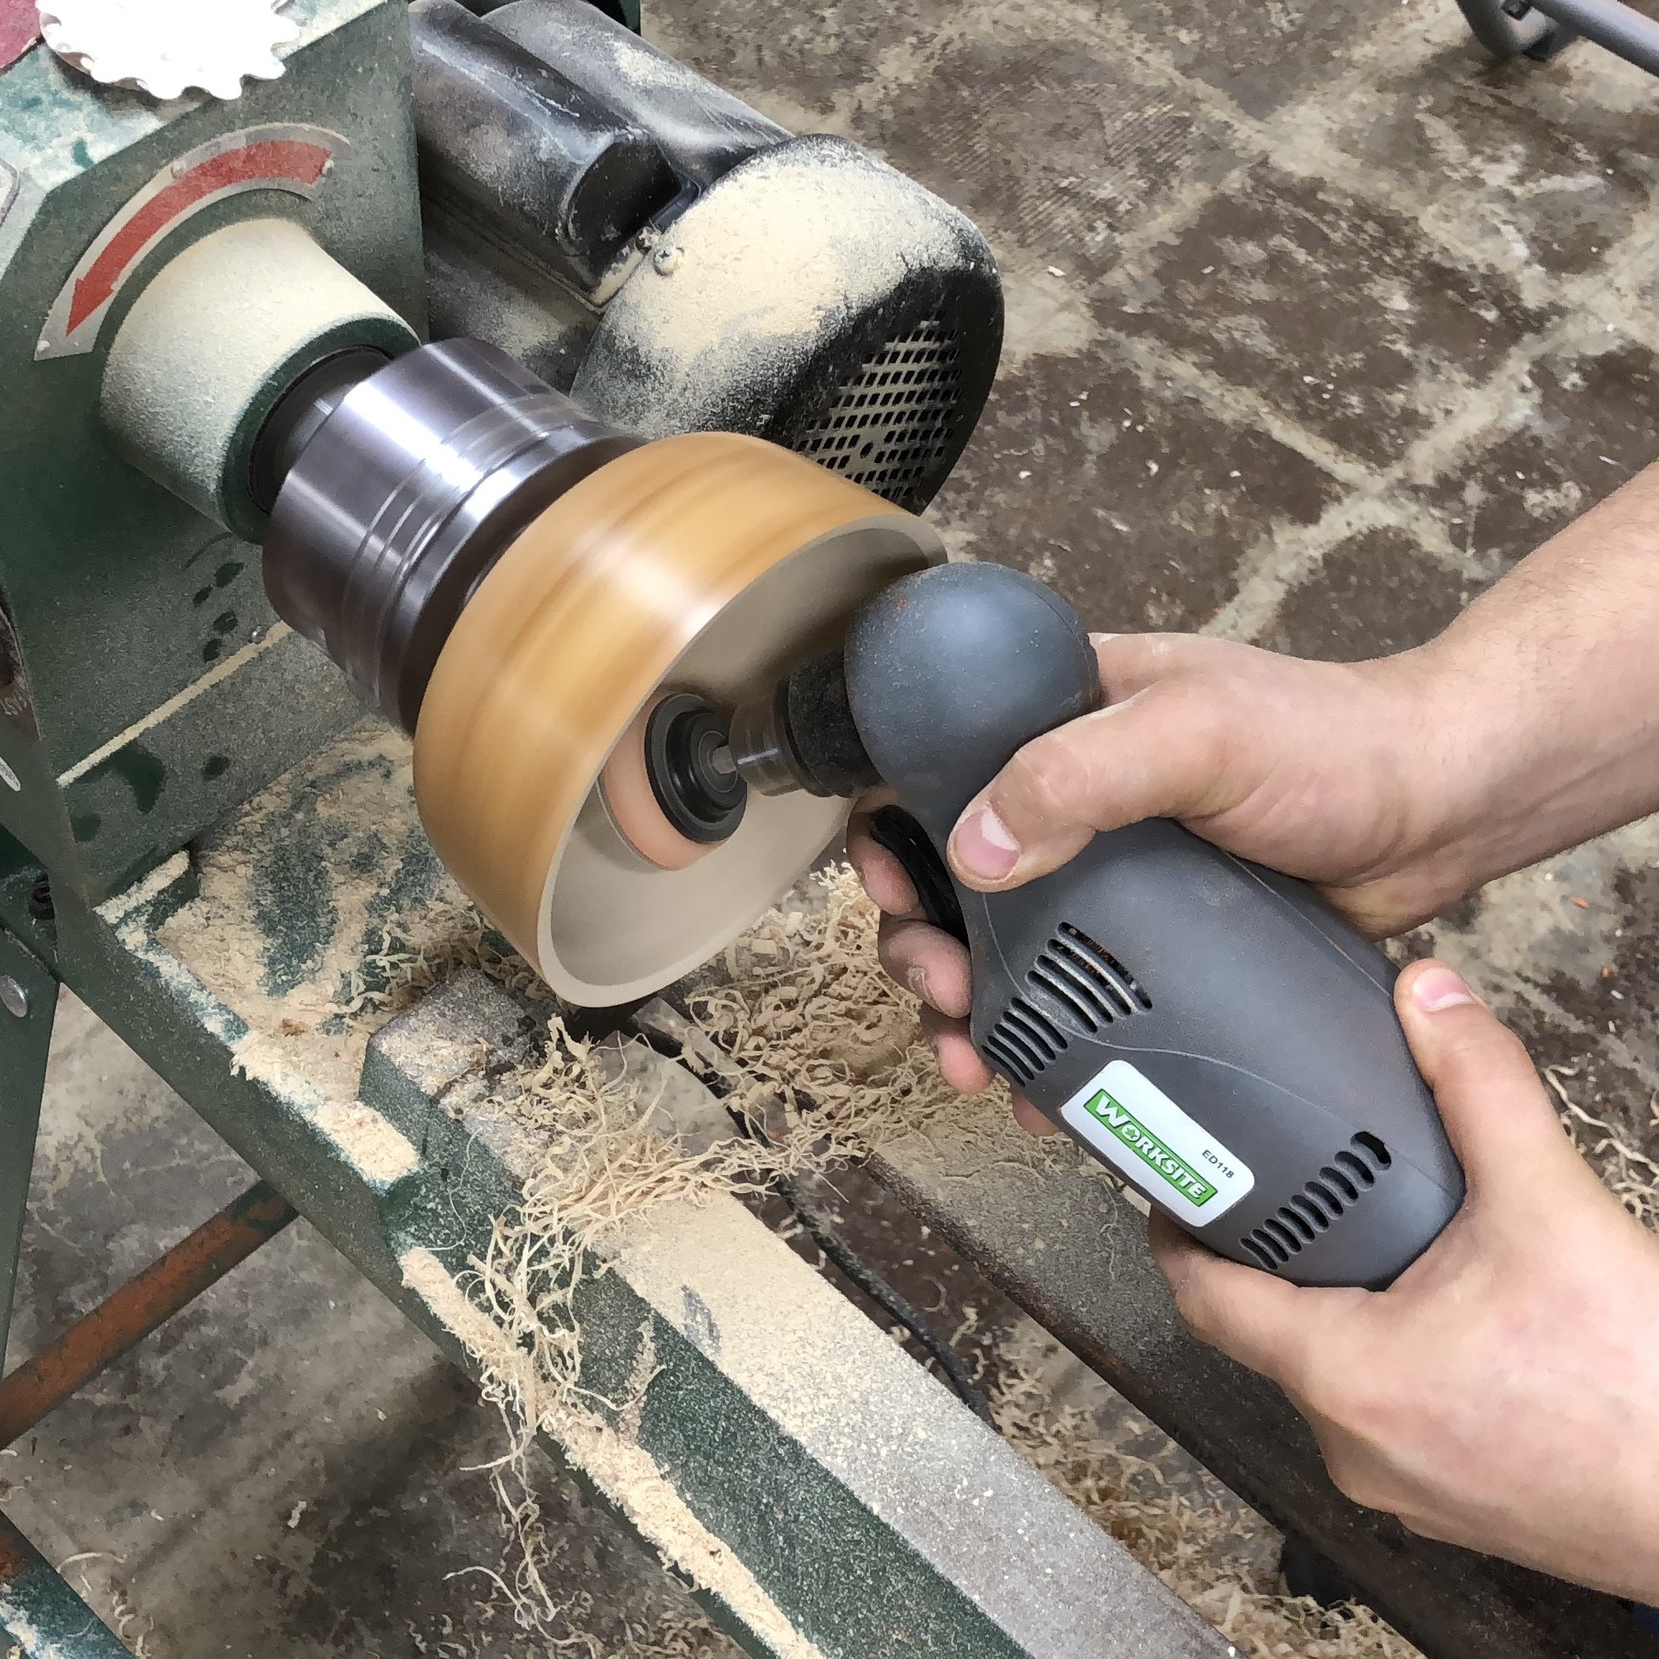
After the desired shape is reached...it's time to sand. Now there are some wood turners who are able to make beautiful cuts that require little to no sanding...I, however, need to sand. HAHA! But I'm okay with that. I have to remind myself that this bowl was only the 5th bowl I'd ever turned. So it's on to sanding. I started with a piece of 60 grit, holding it with my fingers. Then it's onto the little sander increasing the grit up to 300+. I use this because unlike hand sanding, this won't leave the lines in the wood. Once it's all sanded, I grab a handful of the wood shavings to buff the bowl. This little trick I learned in the class, and it's awesome! then it's time to oil the bowl. I use Mahoney's Heat Treated Filtered Walnut Oil, and apply 7 to 10 coats of this to make sure it's soaking into the wood. Once the bowl is finished (inside and out) I will finish it with some of my B.P. Farms Wood Butter.
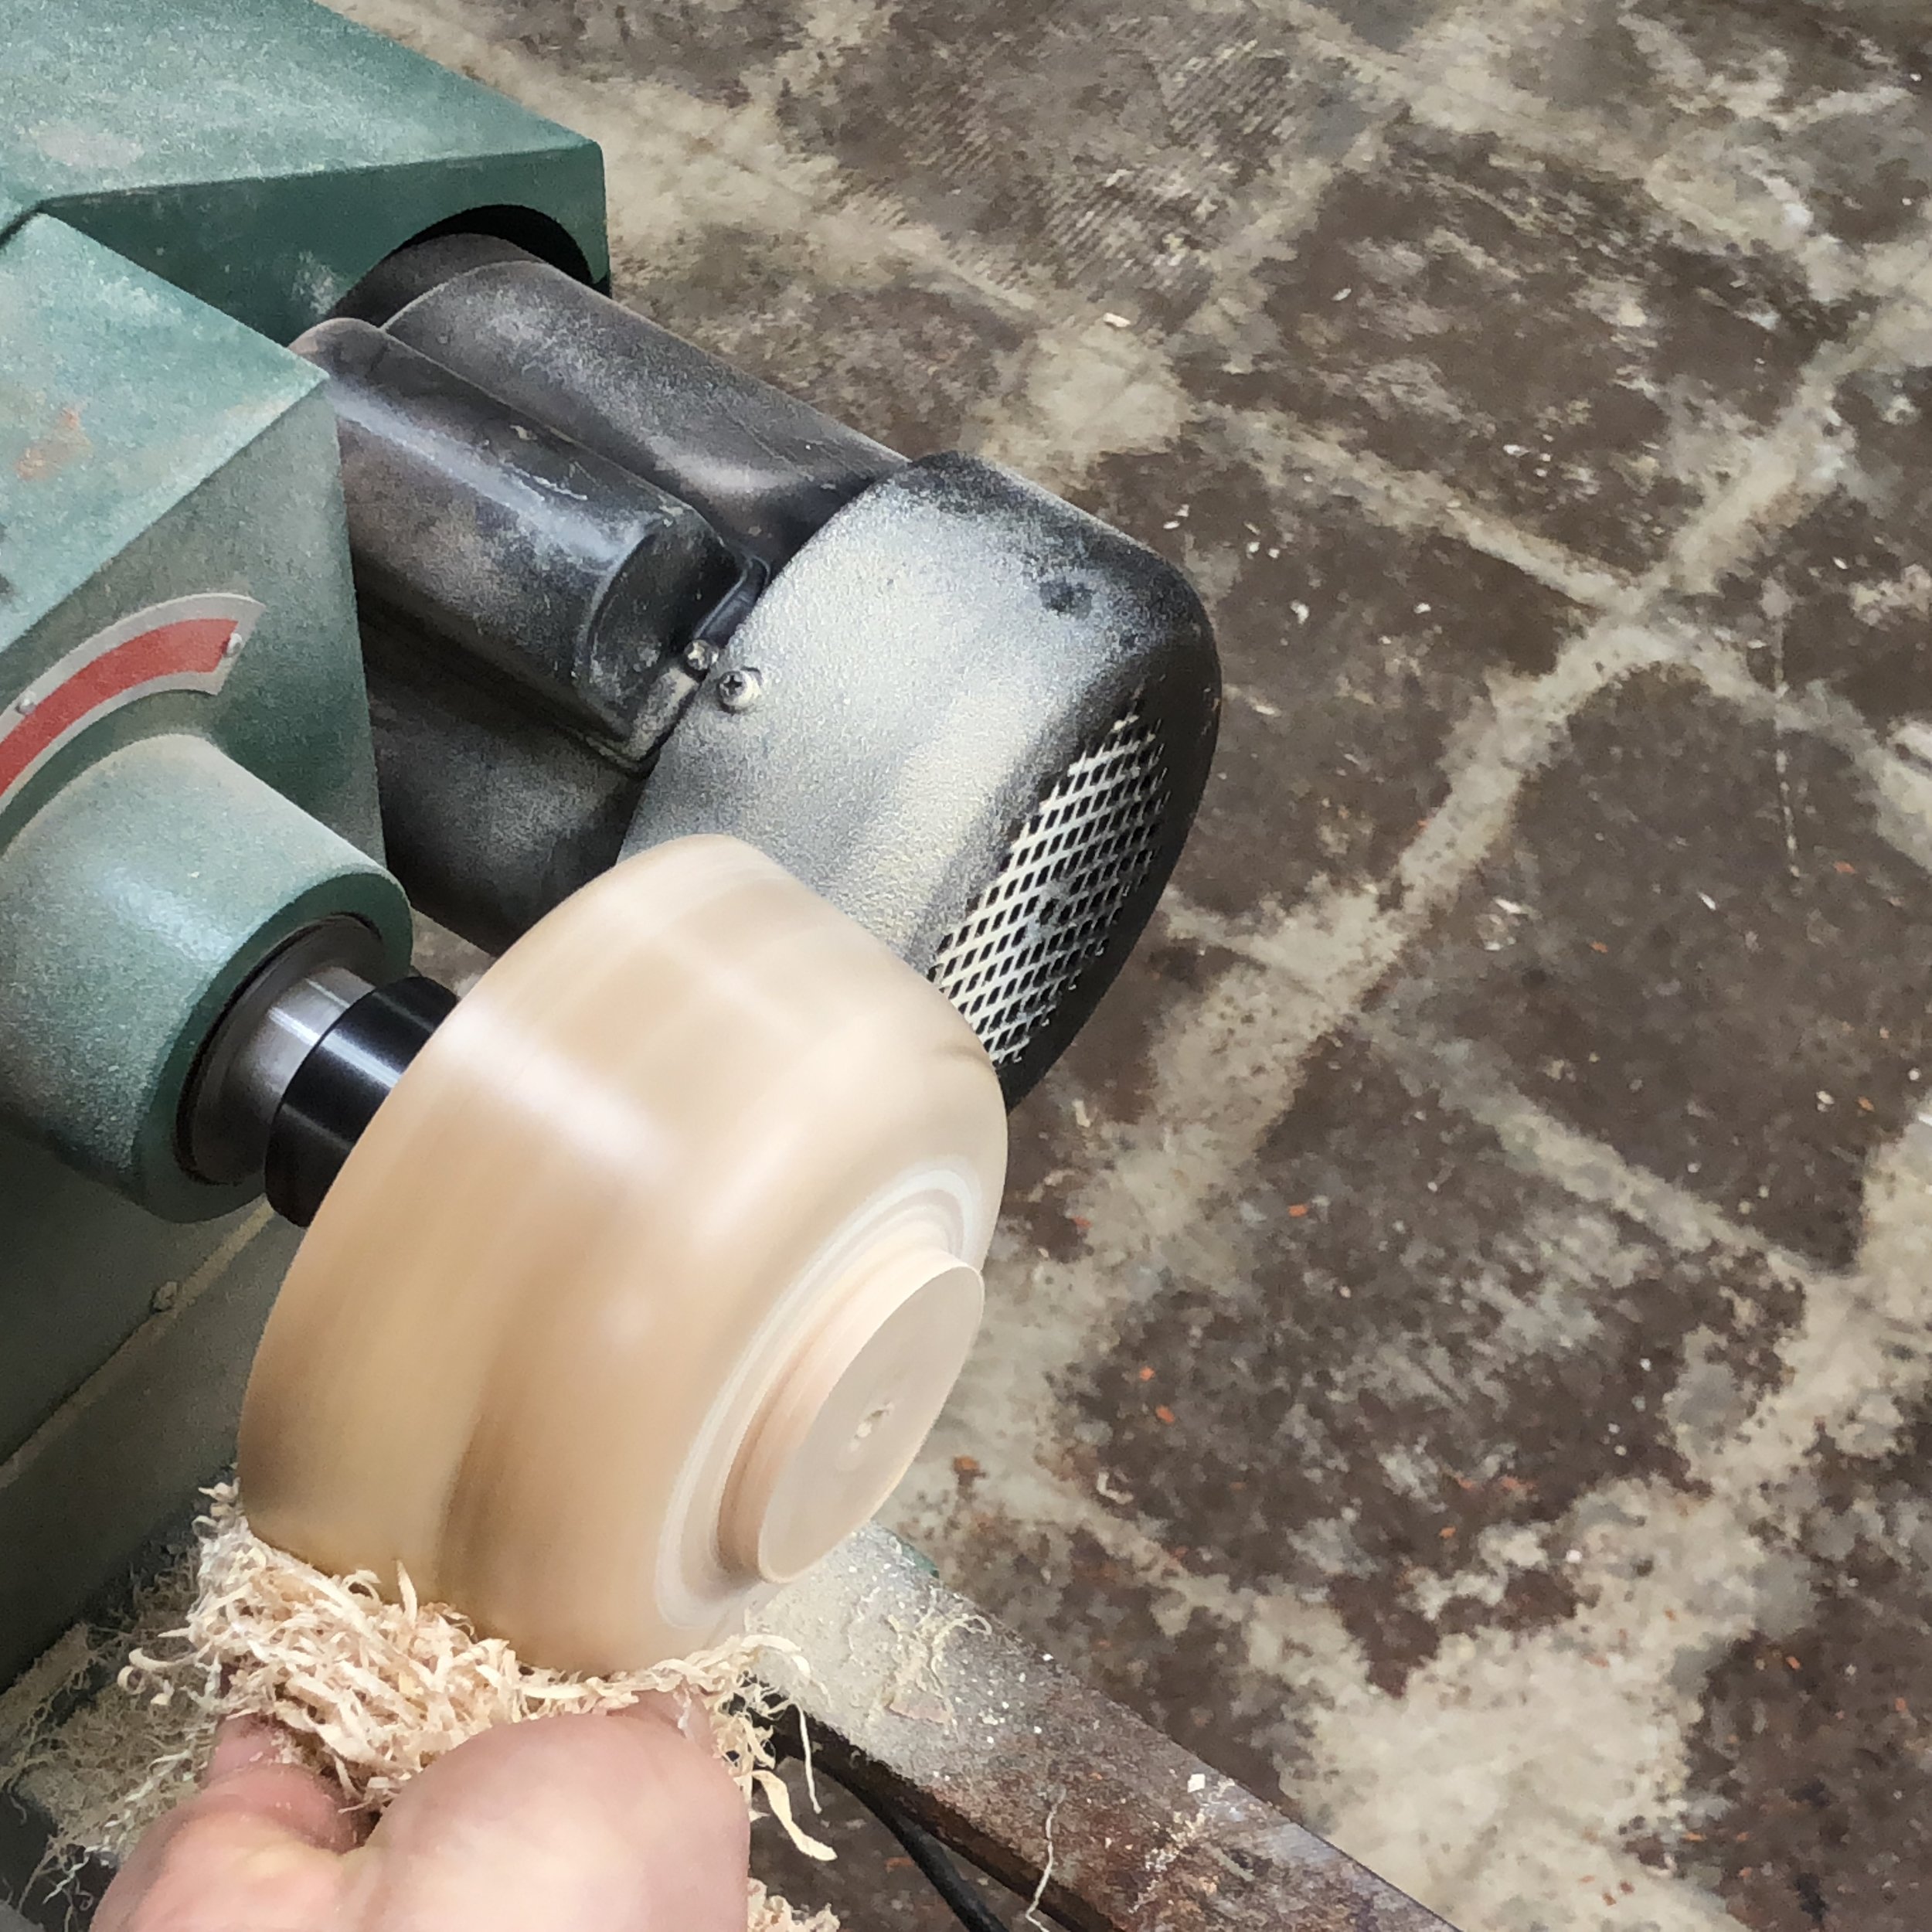
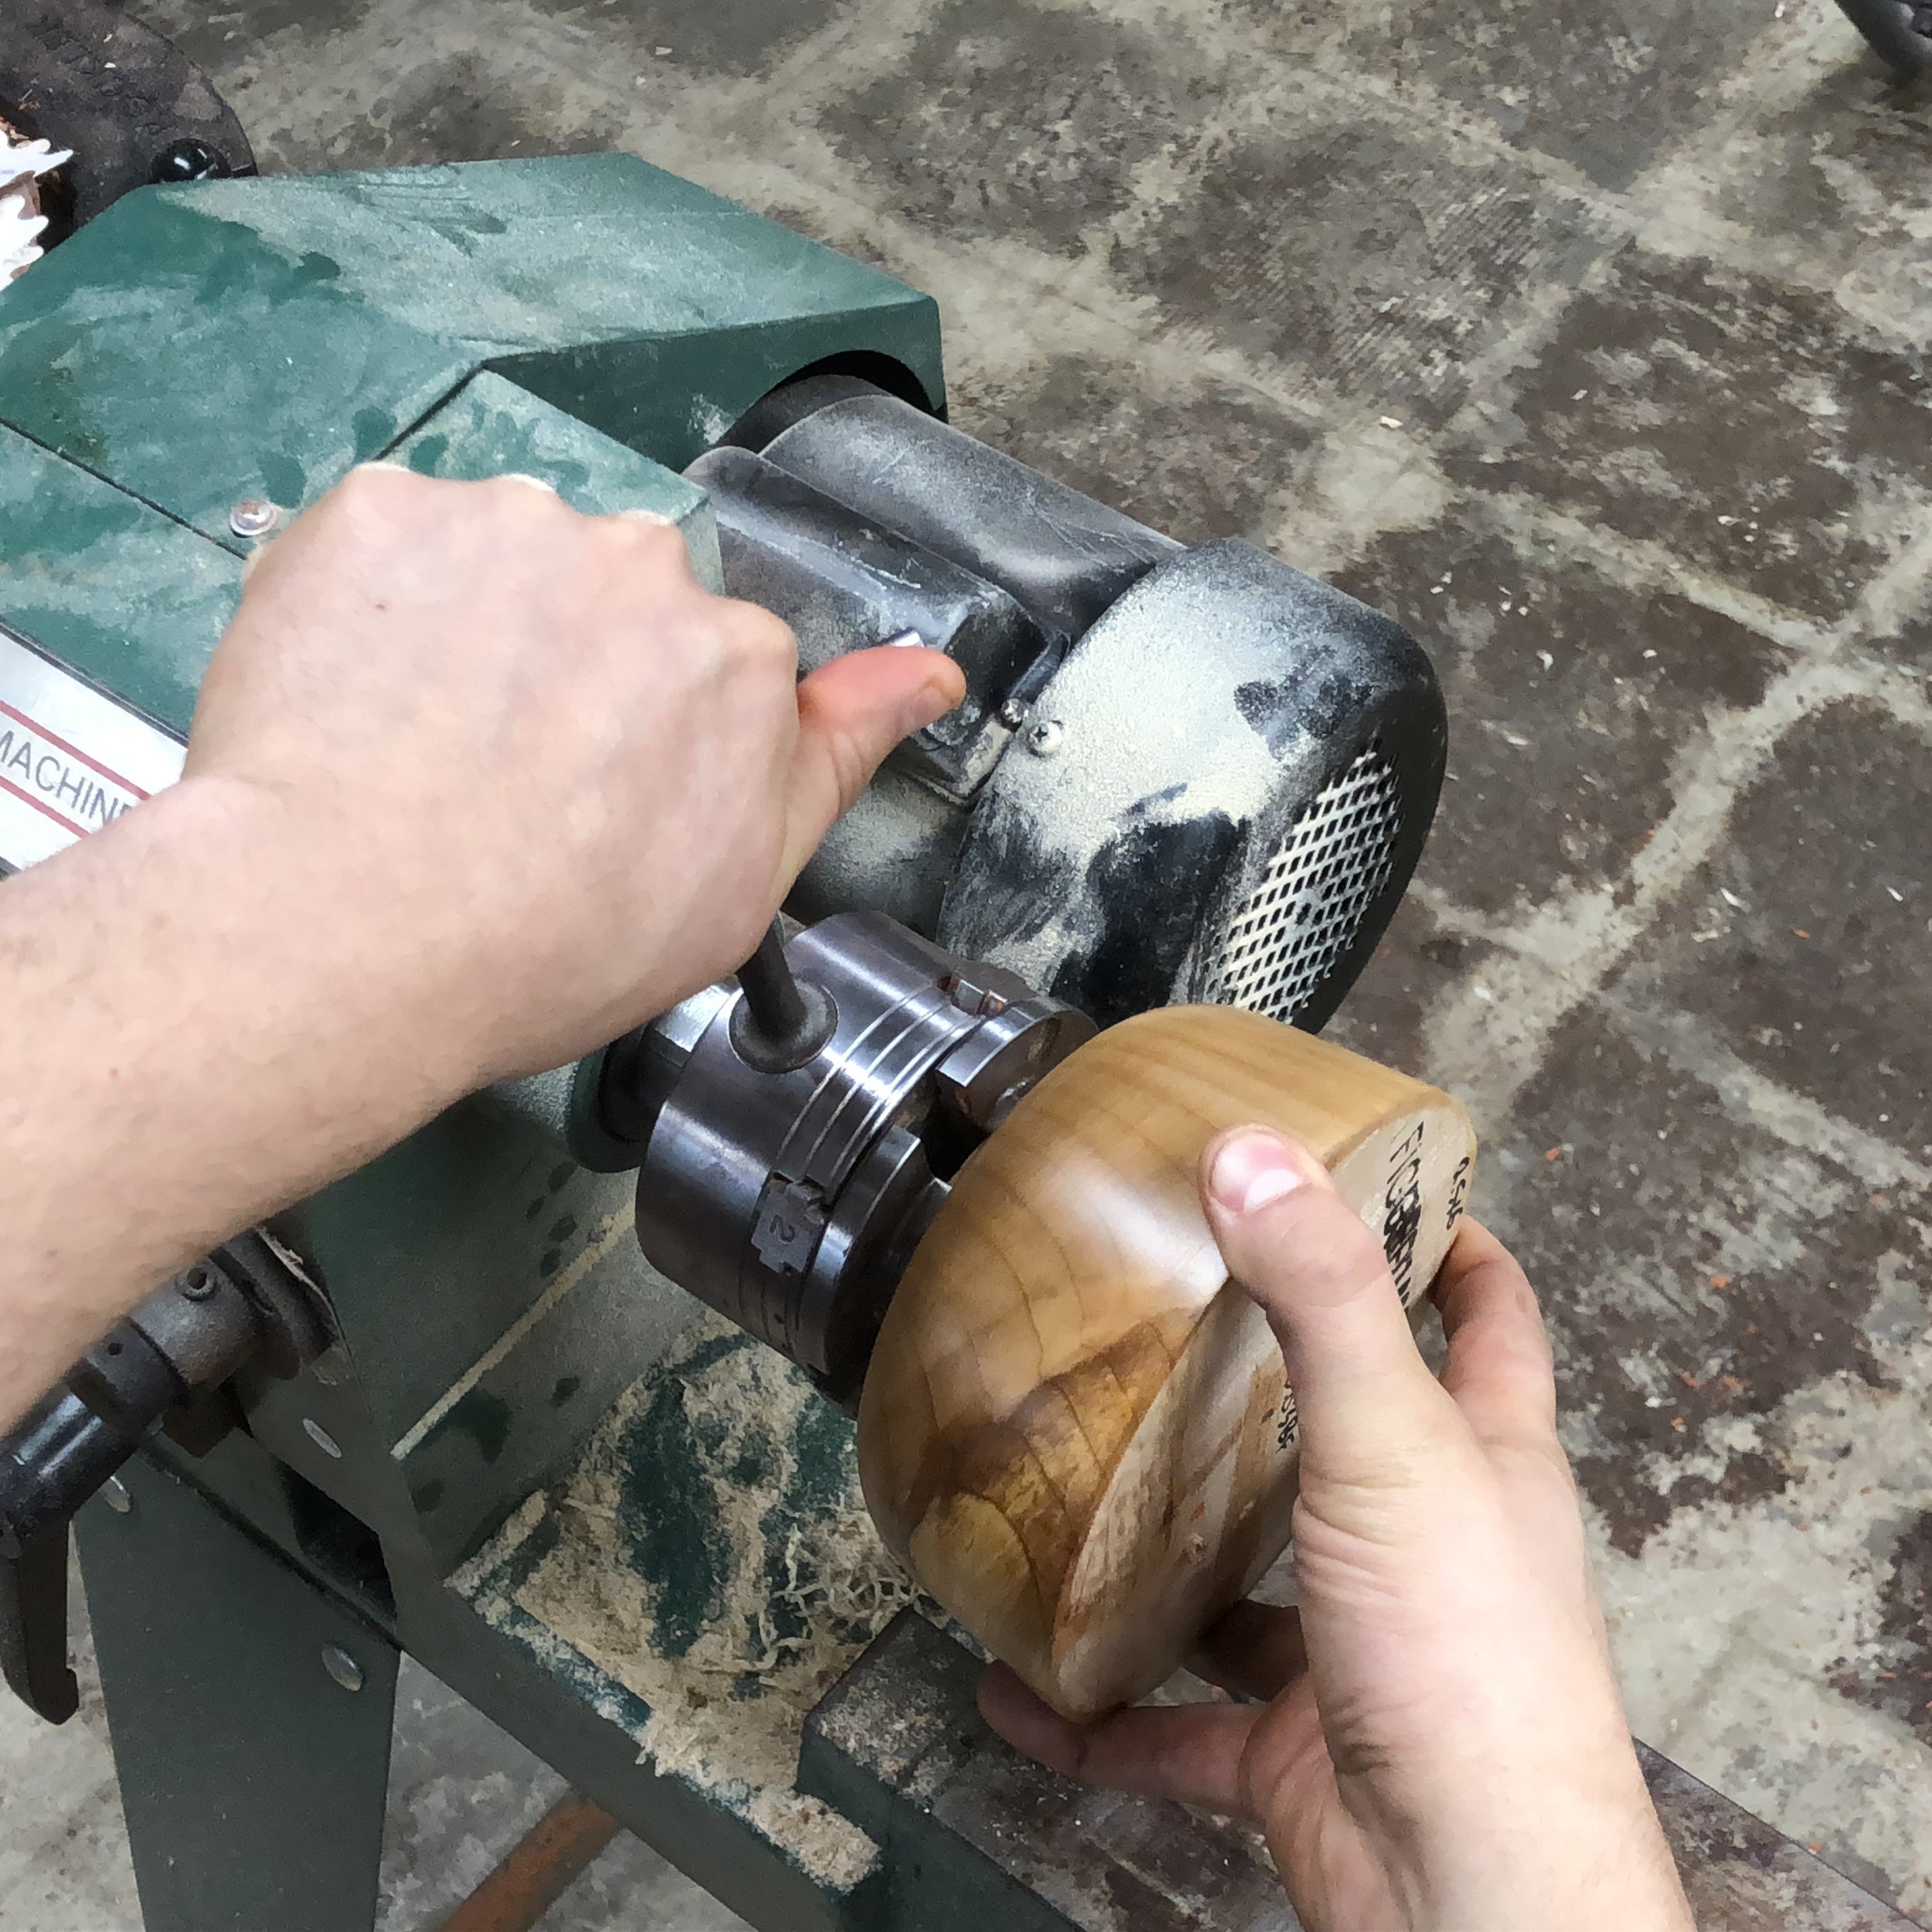
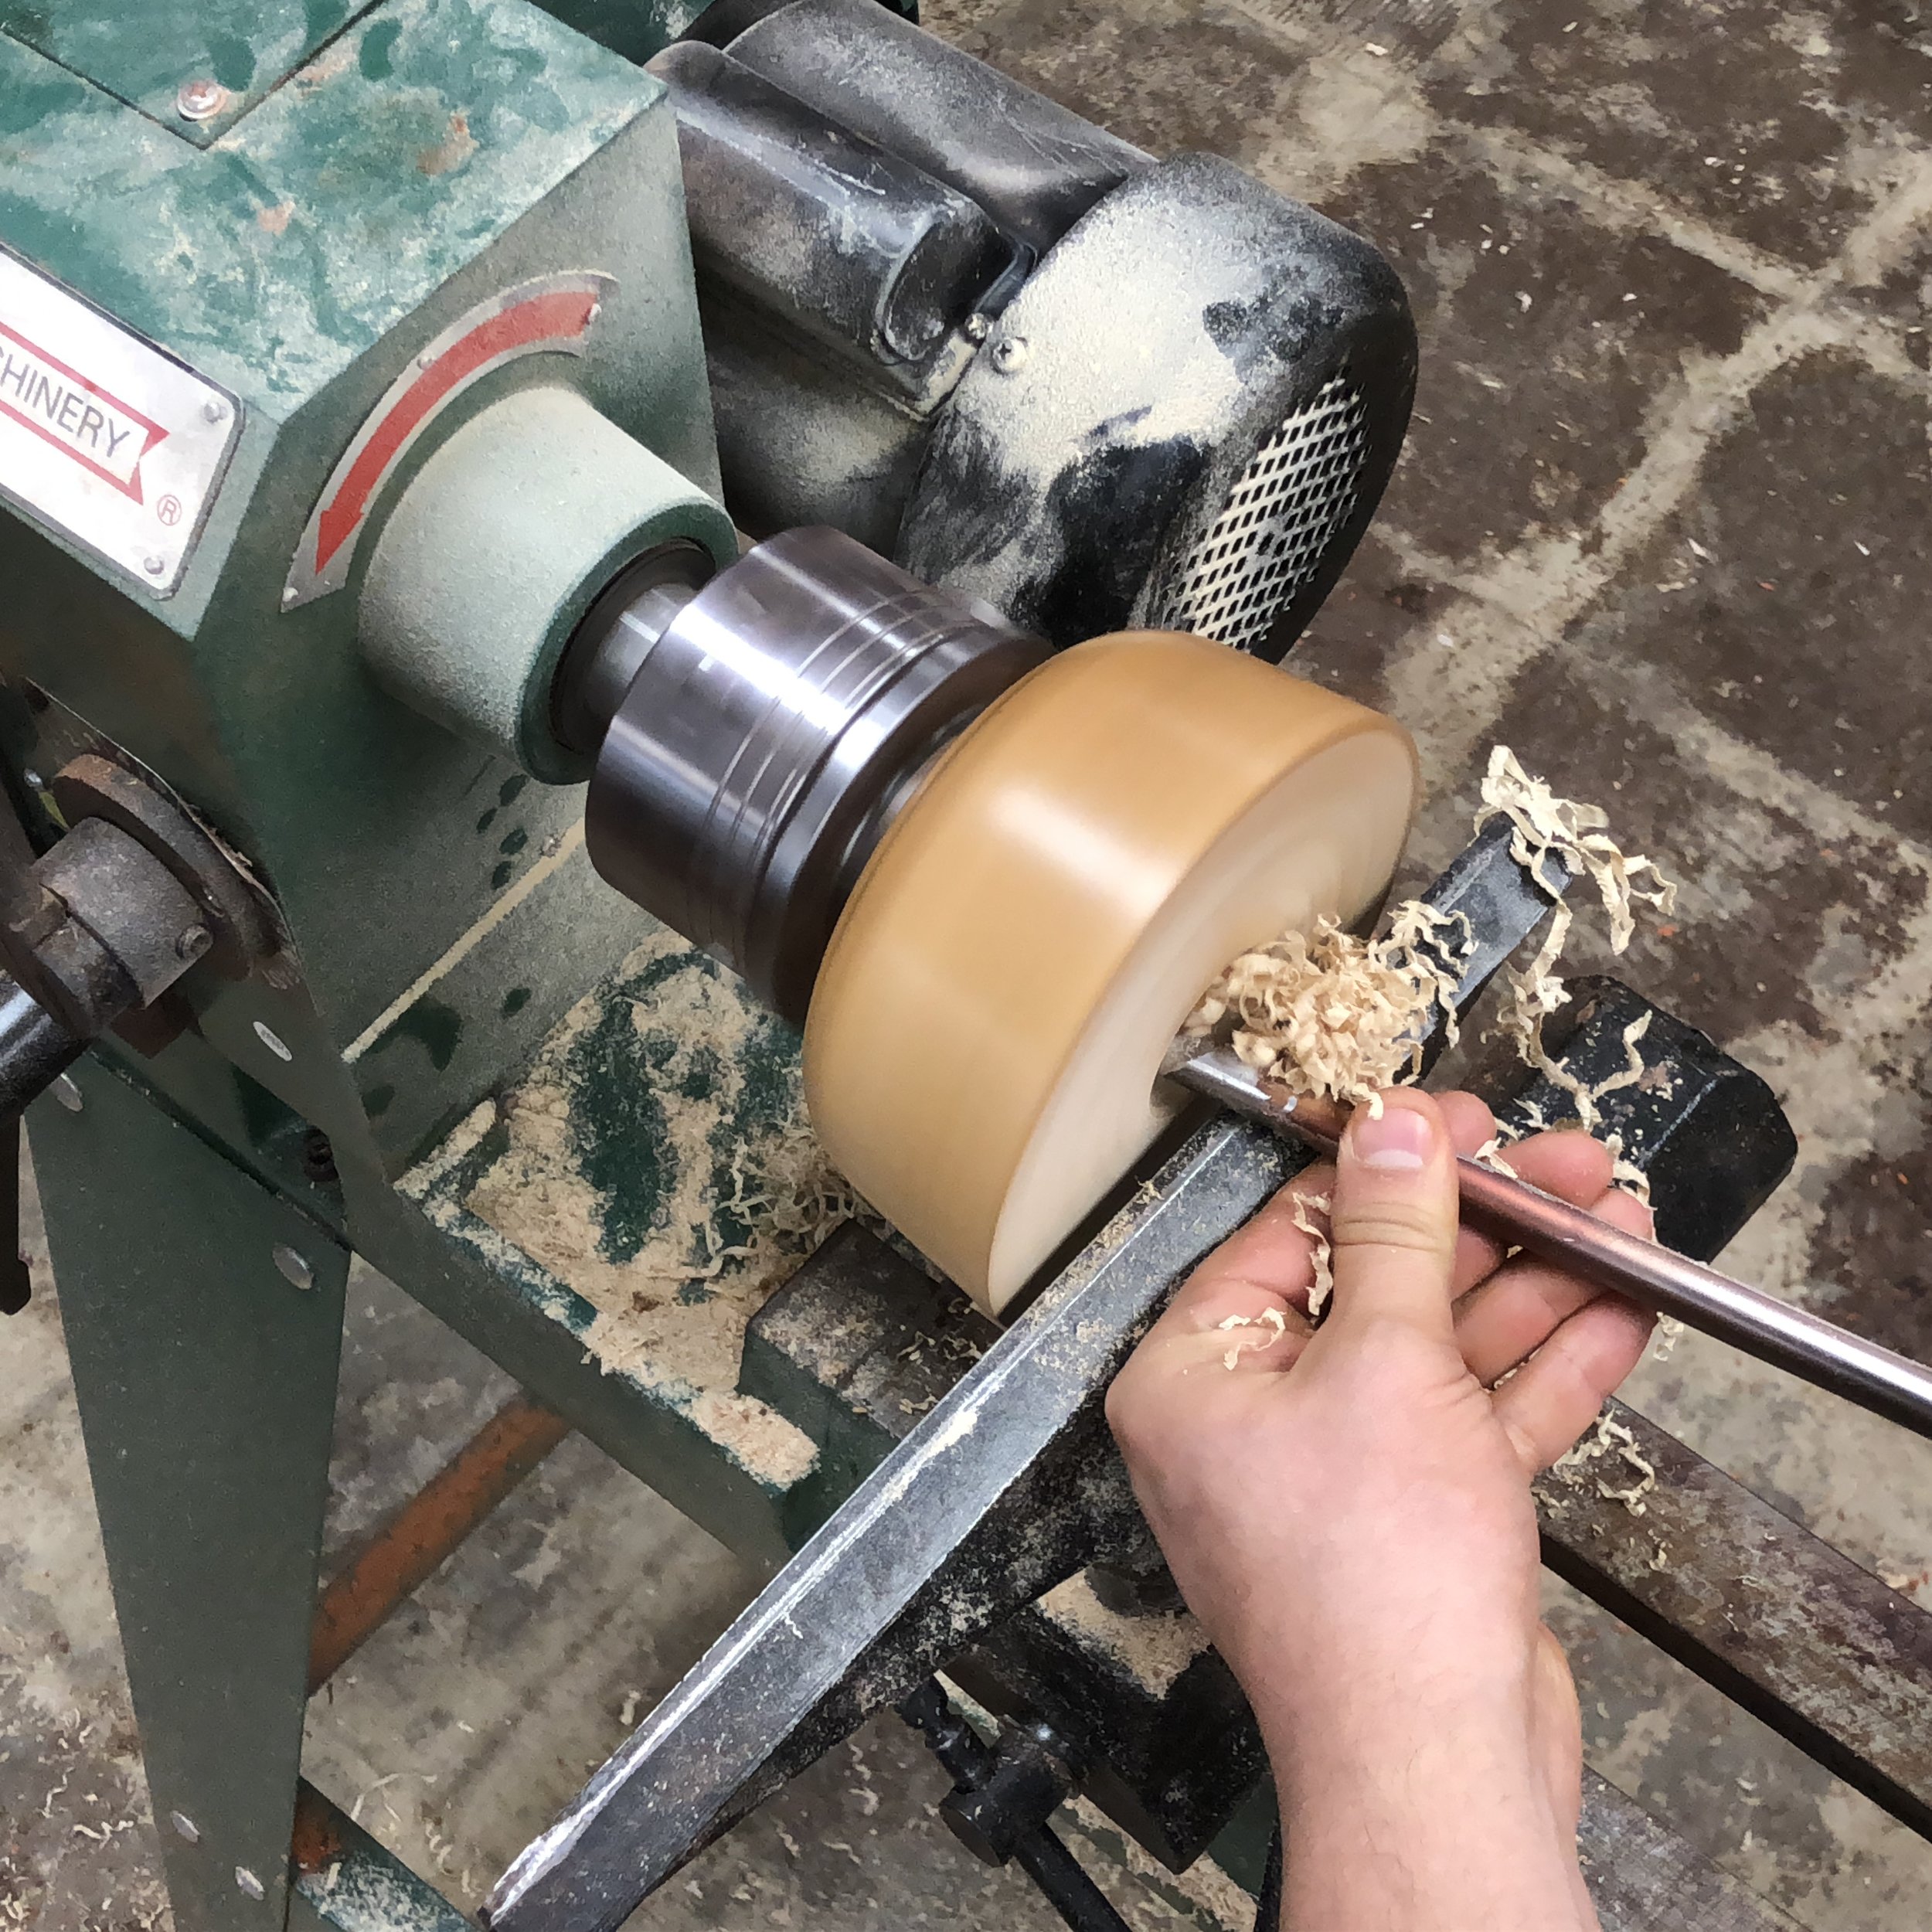
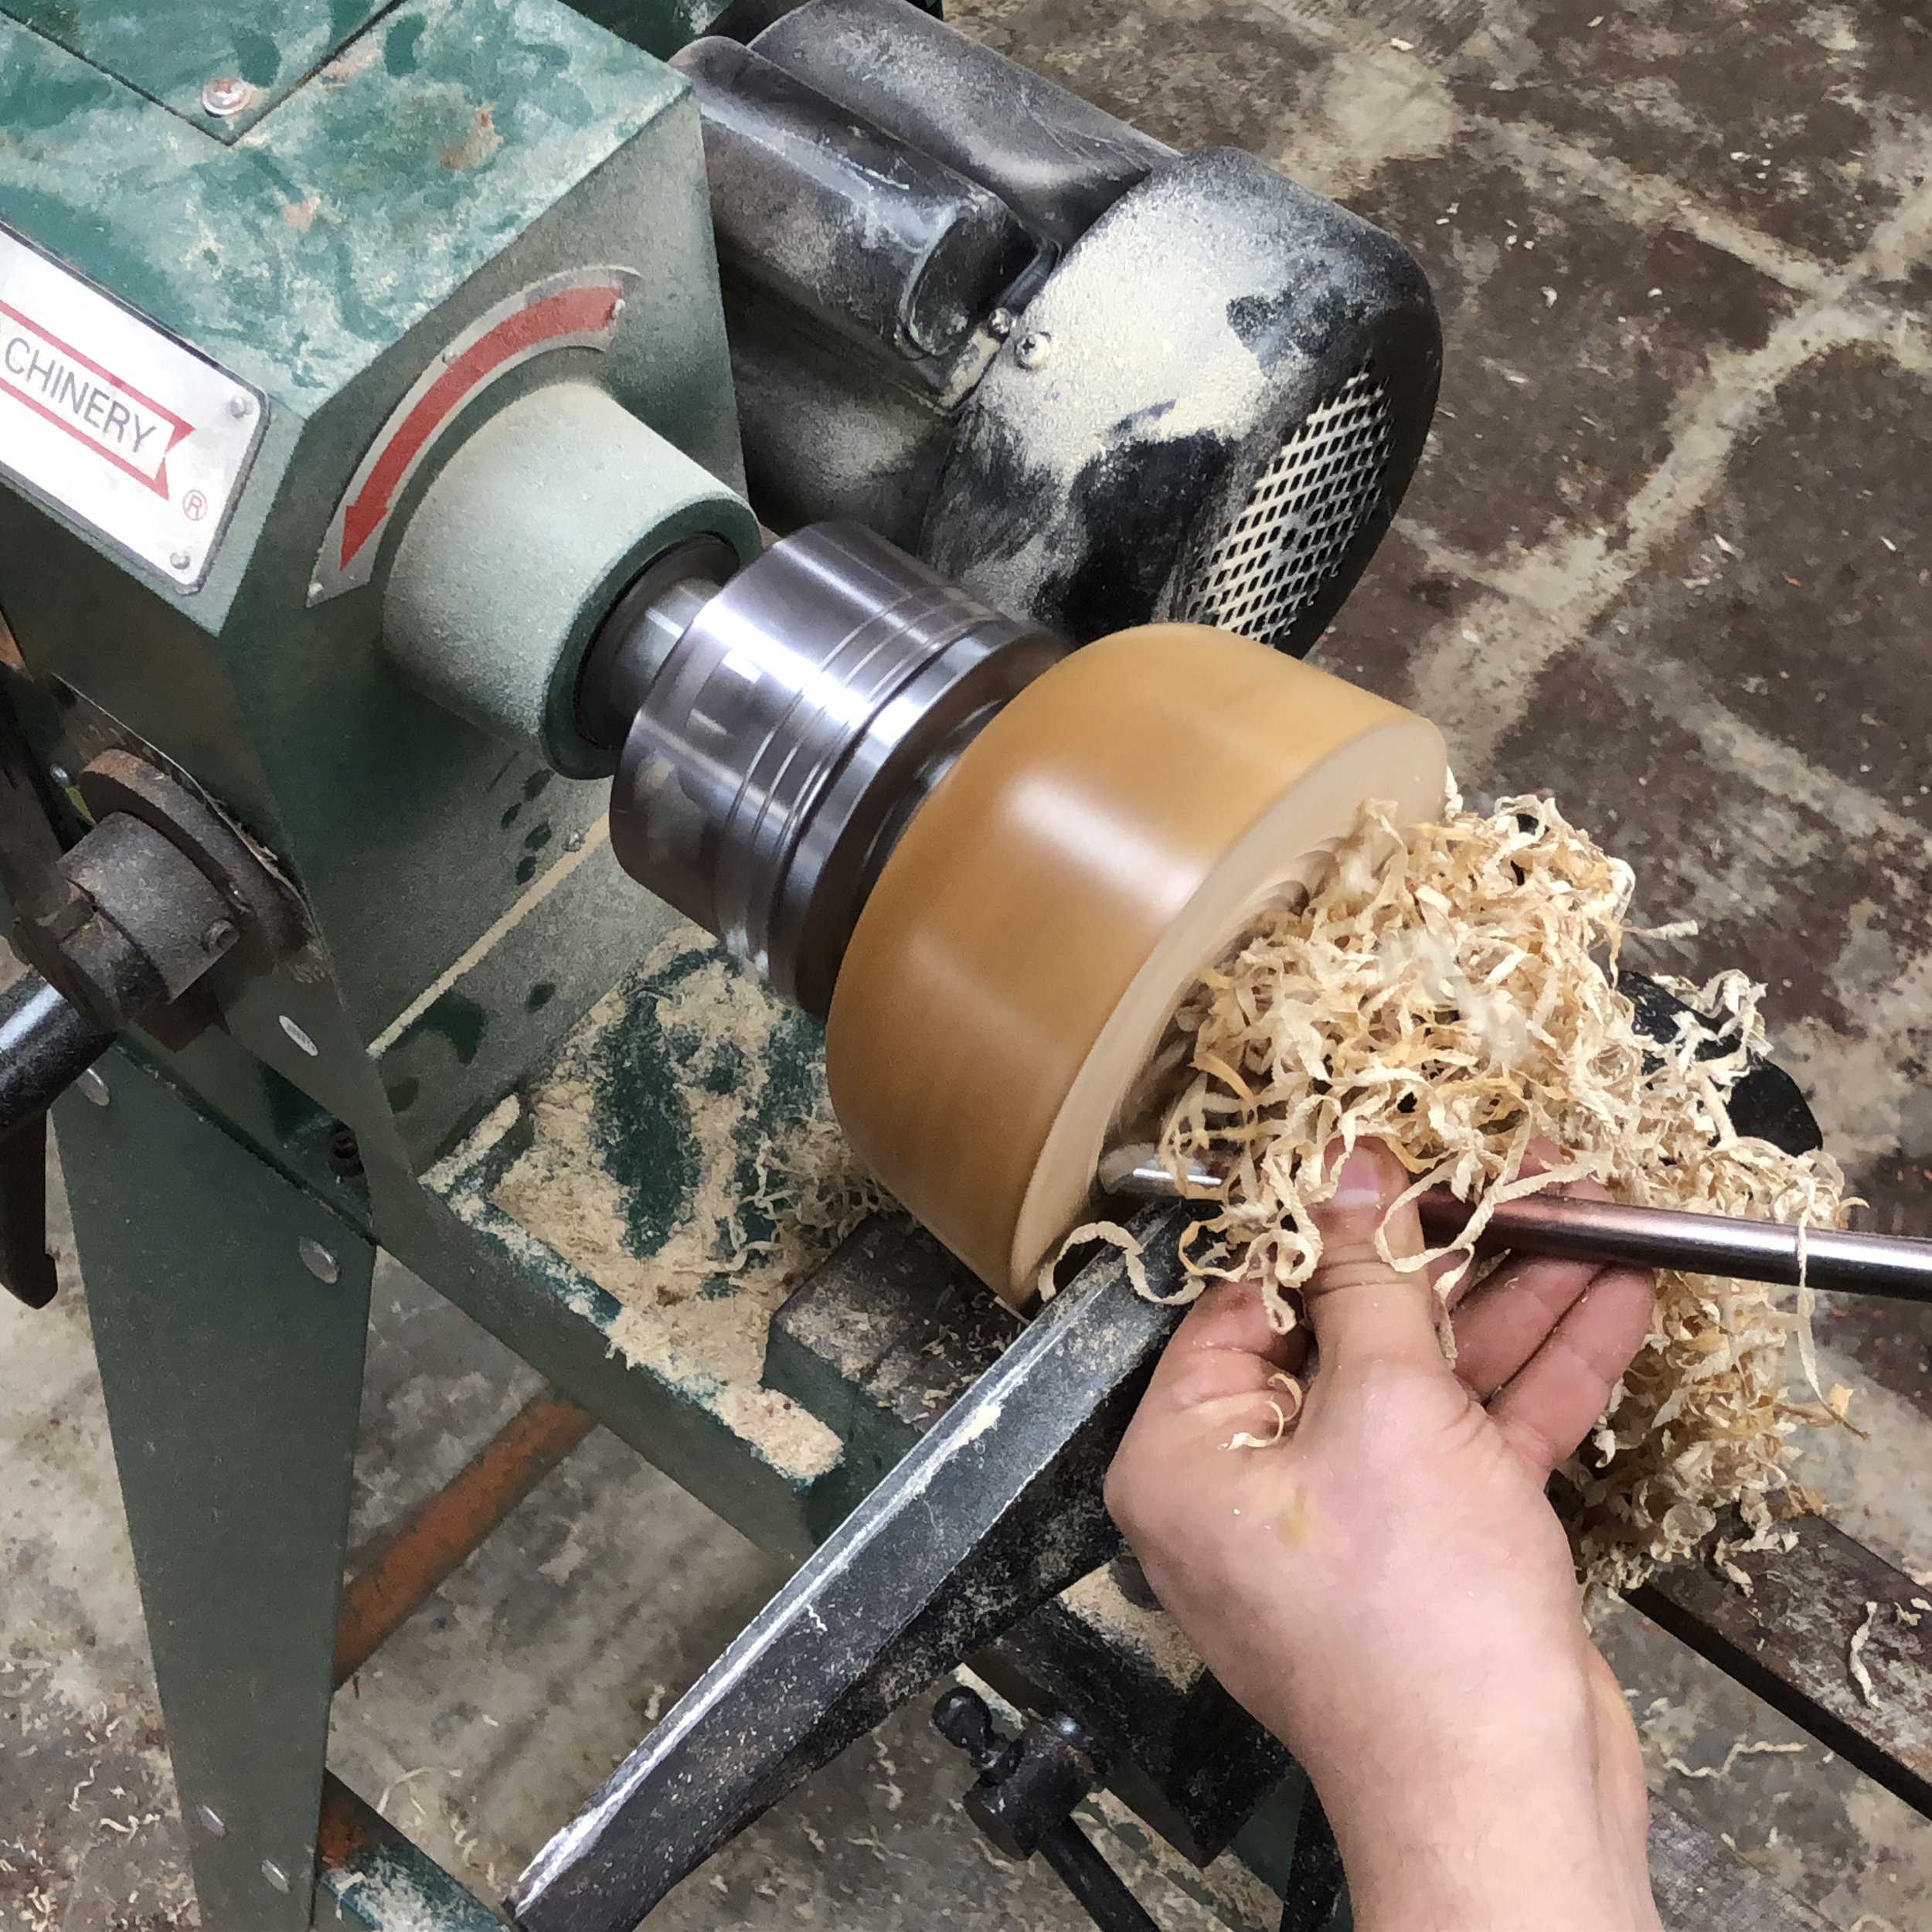
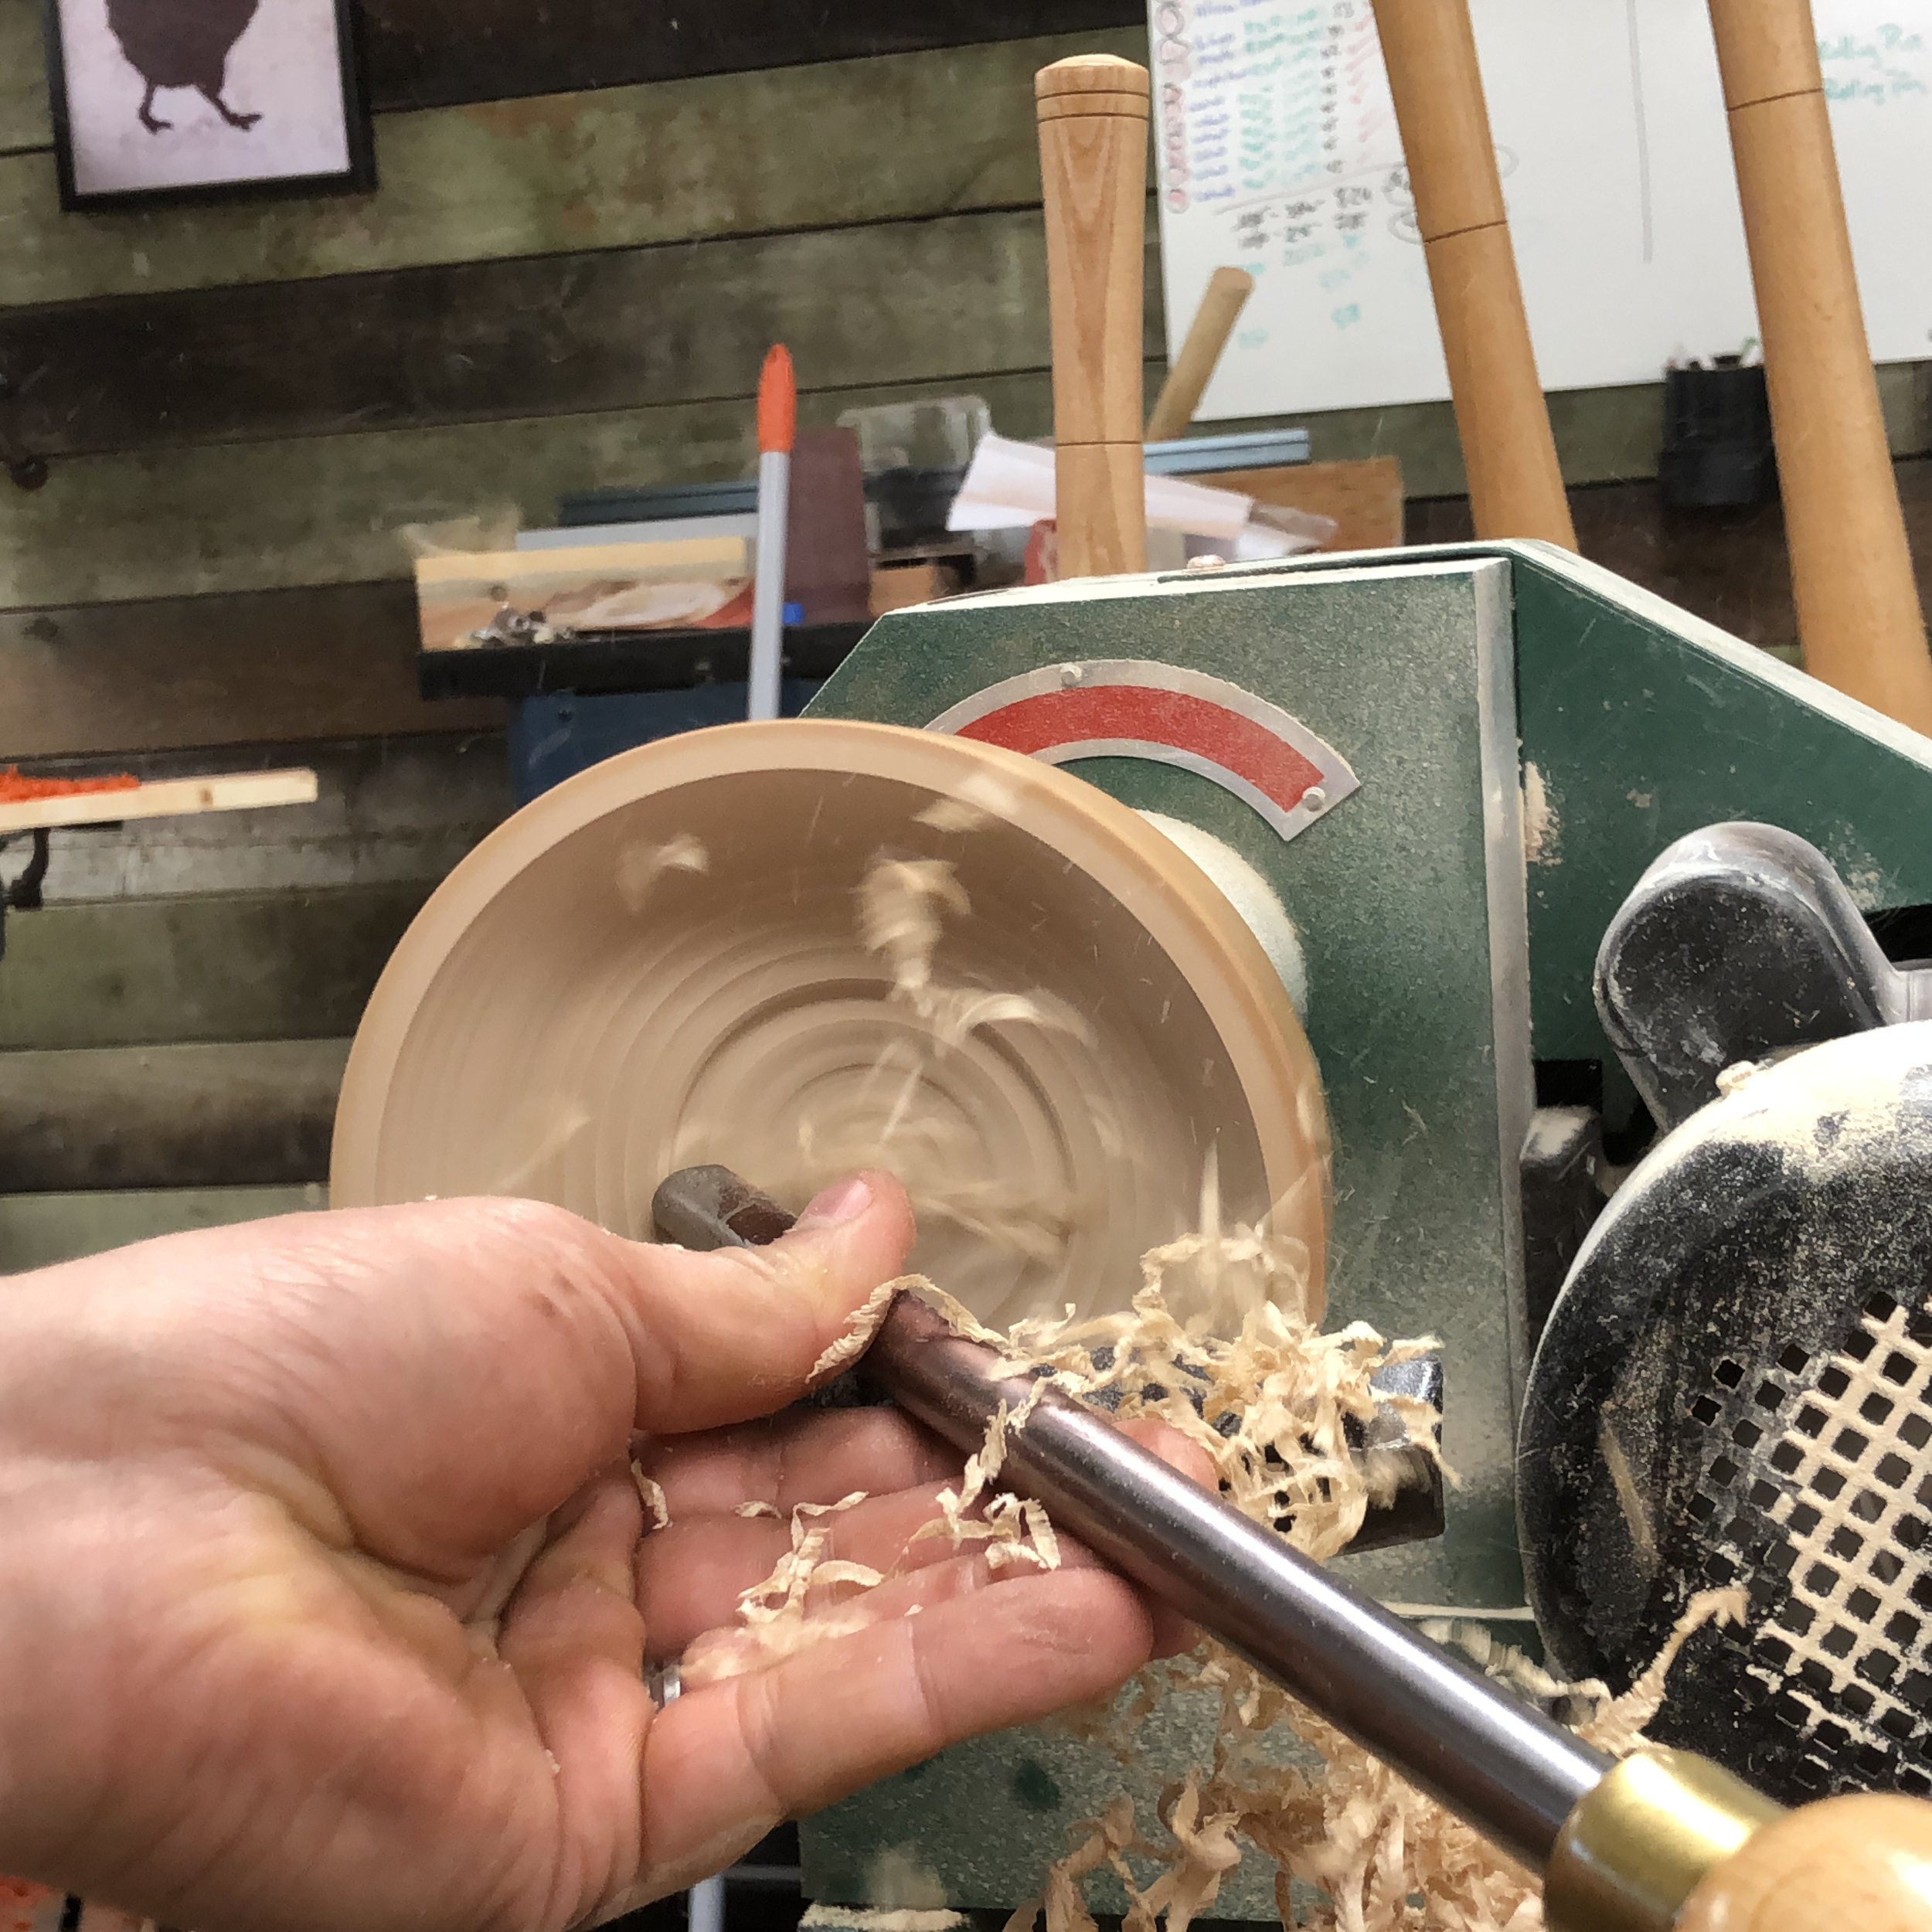
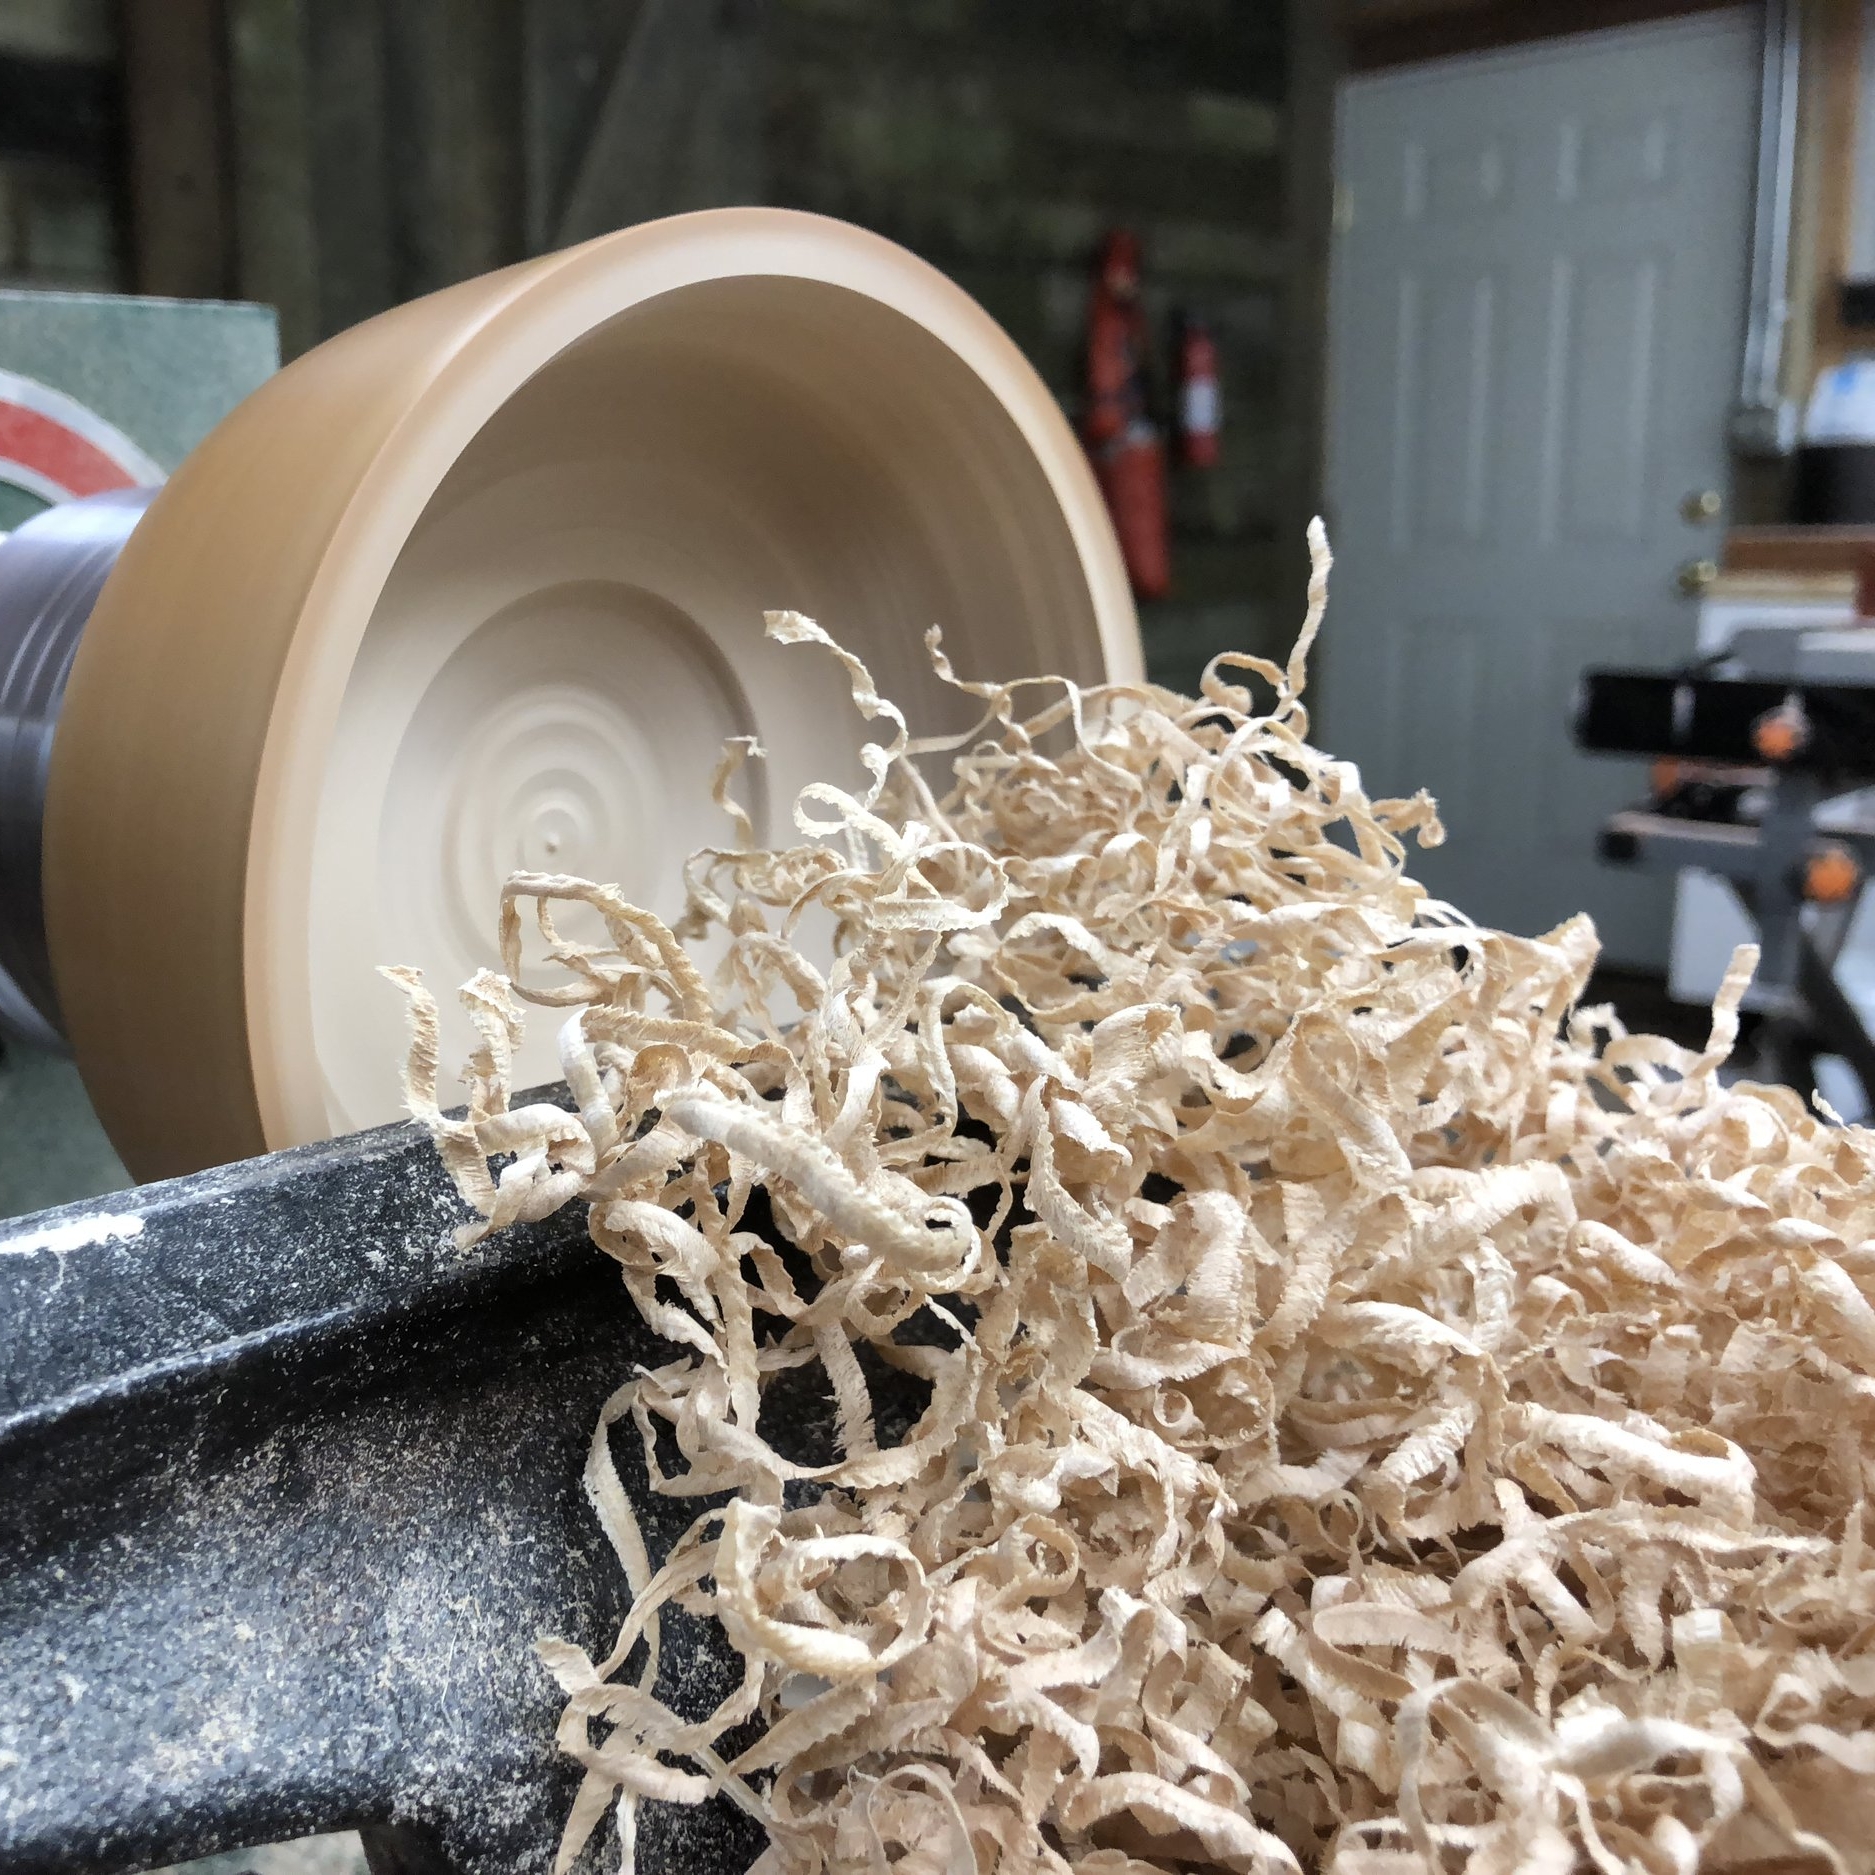
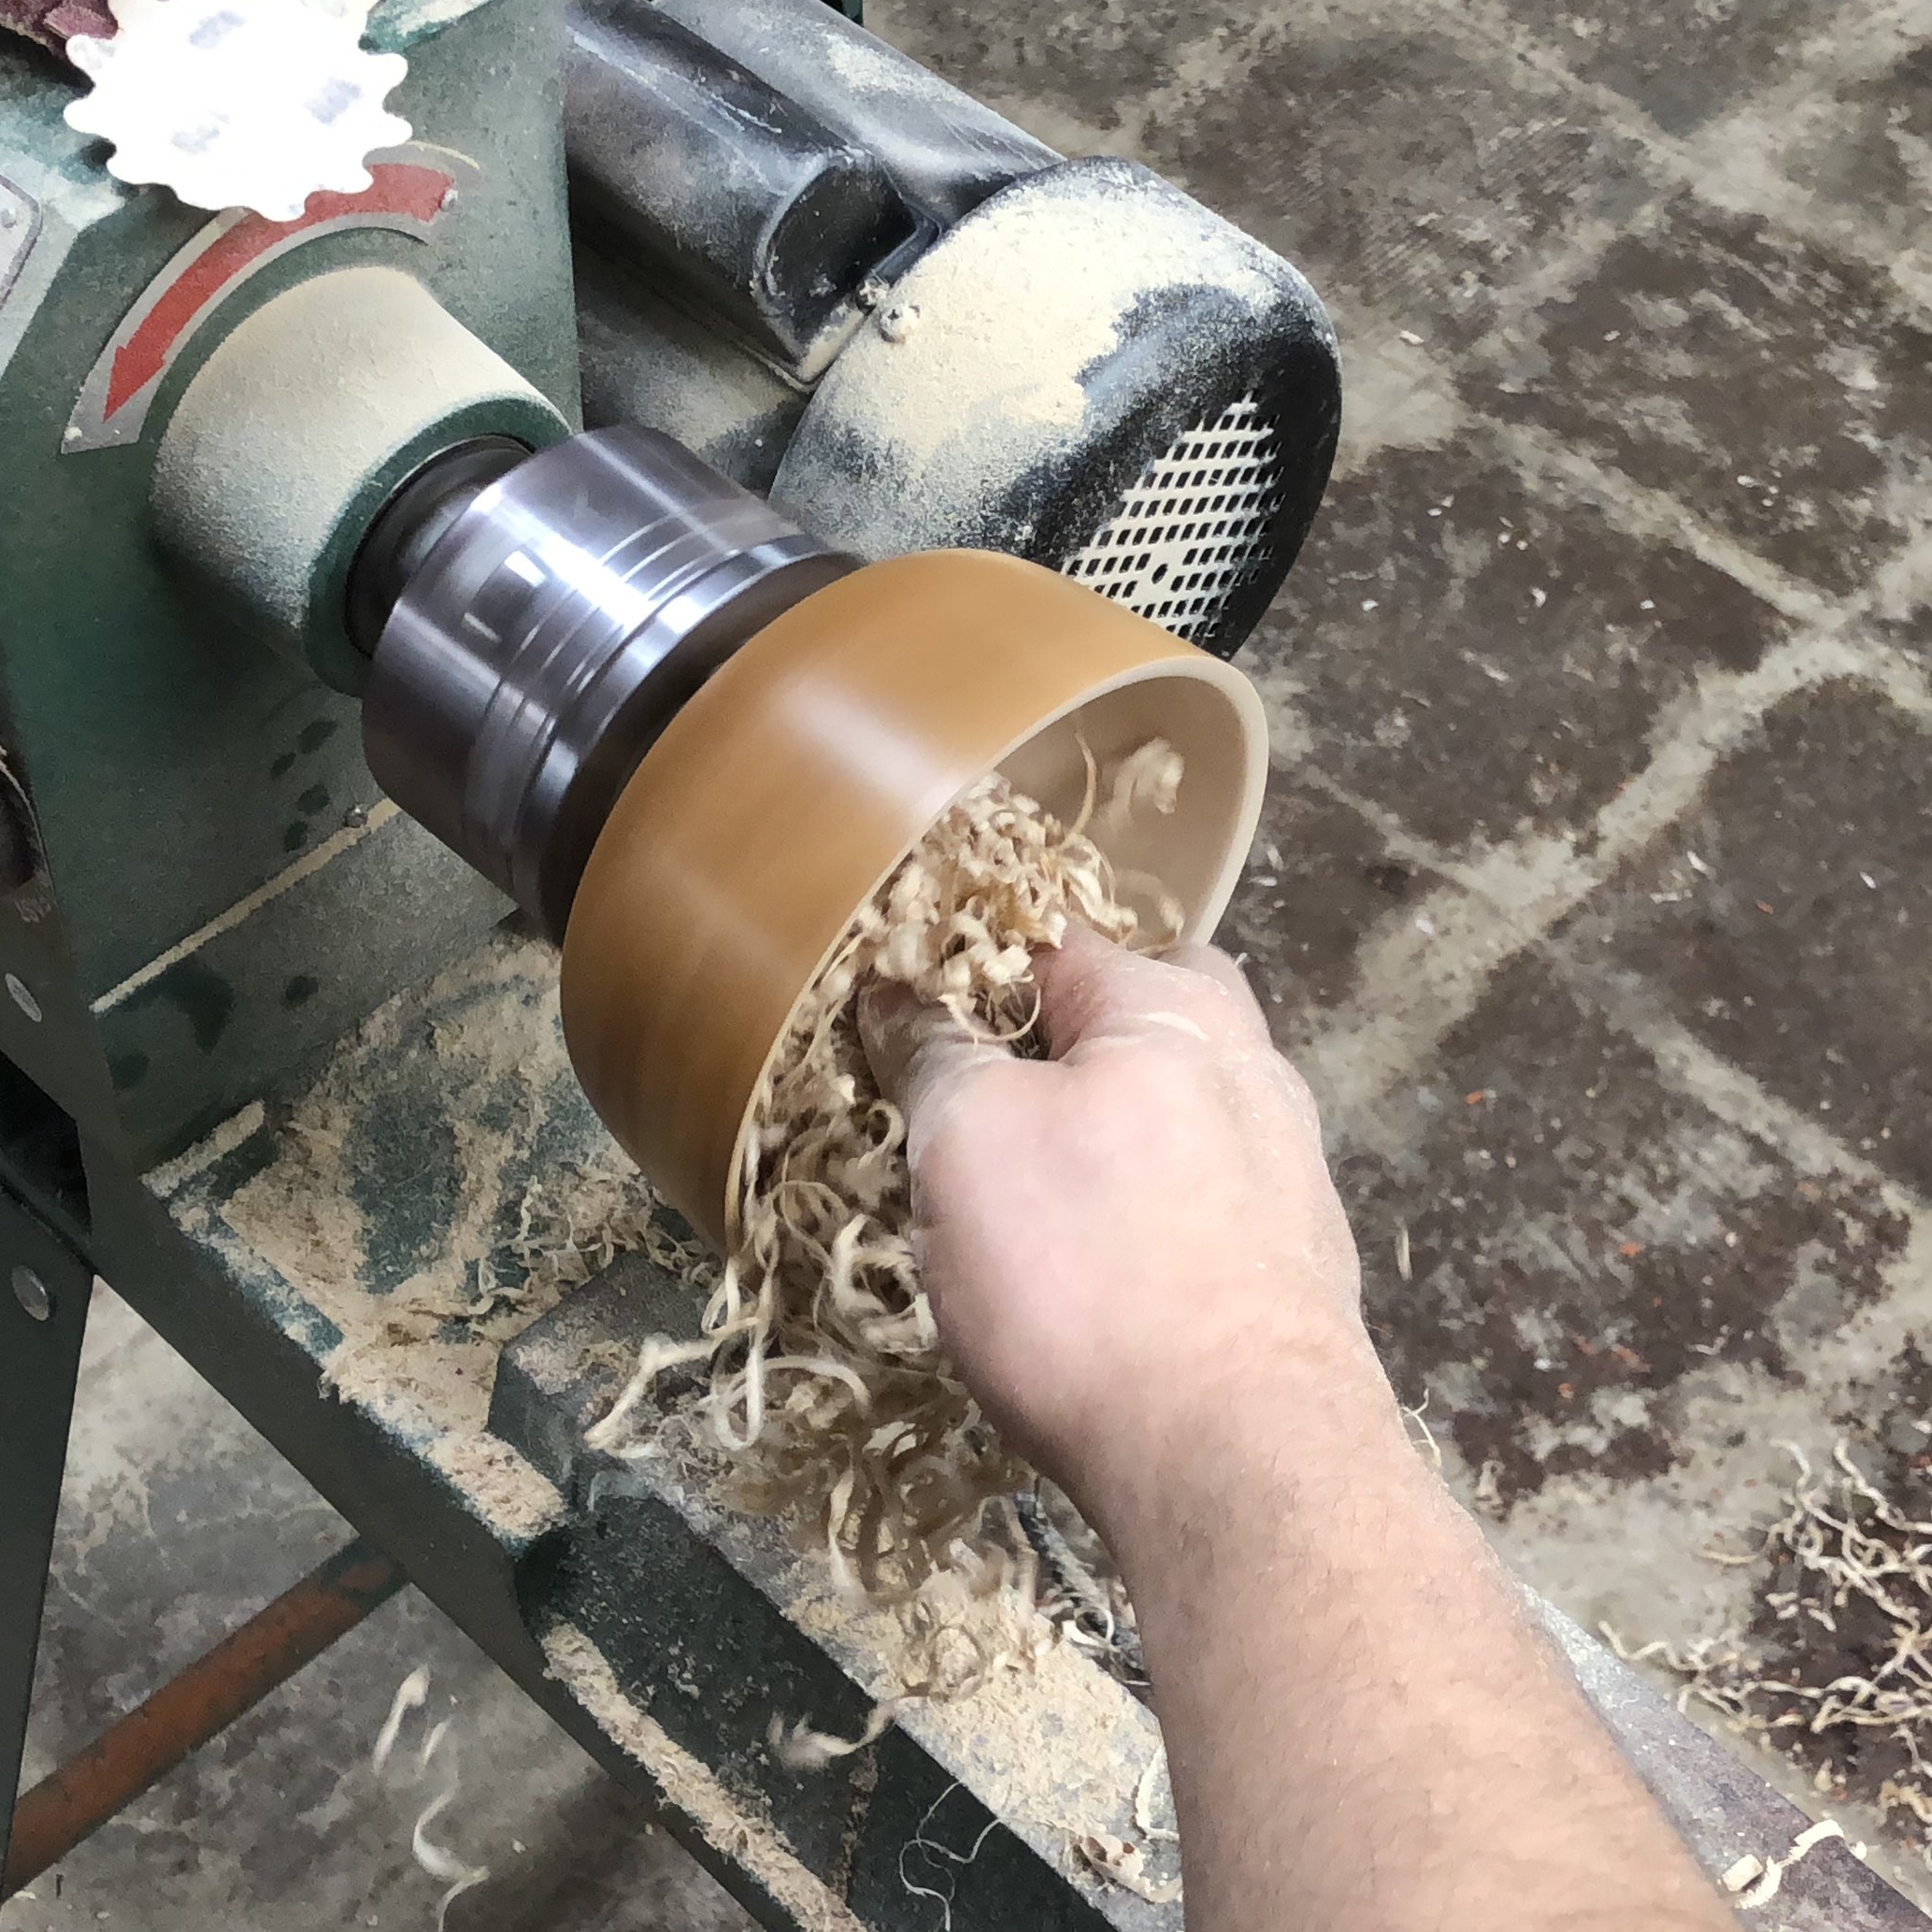
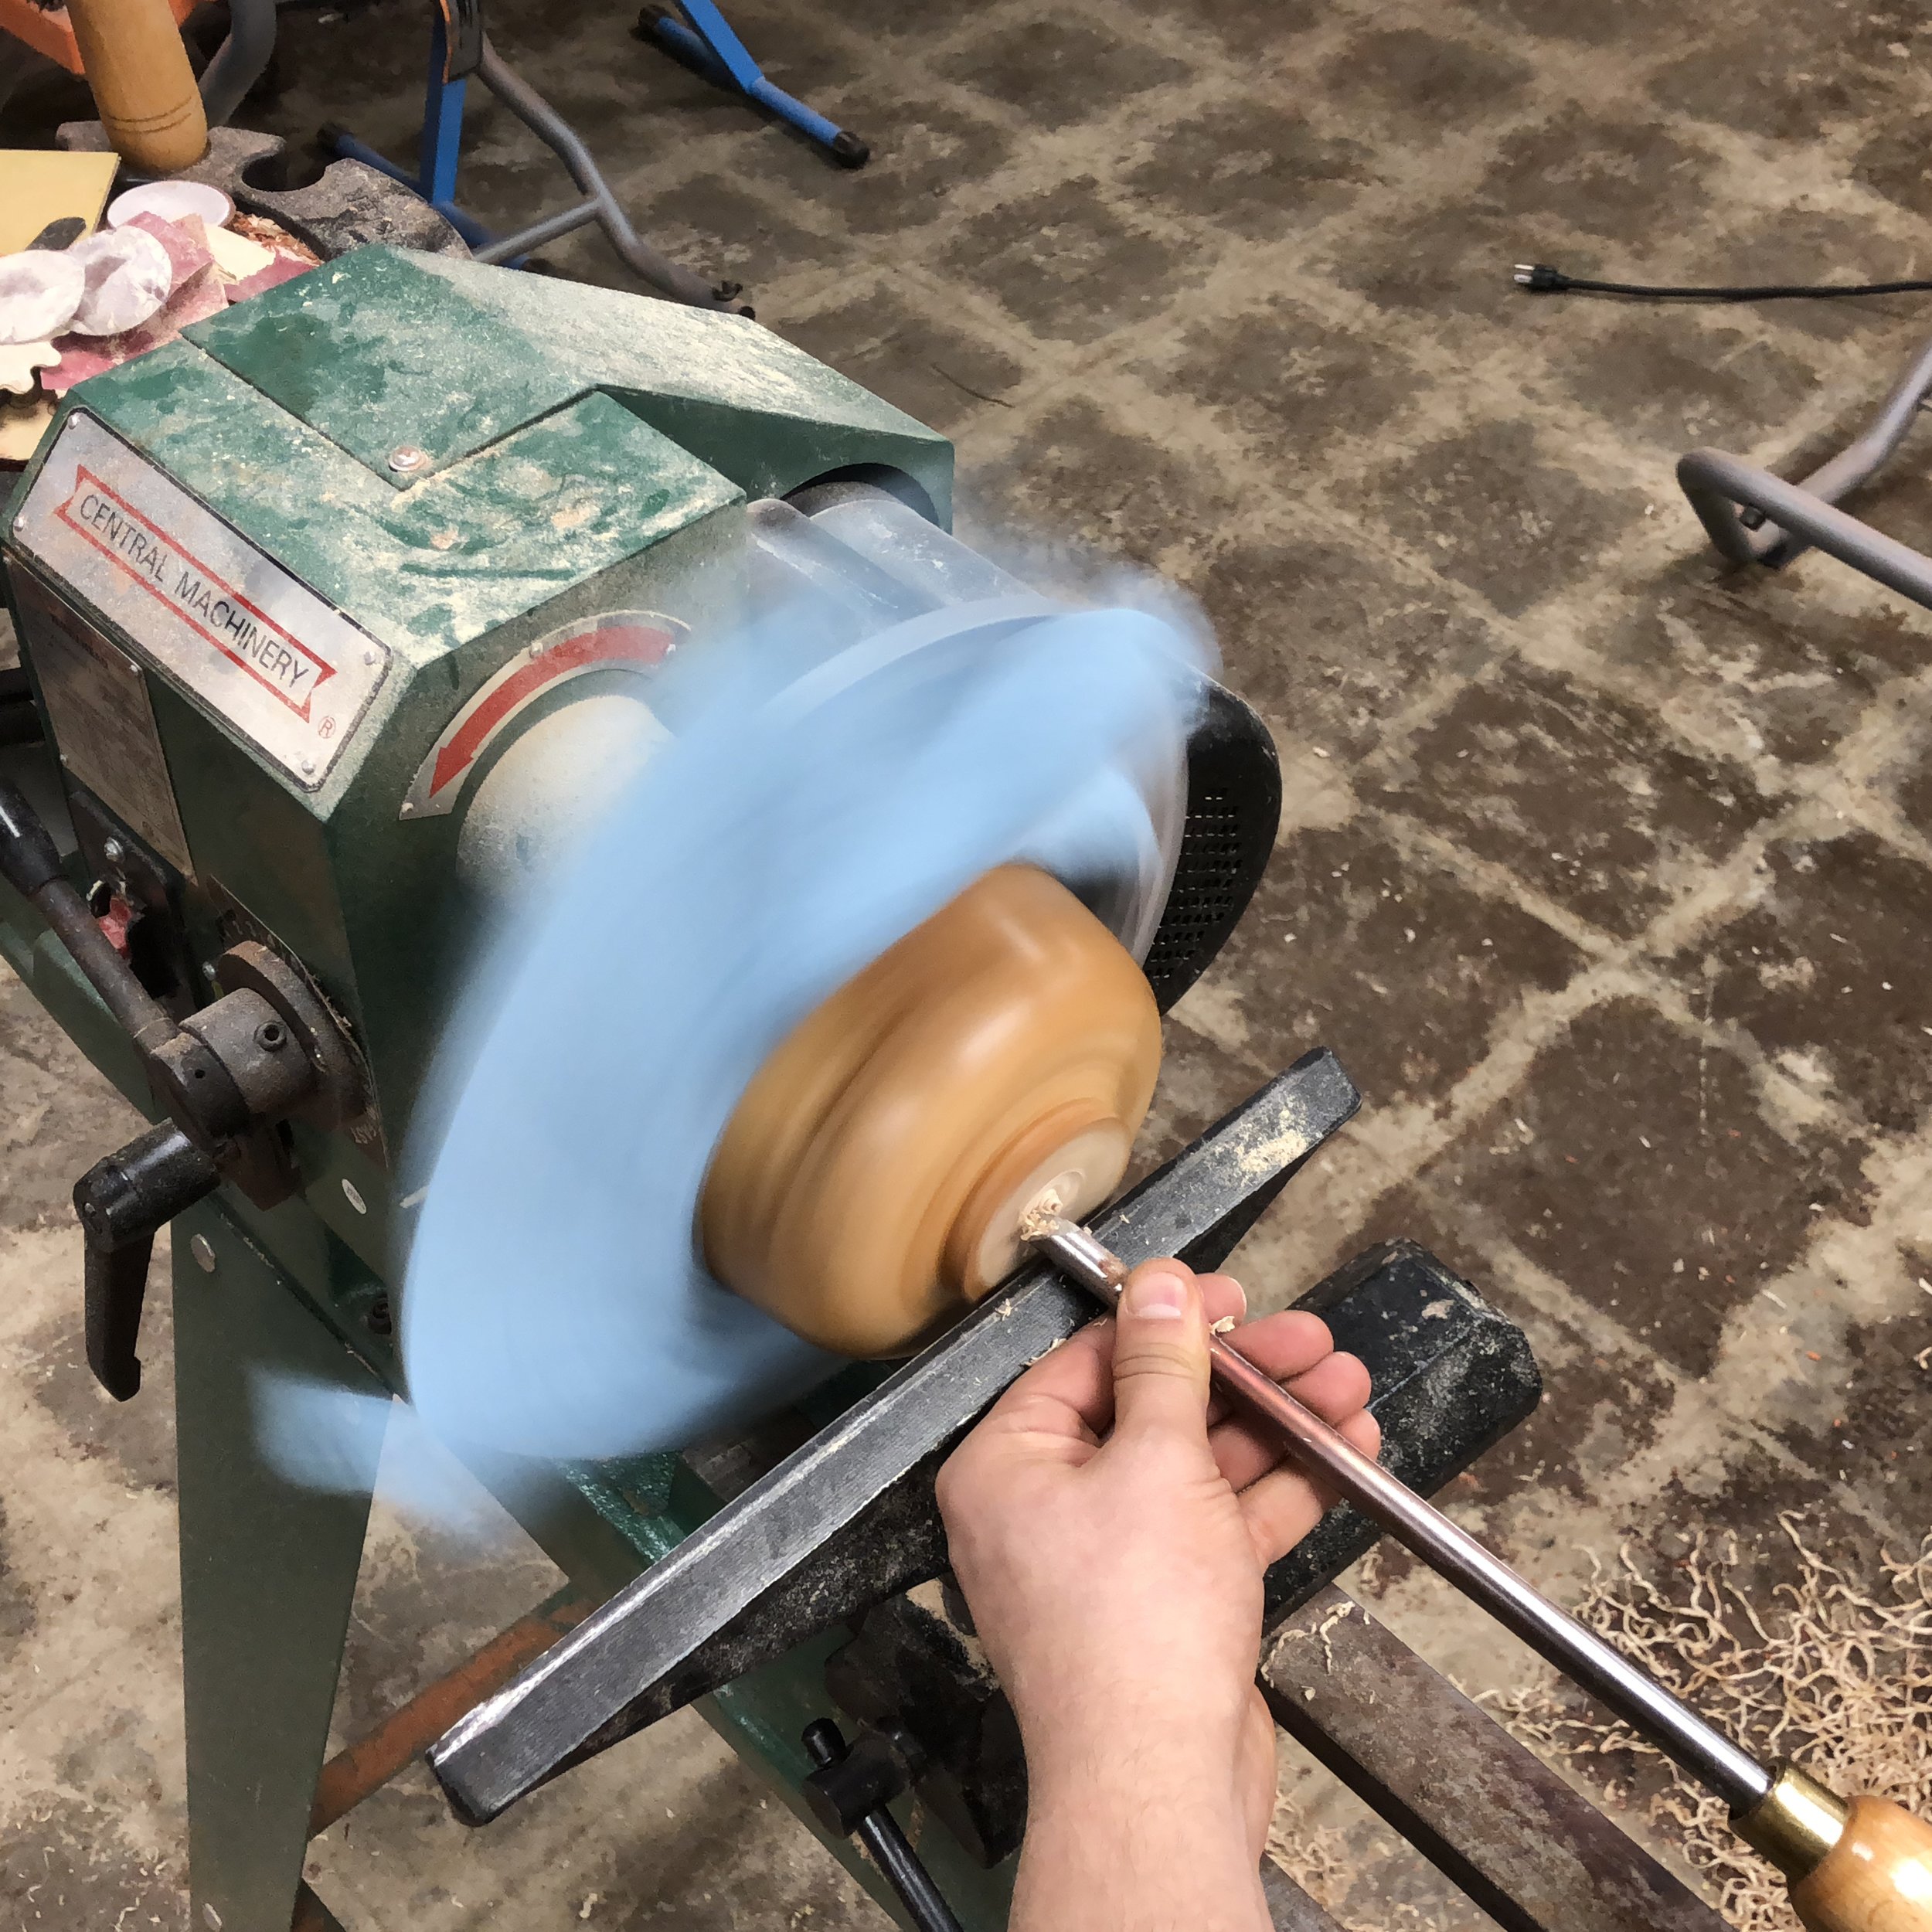
Now it's time to remove the bowl from the faceplate, and use the chuck to hold the tenon. Turning the inside of the bowl is where I got into trouble before...so I still had a little bit of trepidation when starting. But once those curled shavings started to fly...the smile returned to my face!
Starting in the center, you slowly work your way to the outer edge. One of the things I still struggle with is getting the thickness correct. Its important to have the same thickness throughout the sides and bottom of the bowl otherwise it can cause the wood to crack in the future. So I spent a fair bit of time going over the sides and that bottom curve.
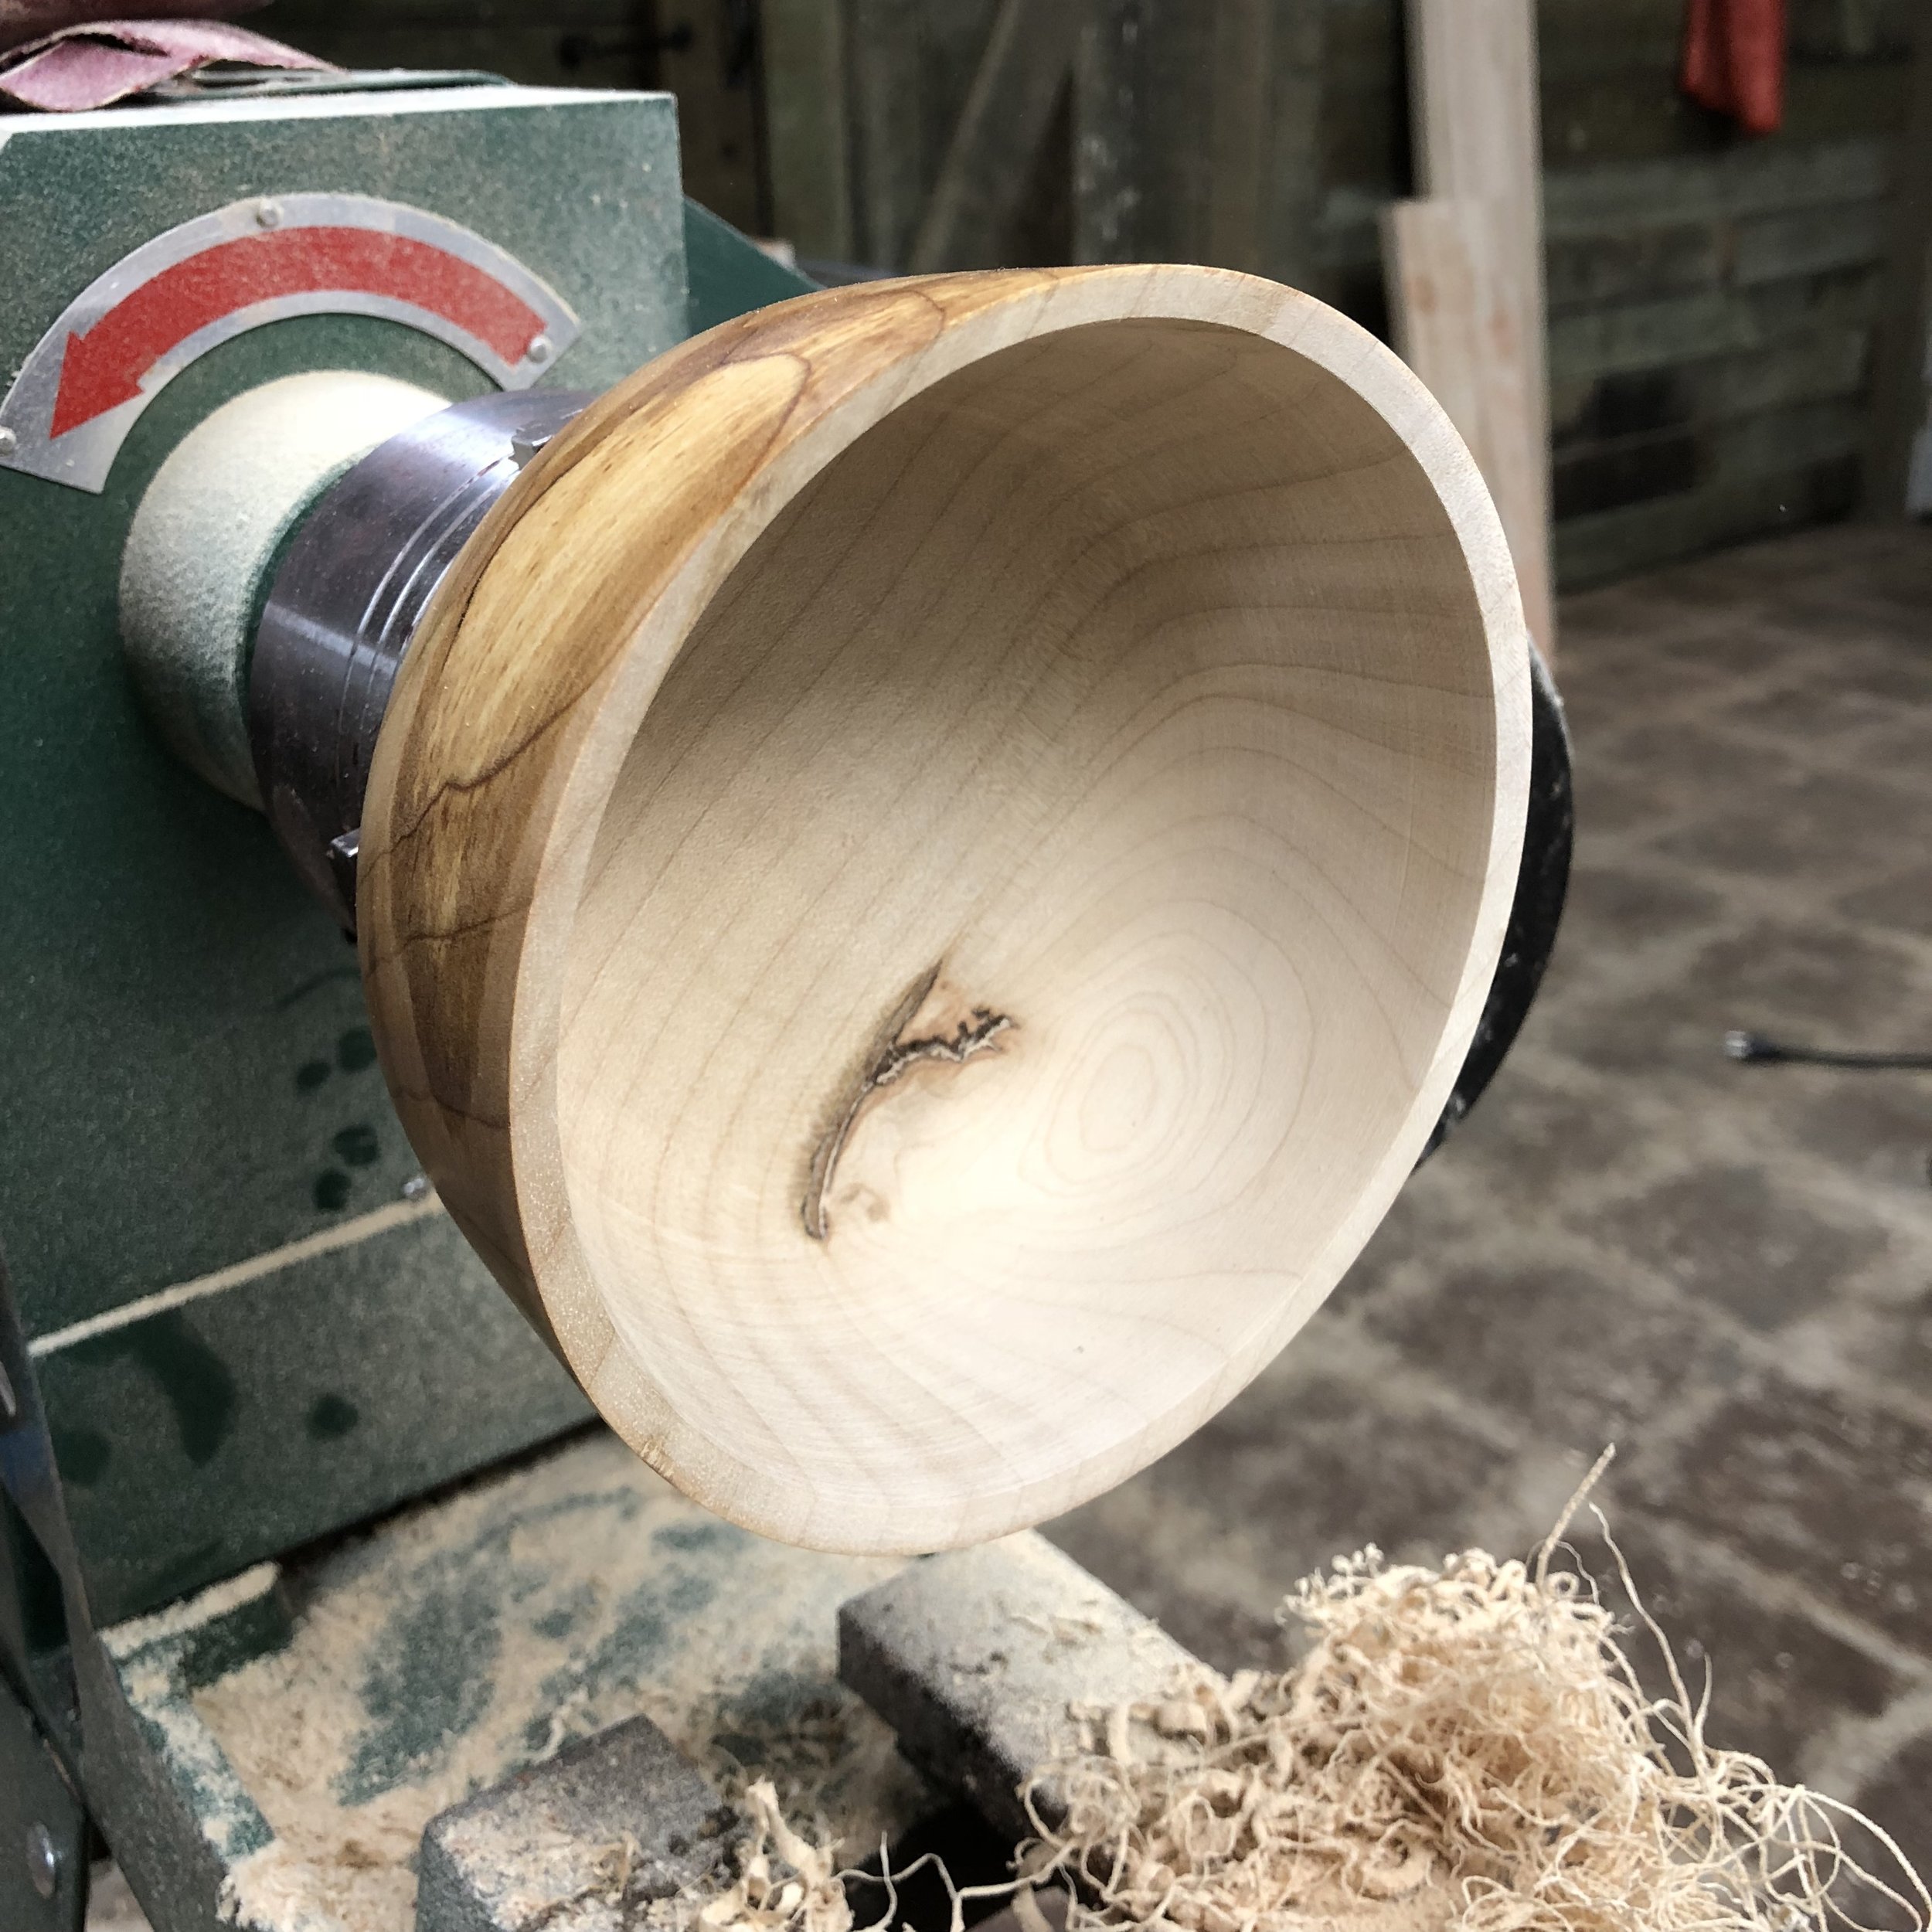
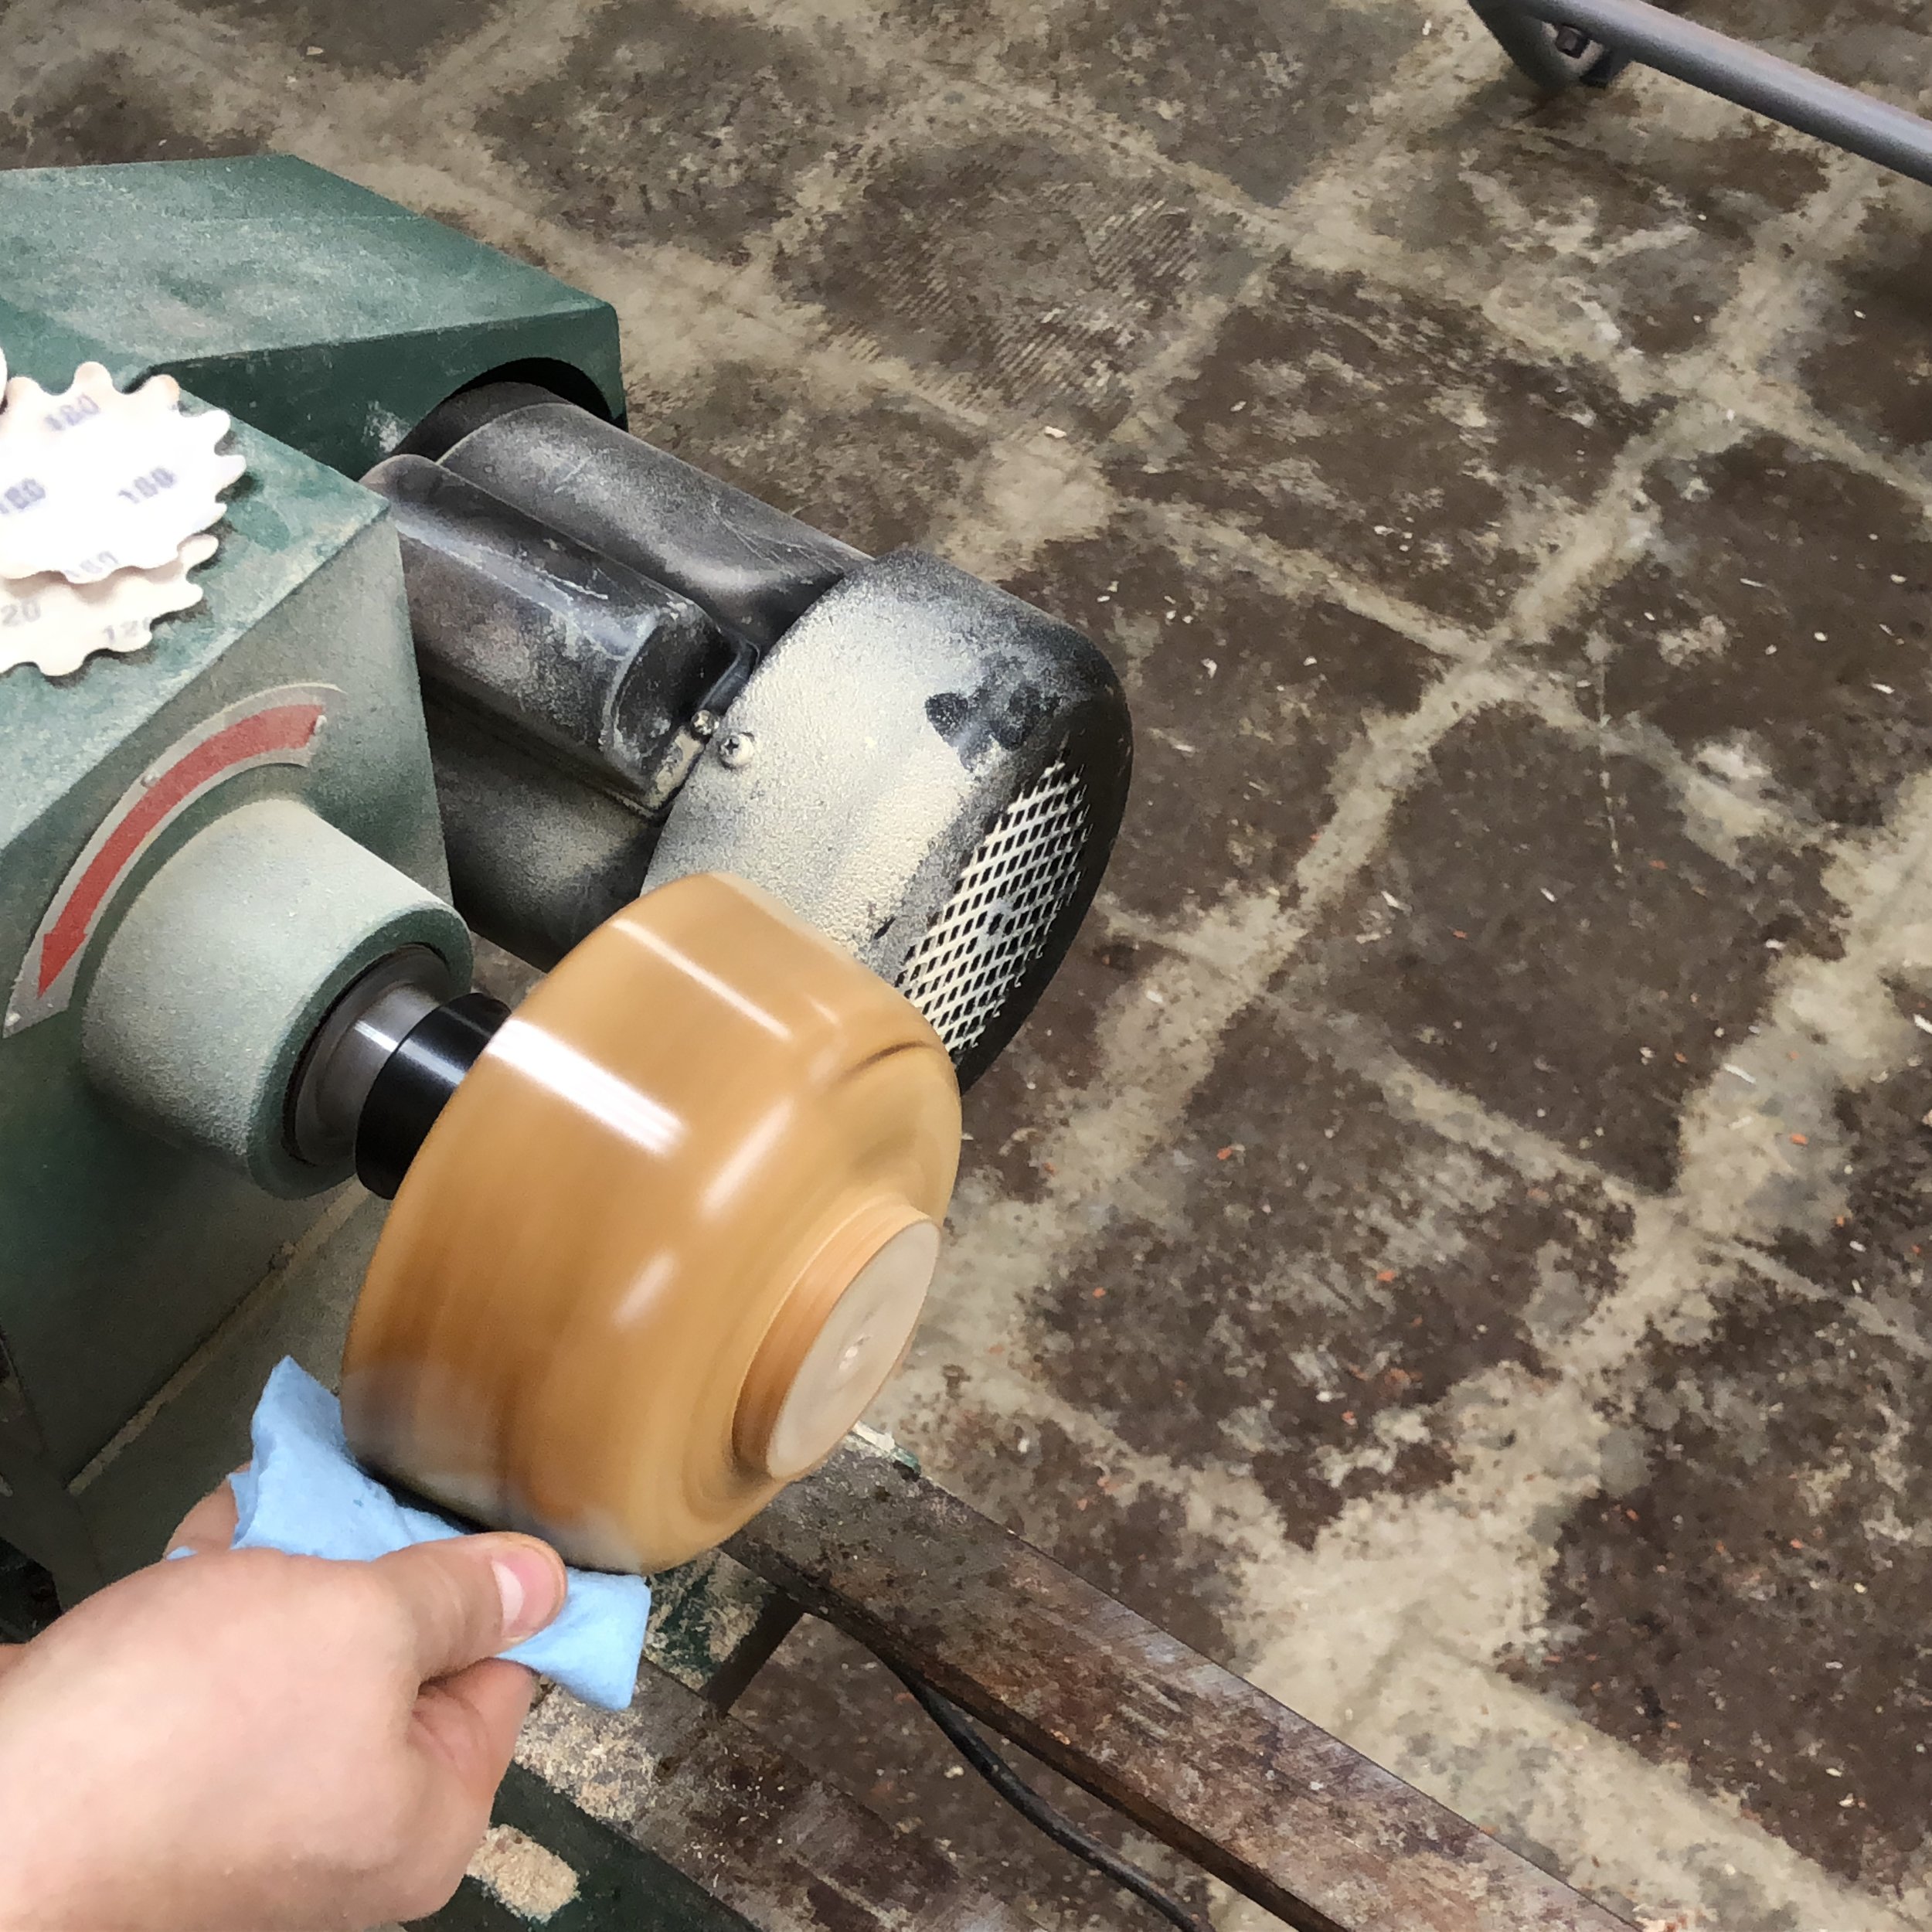
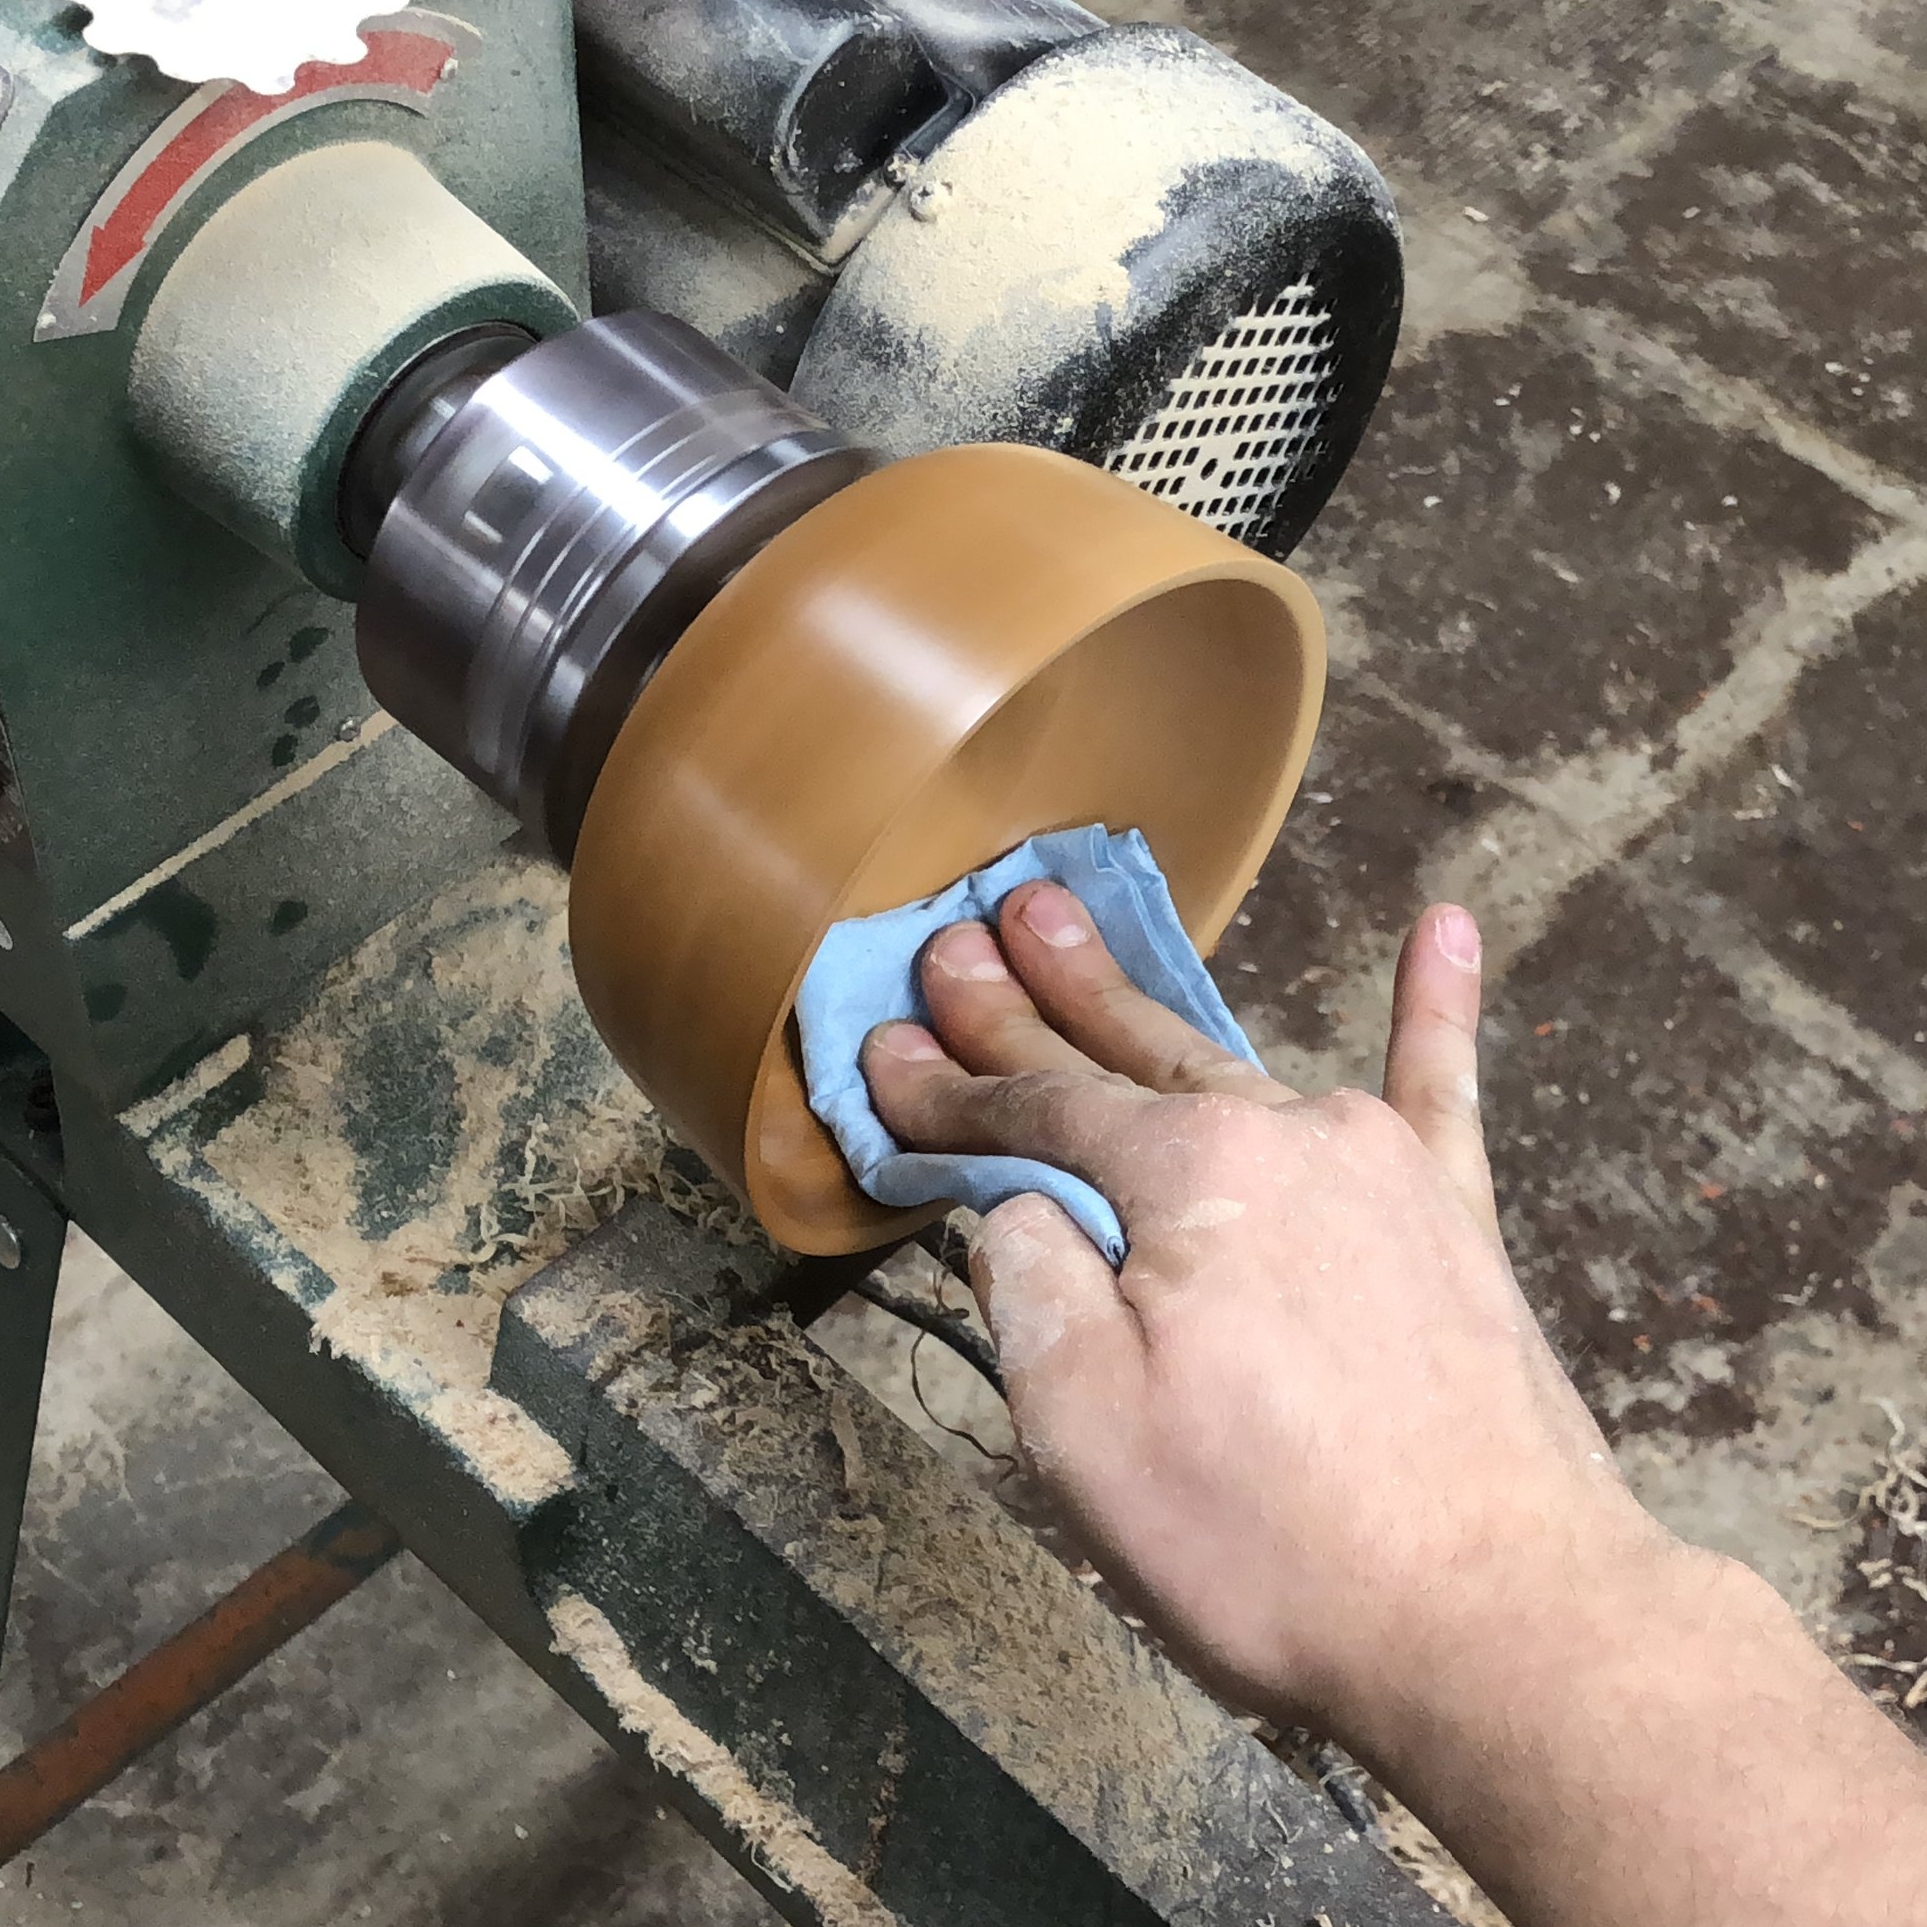
But once all that is done...it's time to sand and oil the inside of the bowl. And its the same process that is used on the outside. Start with 60 grit...move on to the higher grits using the handheld sander...and then apply the oil and the wax!

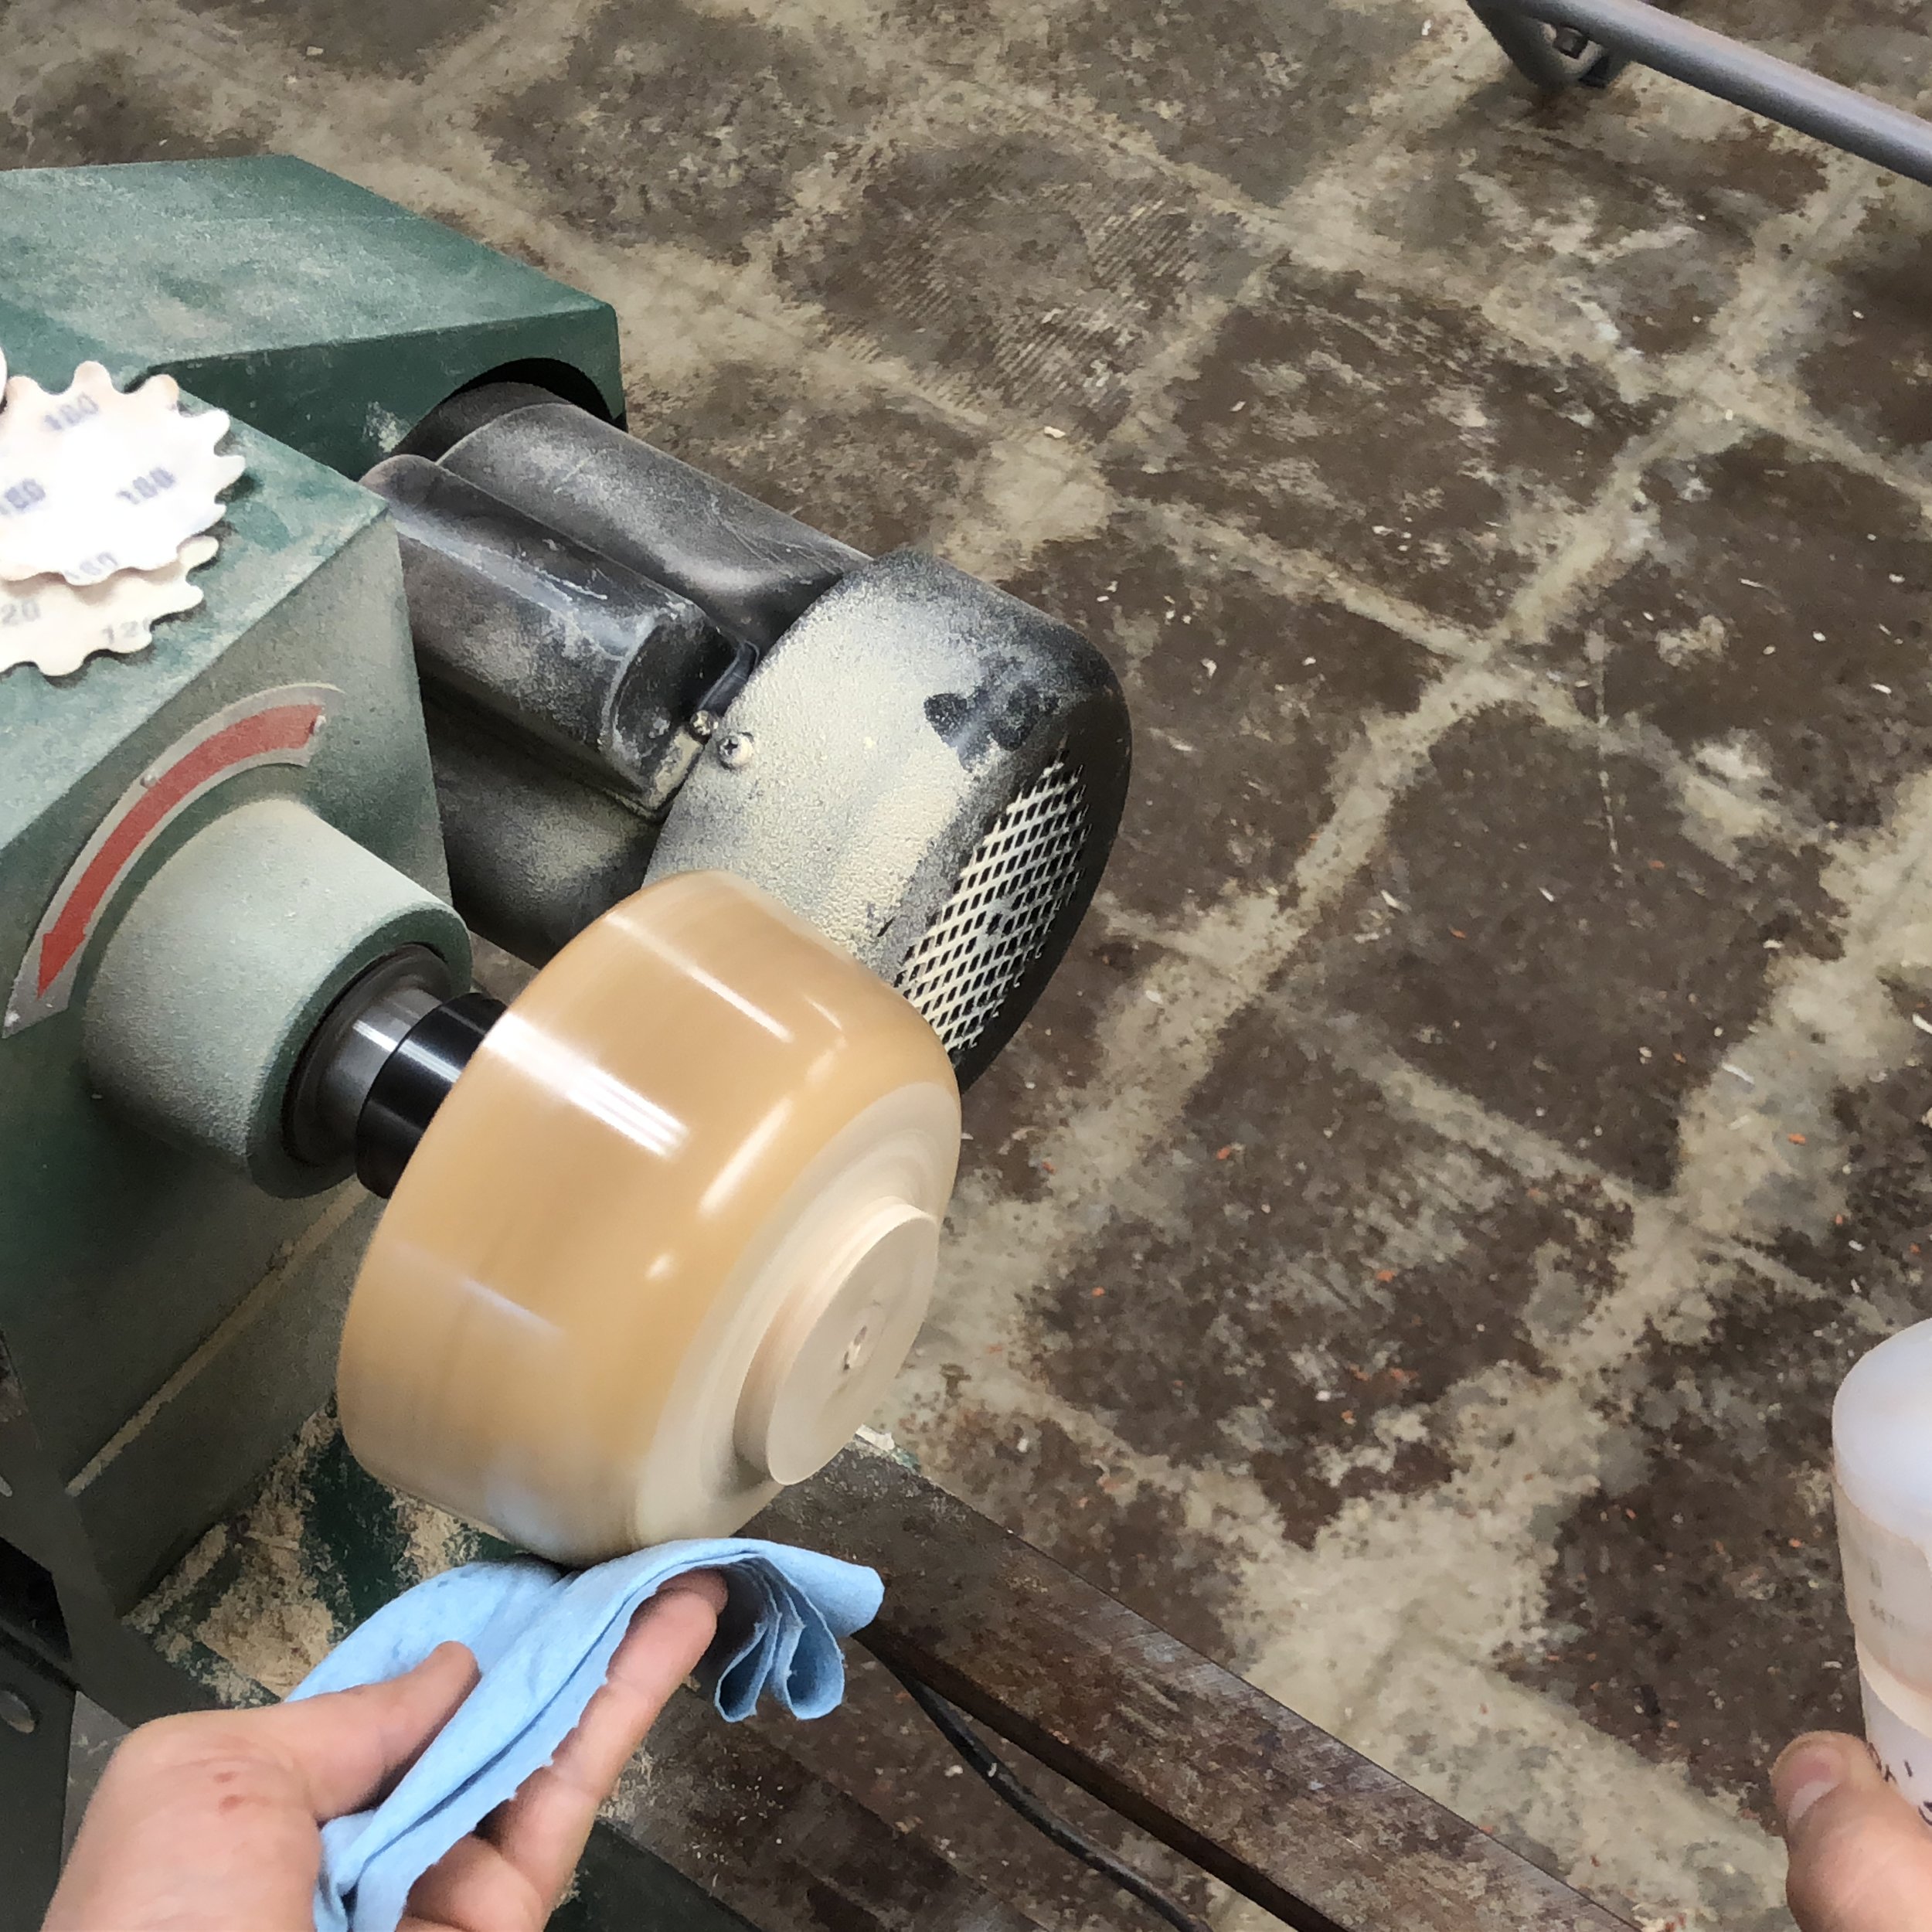
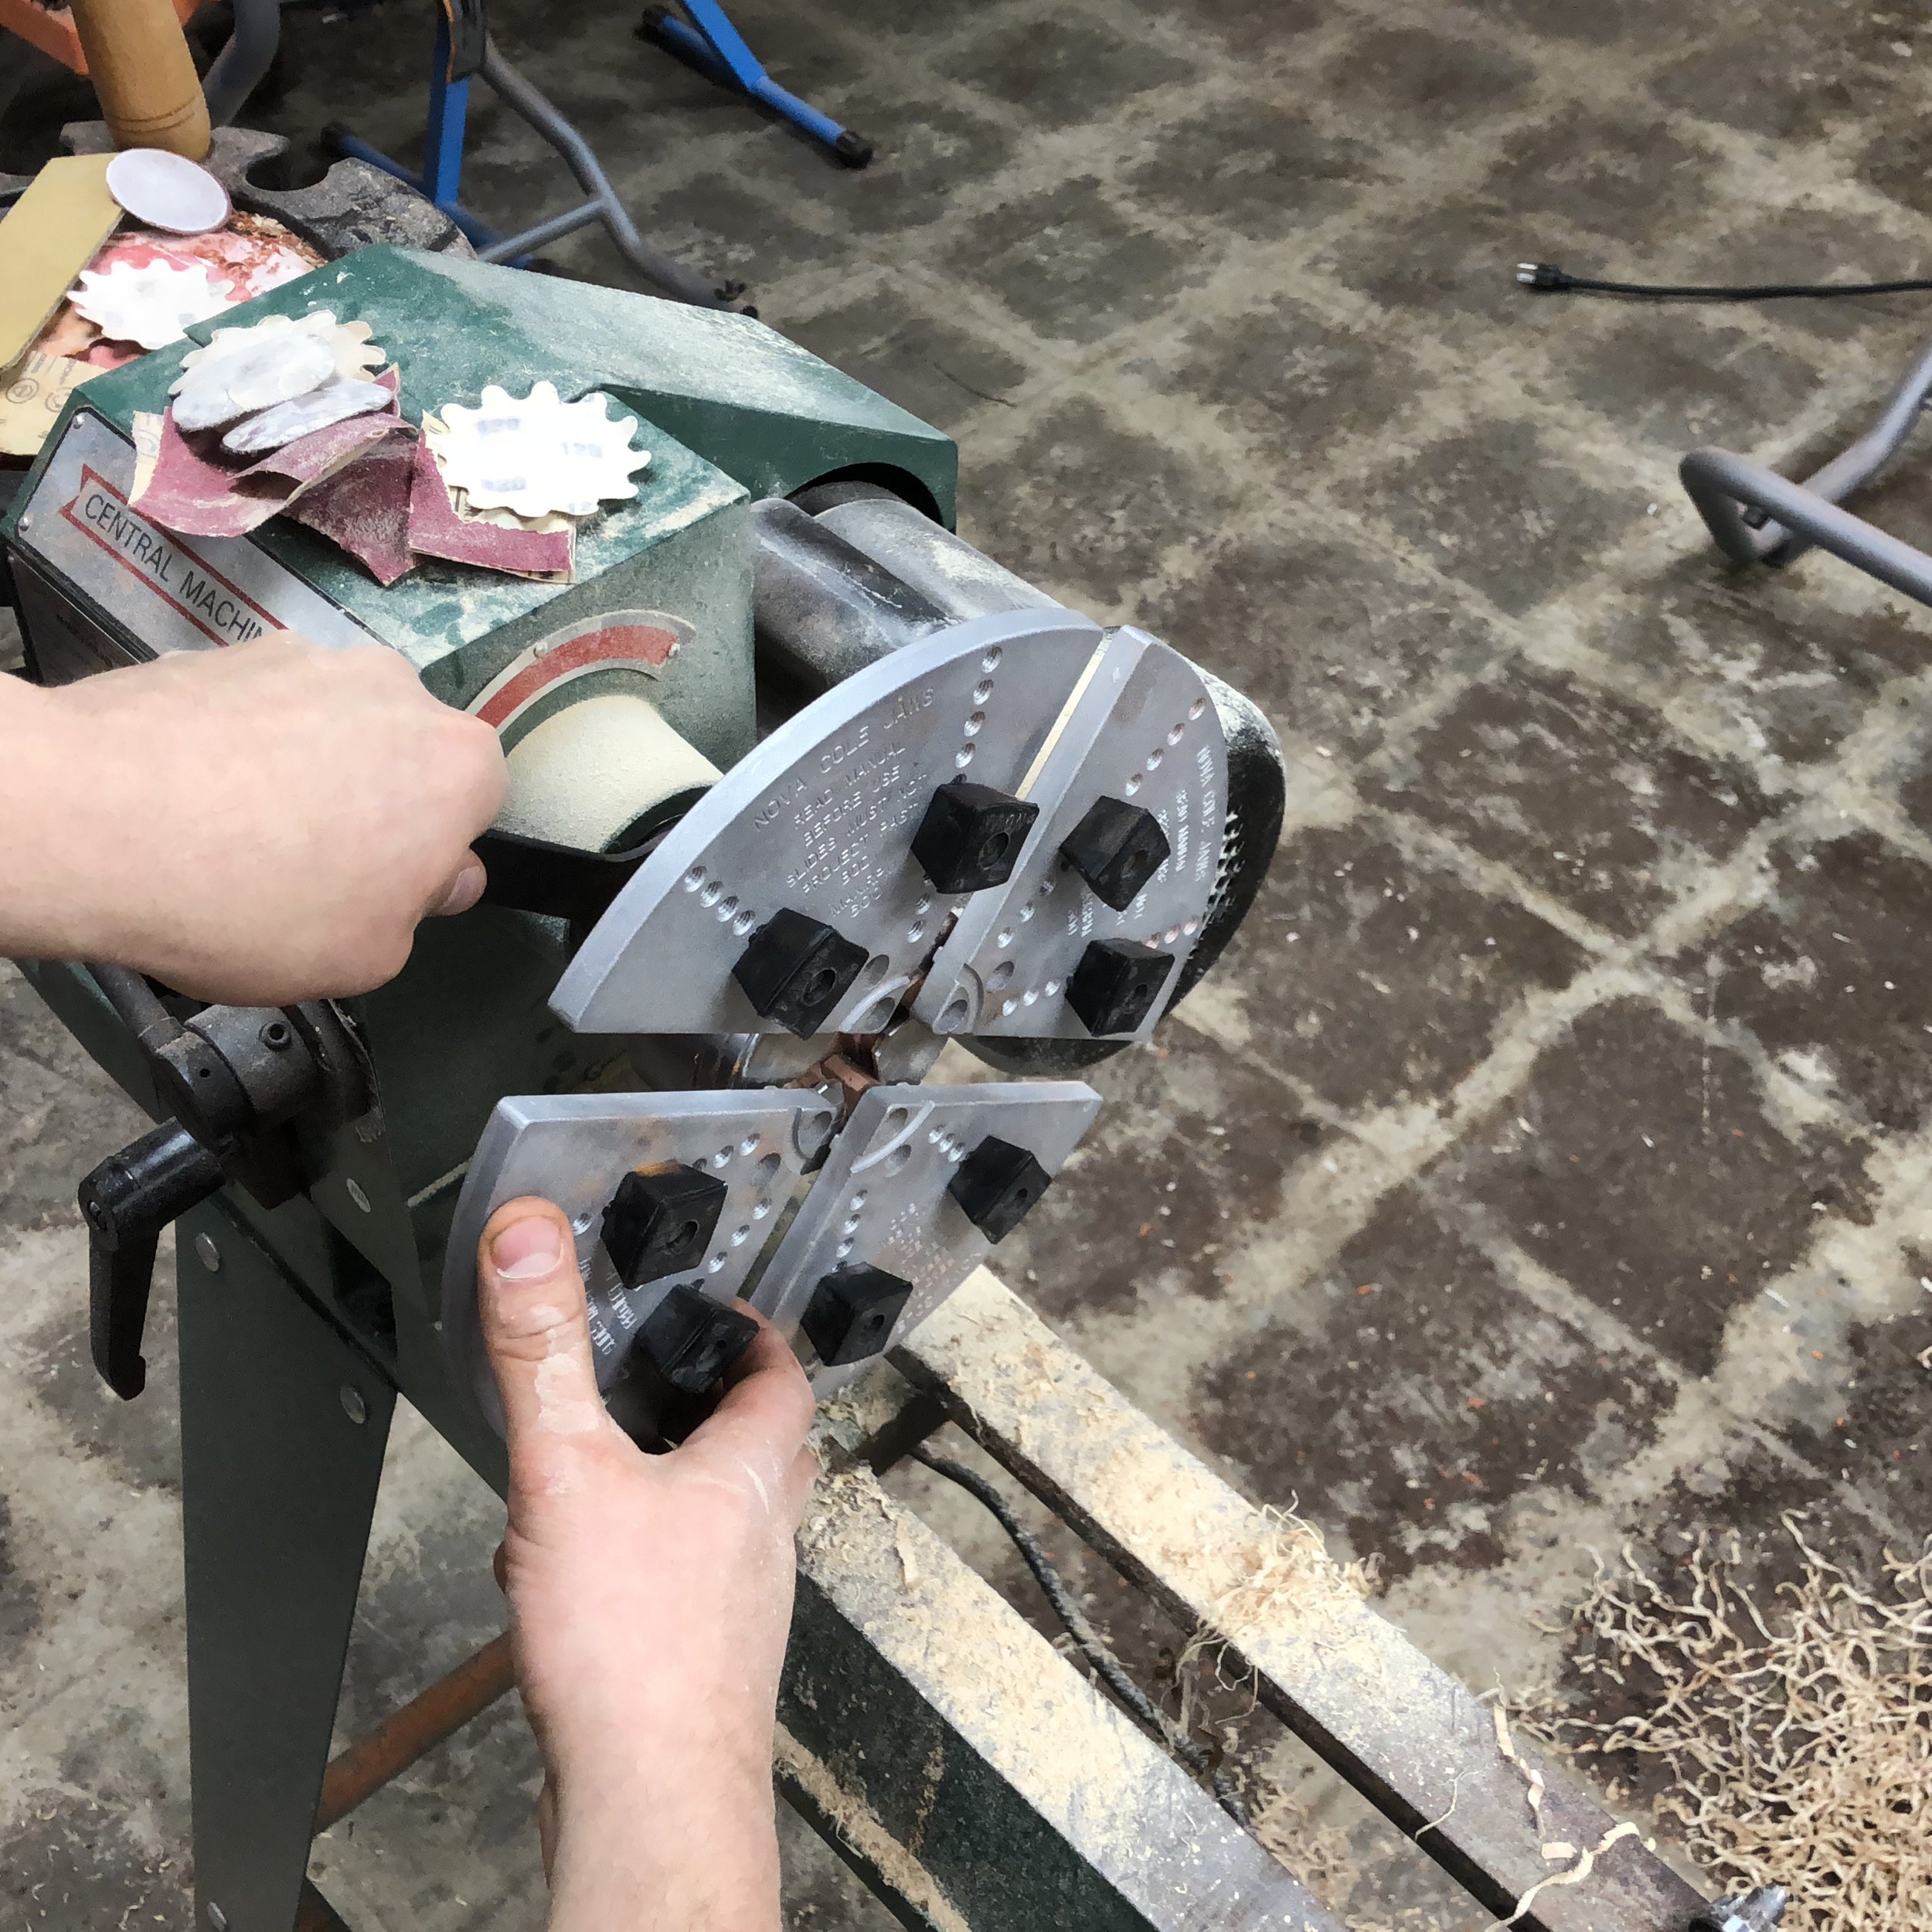
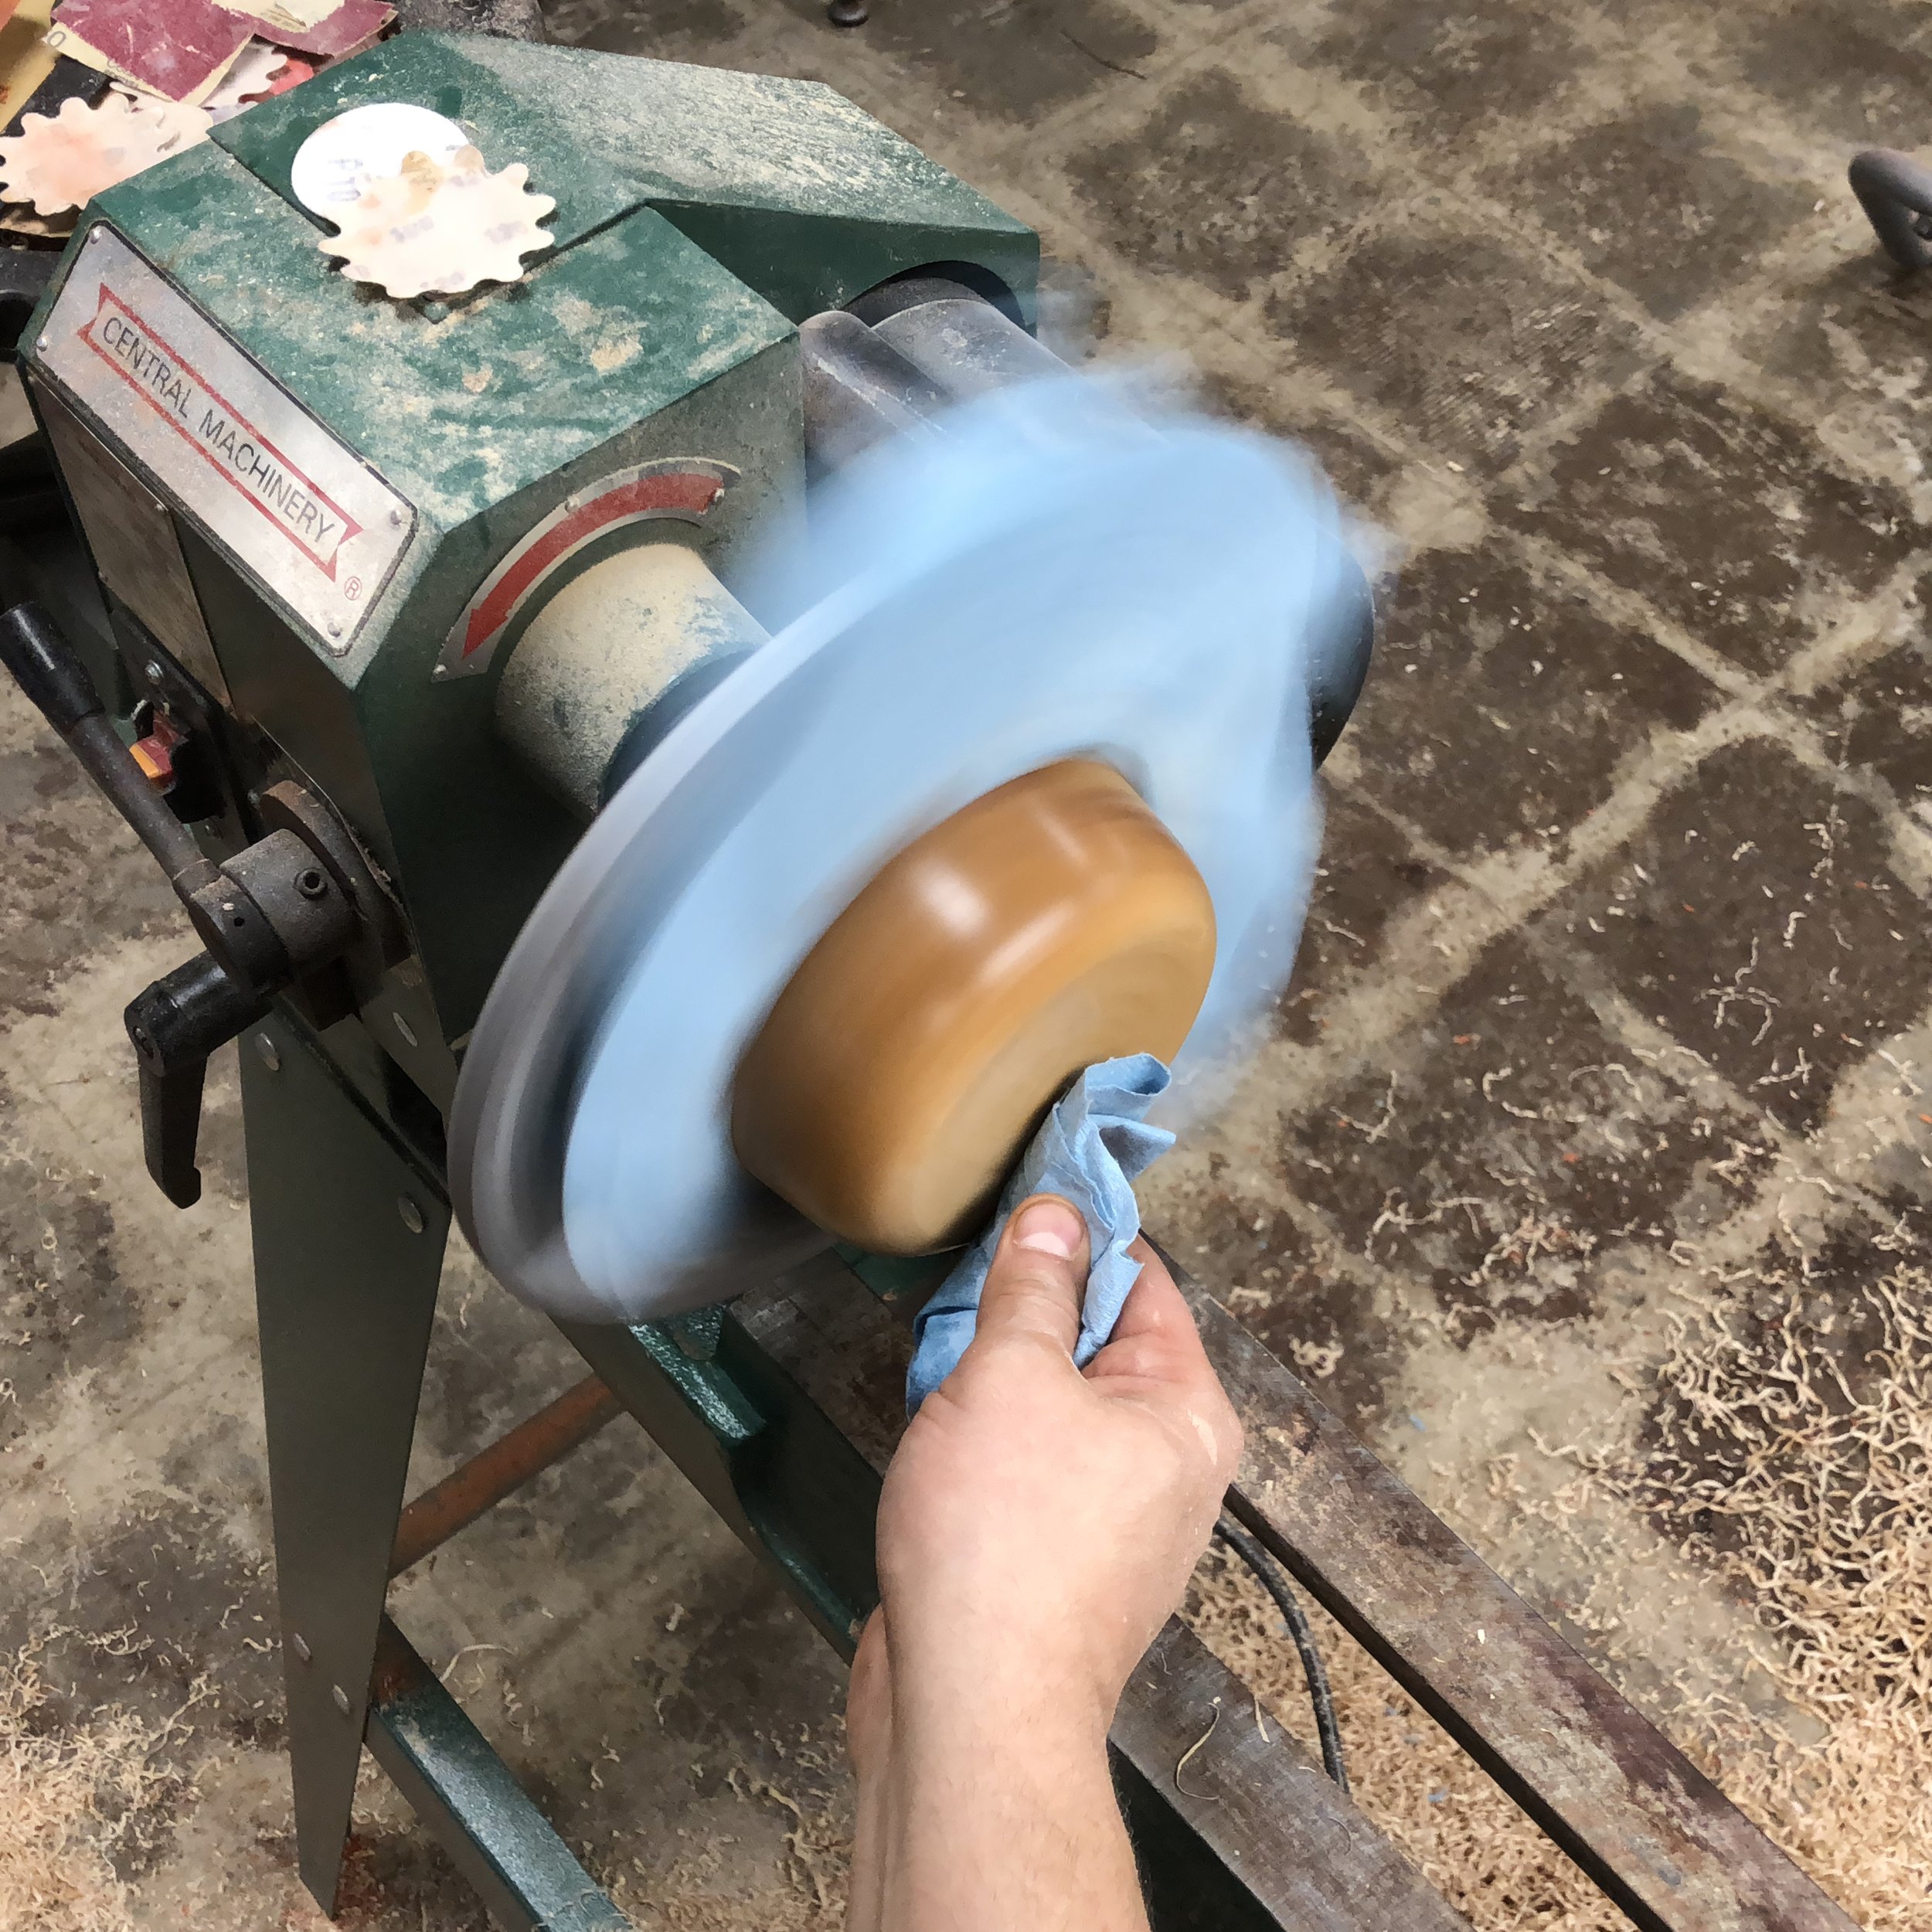
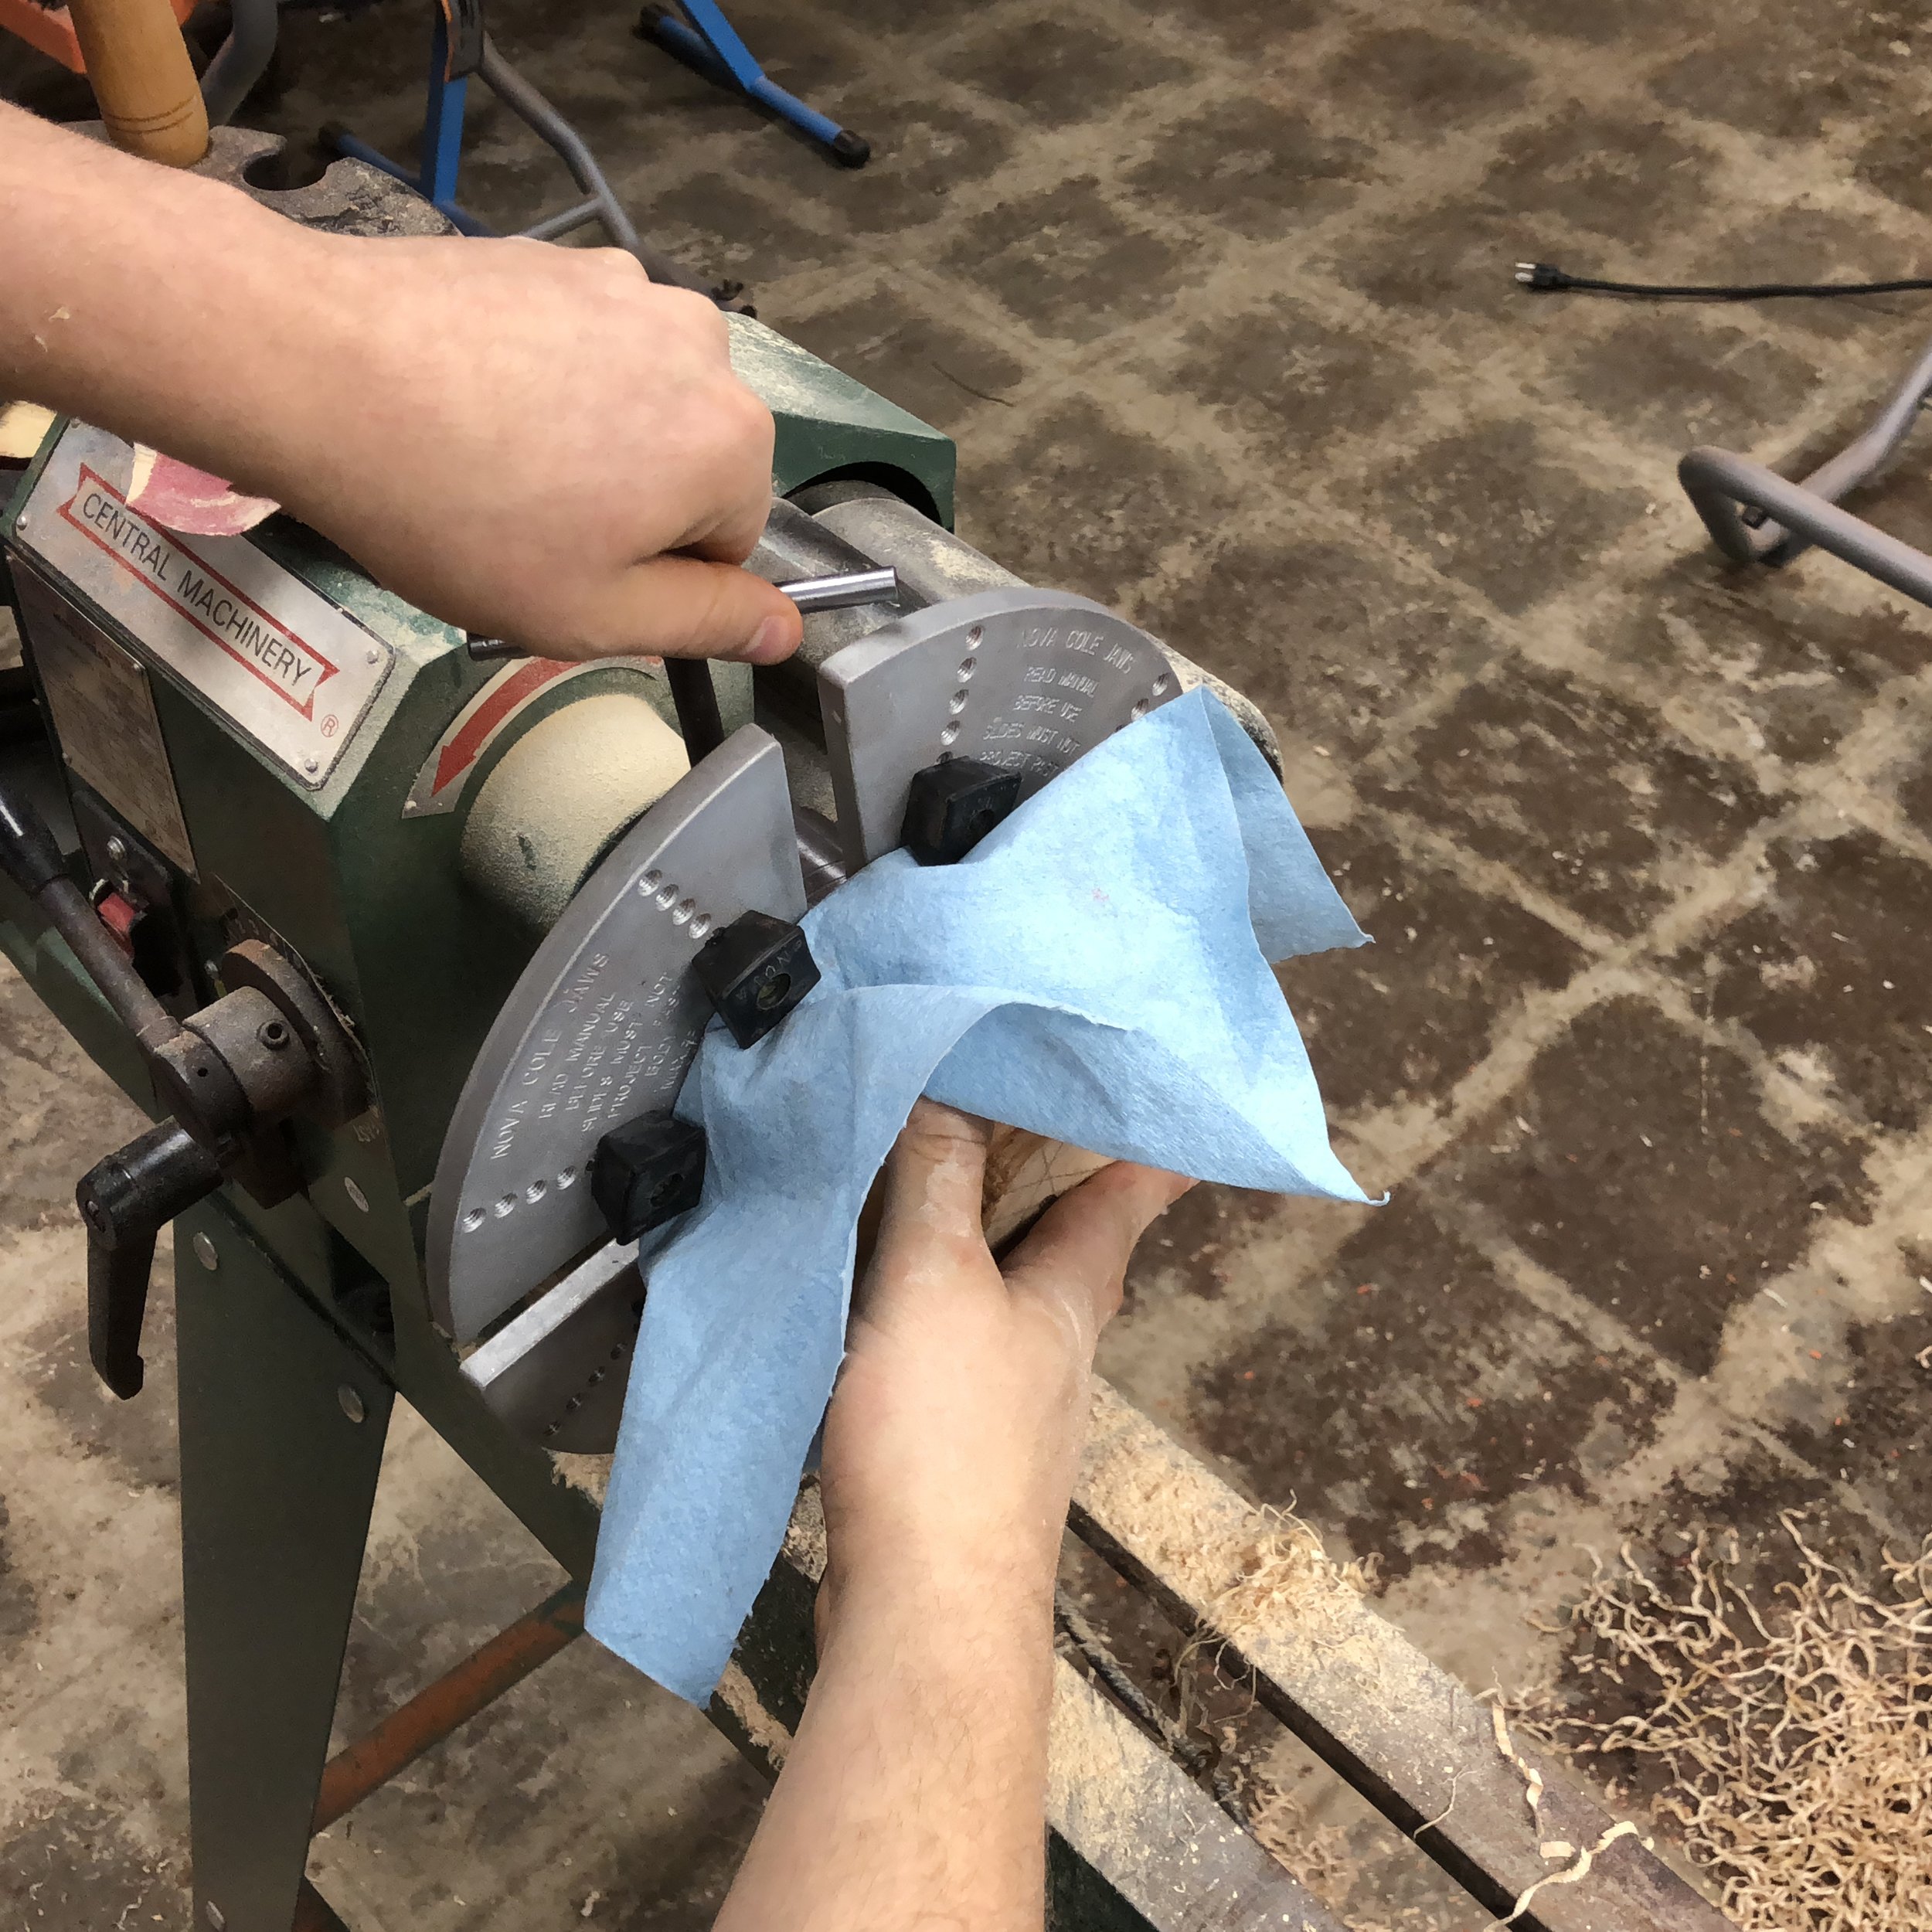
The bowl is *almost* finished! Next I get to use what looks more like a torture device...hahaha. It's actually a type of jaws that hold a turned bowl...allowing you to get rid of the bottom tenon. I don't have a separate chuck for this...so I have to take off the small jaws used to hold the tenon...and attach these bigger ones. Get the little rubber holders in the right spot...then put the bowl on. I always put a paper towel down first so the rubber stops don't mark up the bowl. Once the bowl is on...then its time to get rid of the tenon. Then it's time to sand and oil!

And there we have it! A finished bowl. As you can see there are a LOT of steps. But once you get them down...it goes smoothly. When I was making the previous batch of bowls I completed each phase on each bowl before moving onto the next phase. By that I mean I turned/sanded/oiled the outsides of each bowl...then moved onto turning/sanding/oiling the insides...and then removed the tenon on all of them. That way I wasn't constantly changing the chuck out.
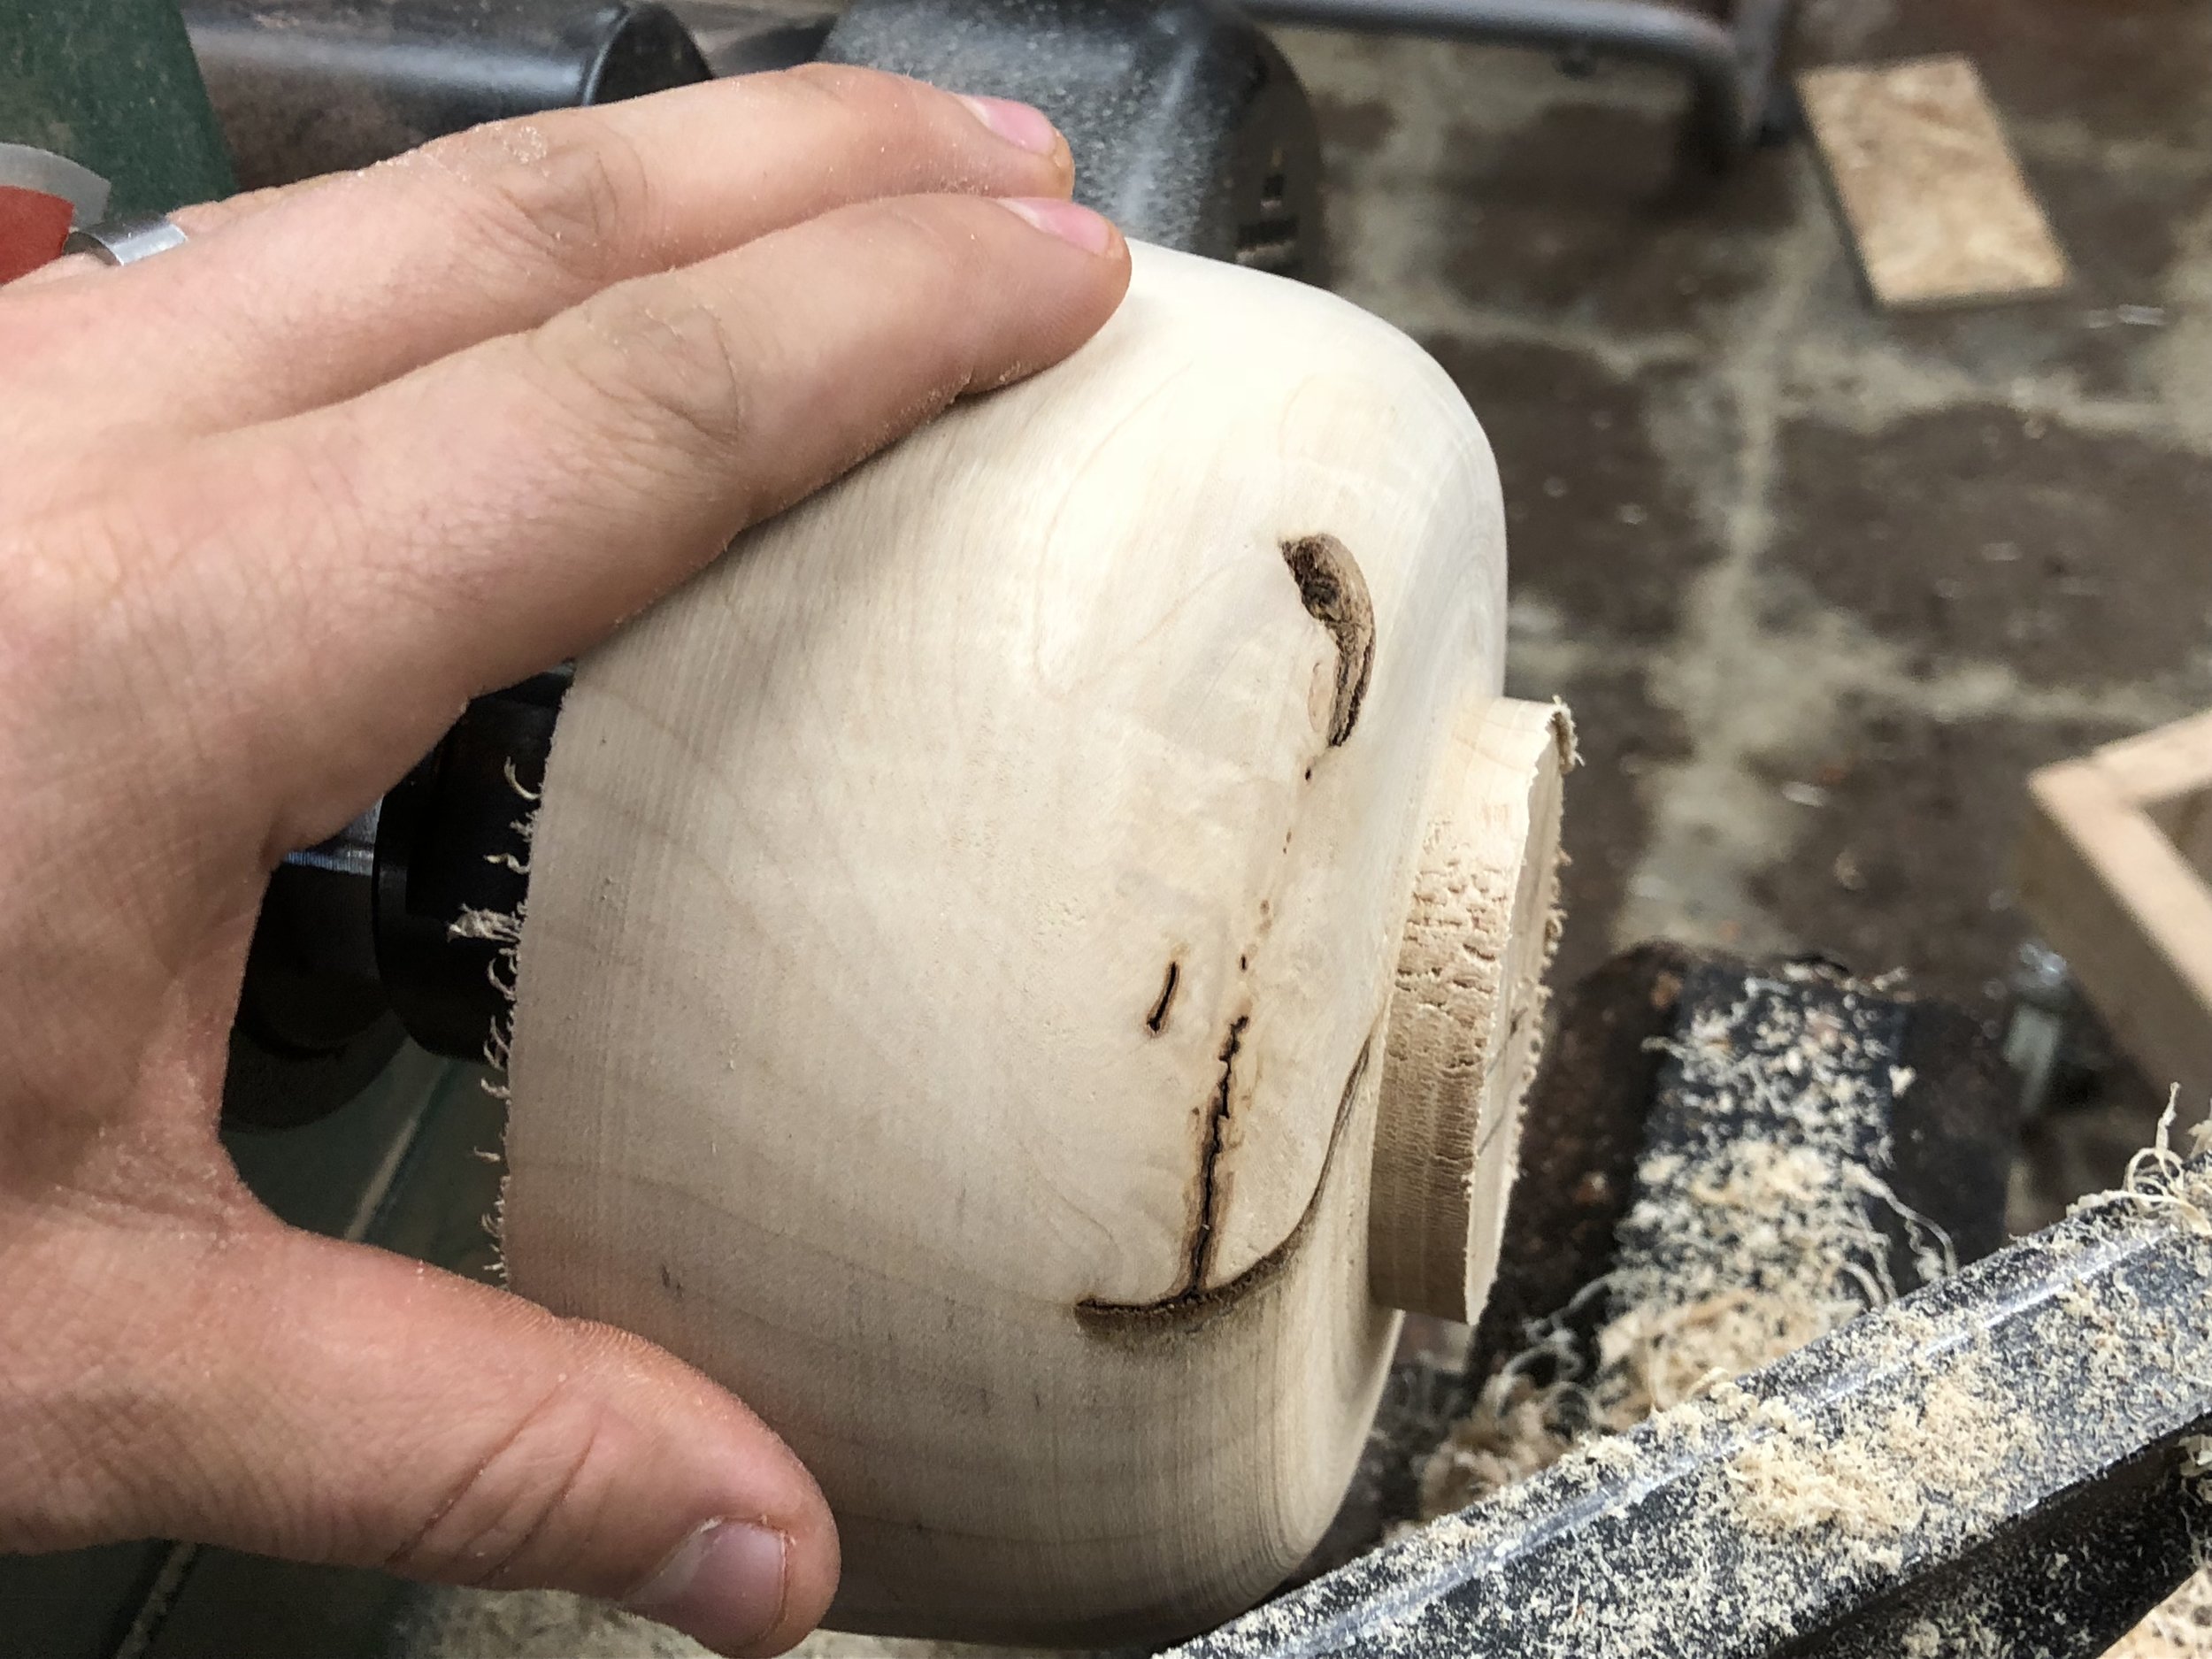
I think the thing I love most about turning bowls, rolling pins and pepper mills is that you never really know what you will get until you start cutting. The bark inclusion in the bottom of this bowl was a surprise, a happy one! And the way the grain pops when it's oiled...it's so satisfying!
So what do you think? Is the process easier or harder than you thought?
Thanks for joining me on this little bowl turning journey! I look forward to getting more bowl blanks and continuing to turn different pieces for you all to enjoy!