
Turning an Antique Pepper Mill
When I bought my lathe almost three years ago I honestly didn't know what I was going to make besides the French Style Rolling Pins. It took a few years to venture outside the world of rolling pins, but when I found the Antique Pepper Mill hardware I couldn't resist!
In January of this year (2018) I decided to try my hand at turning the Antique Pepper Mills, mainly because I was in need of a new pepper mill to use in my kitchen. But the moment I posted the picture of the finished padauk wood pepper mill, people started asking when they could buy one. I realized that I had tapped into a new market when it came to my wood working and I had the opportunity offer a product that some hadn't ever thought of, or seen before.
Turning the antique pepper mill is similar to that of the French style rolling pins. However the major difference is how ornate looking you can make them. I know that I've said this several times, but working with wood is truly an art form. I love letting the piece speak to me, showing me where to cut or how much to cut. And sometimes I lose myself in the process and come out the other side with something that is totally unique.
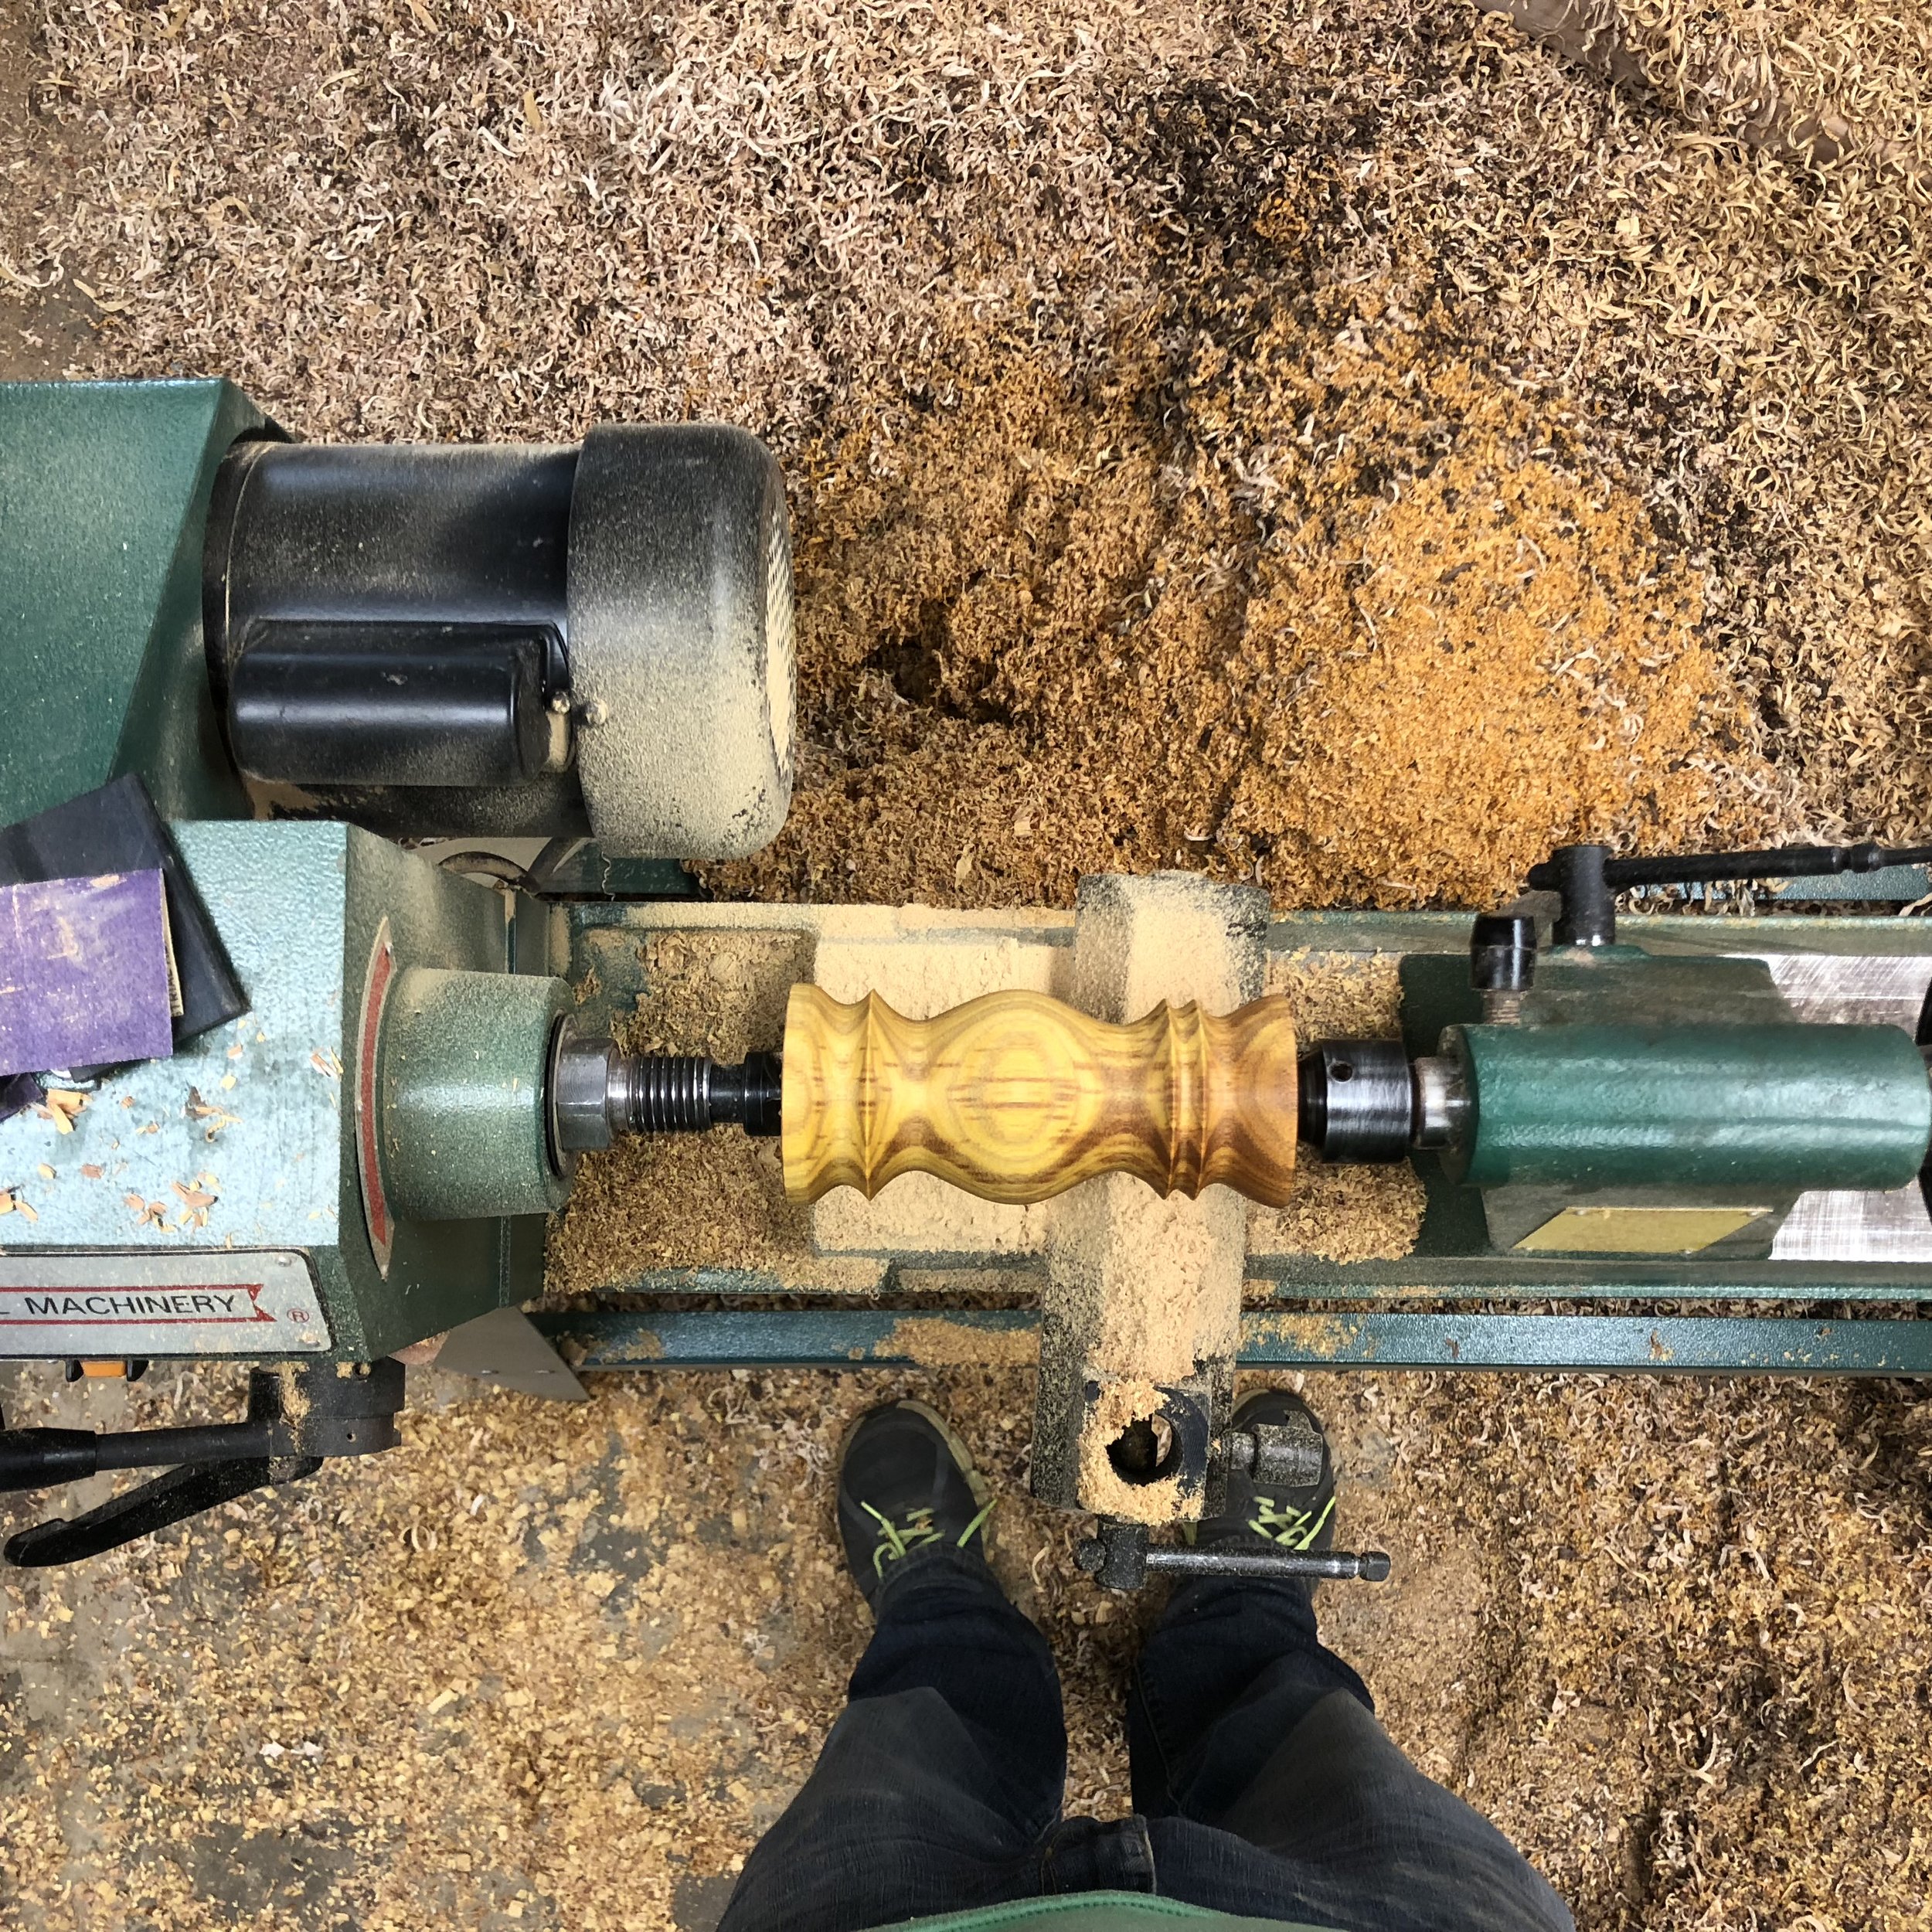
The pepper mill that I turned for this post is made out of canary wood. If you haven't ever seen something made from canary wood, you are in for a treat. The grain of this wood can truly be spectacular, but the coloring throughout is what makes it stand out from any other wood I've used. So let's get started with this pepper mill.
I find that picking out a piece of wood can be a bit of a crap shoot. You never truly know what a piece is going to look like until you start cutting into it. You can get some sense of the grain, but what I look for in canary wood is the color streaks throughout. As you can see in this piece of canary wood, it has some great red and yellow streaks through it.
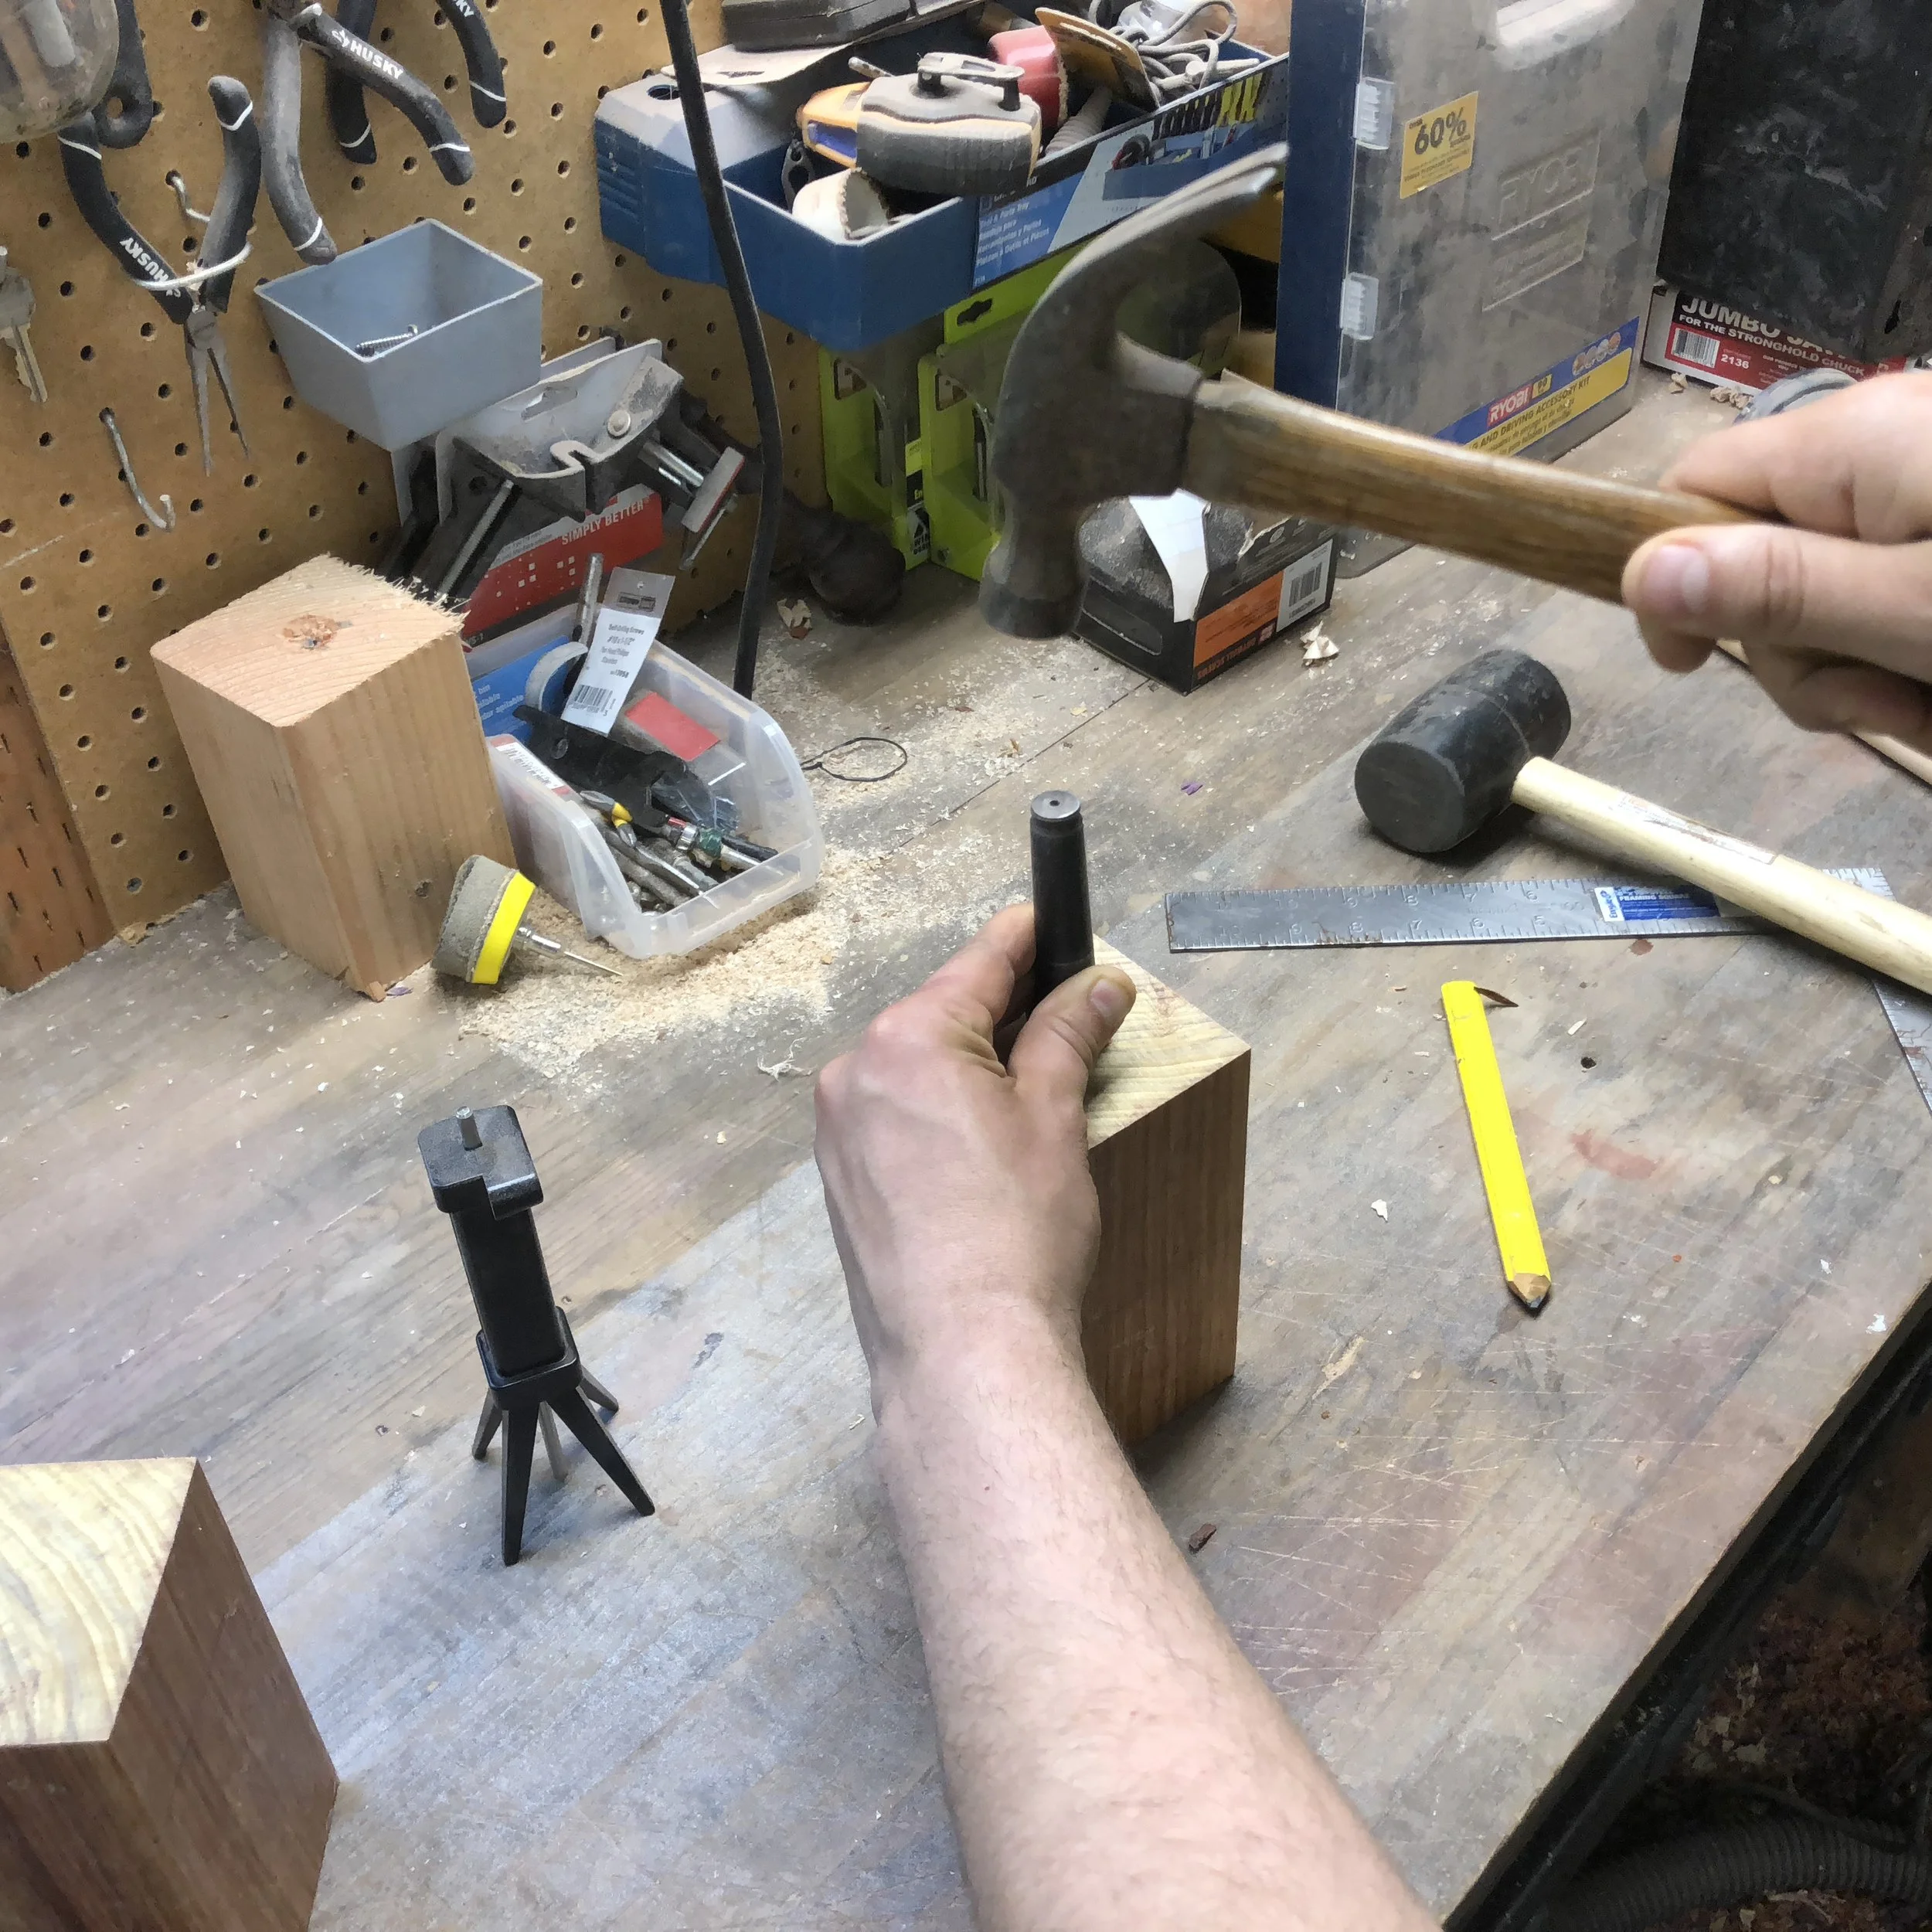
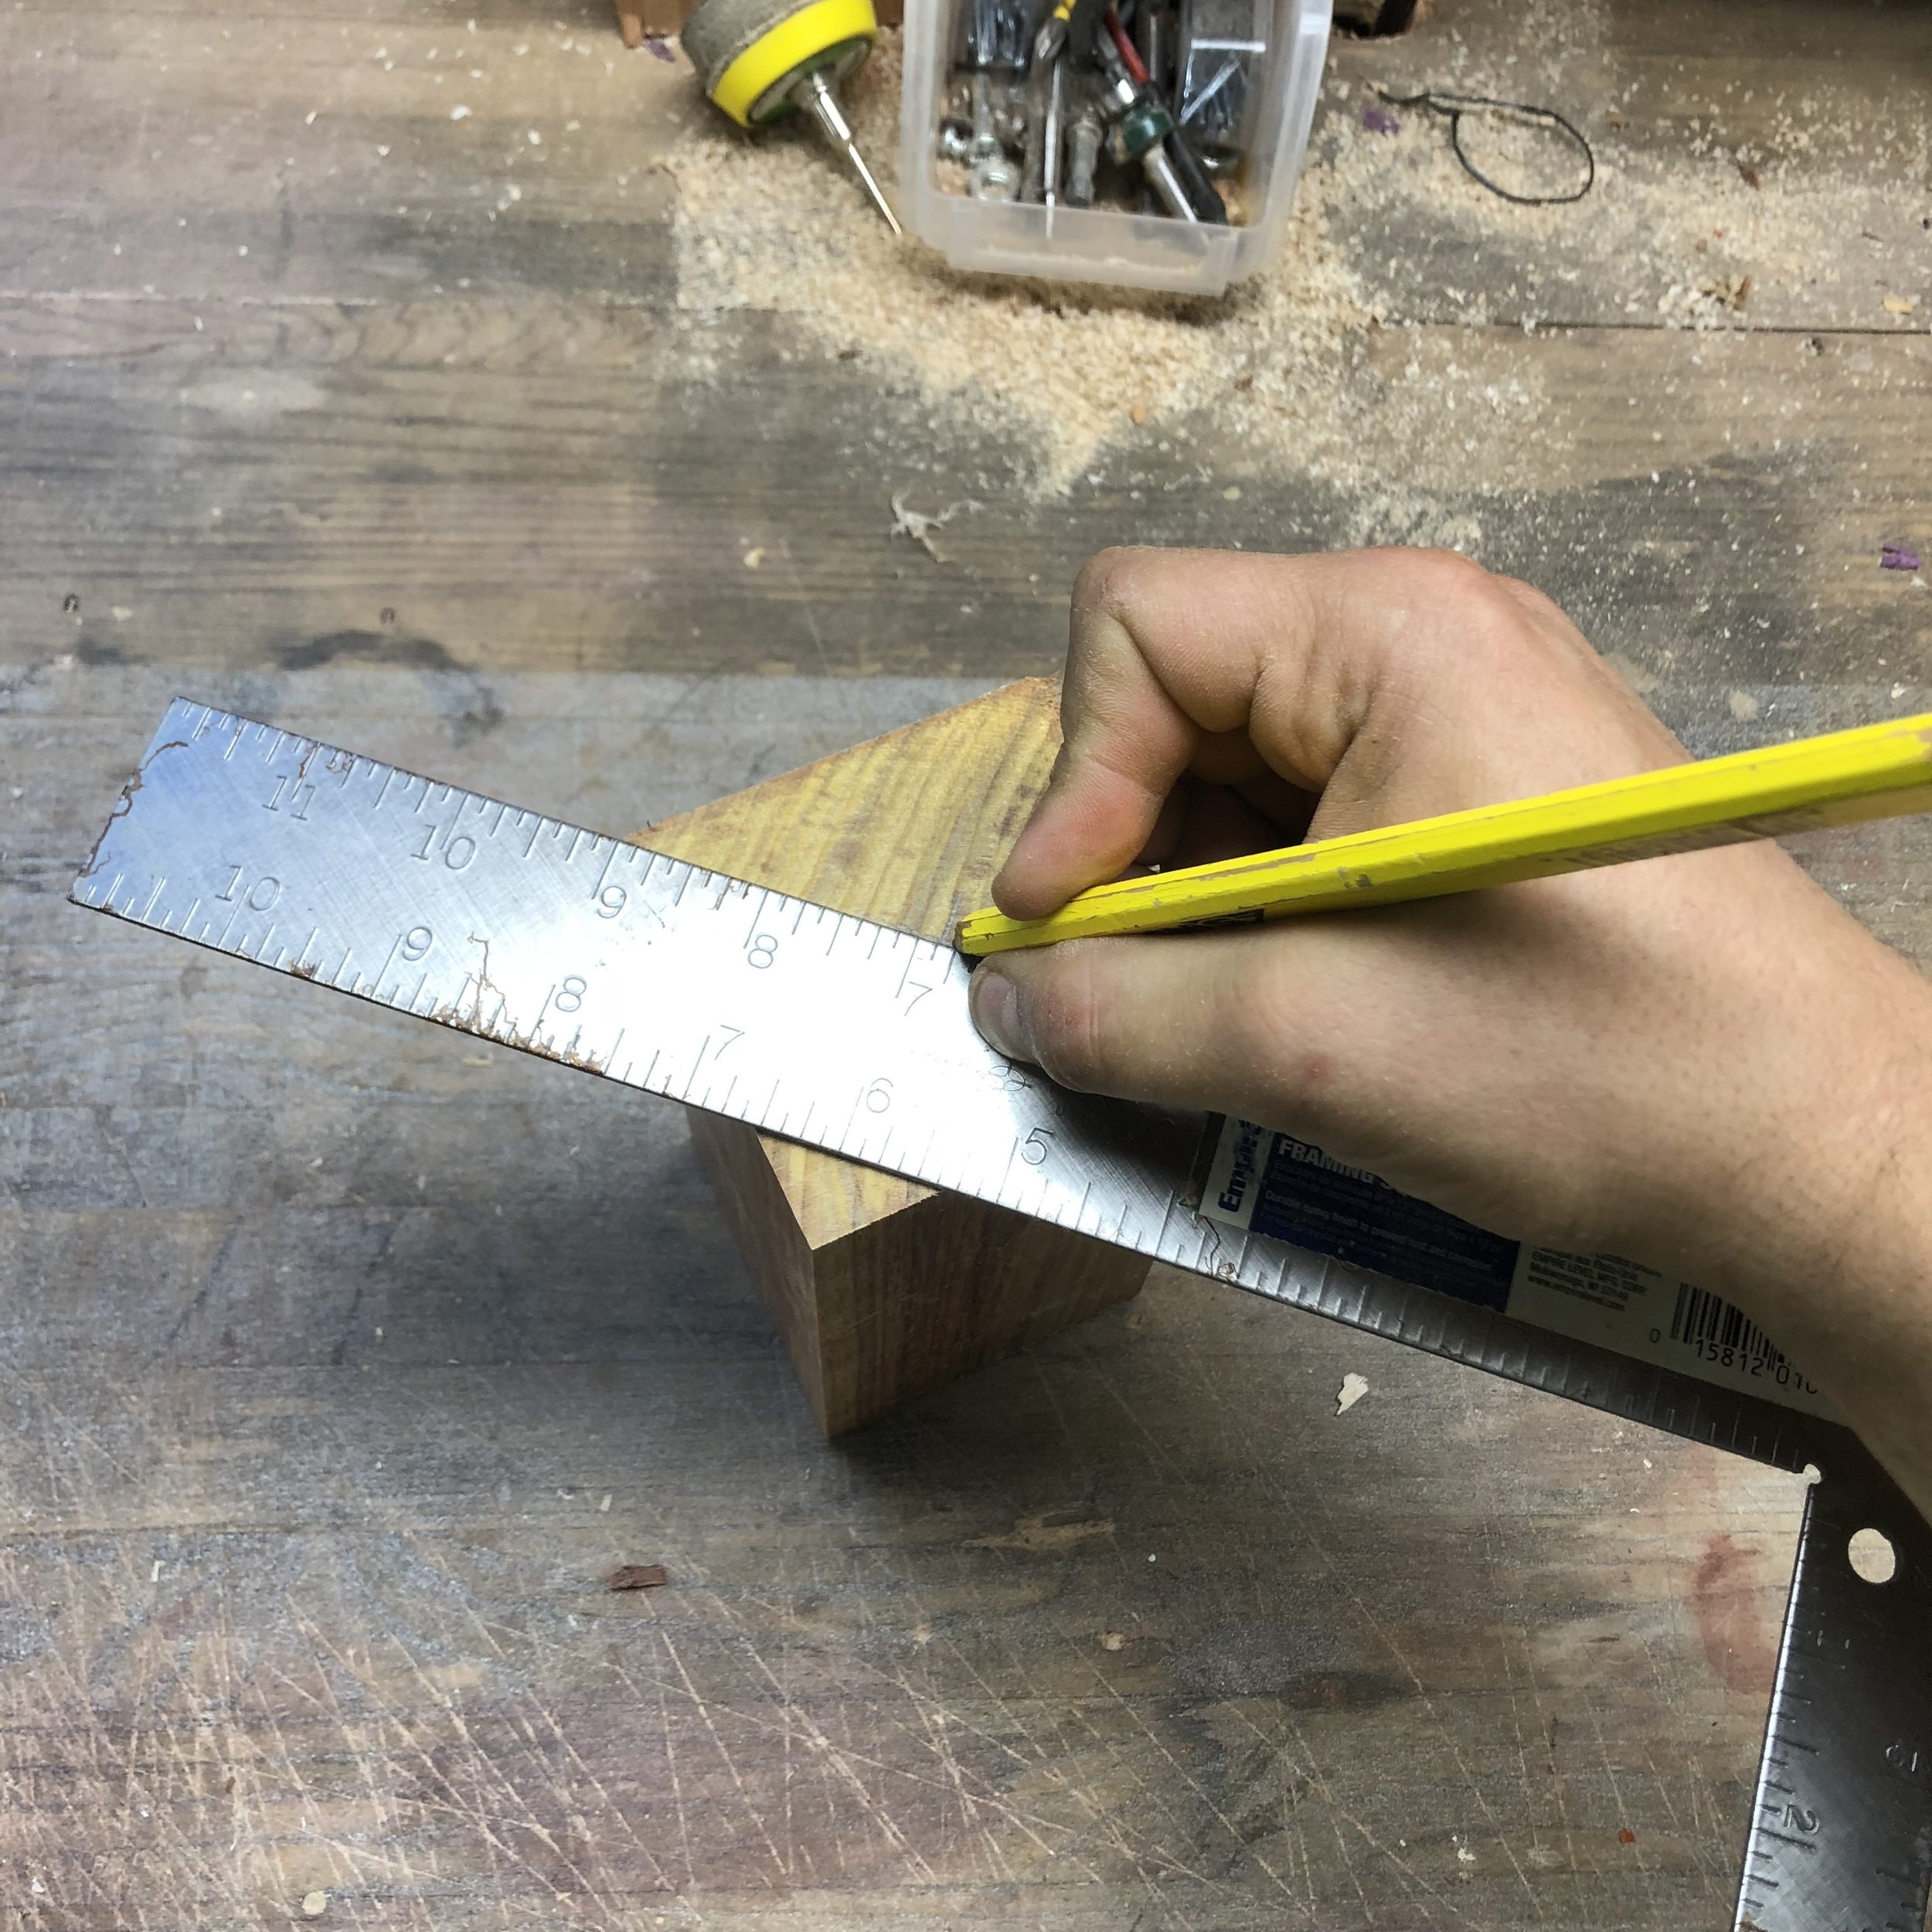
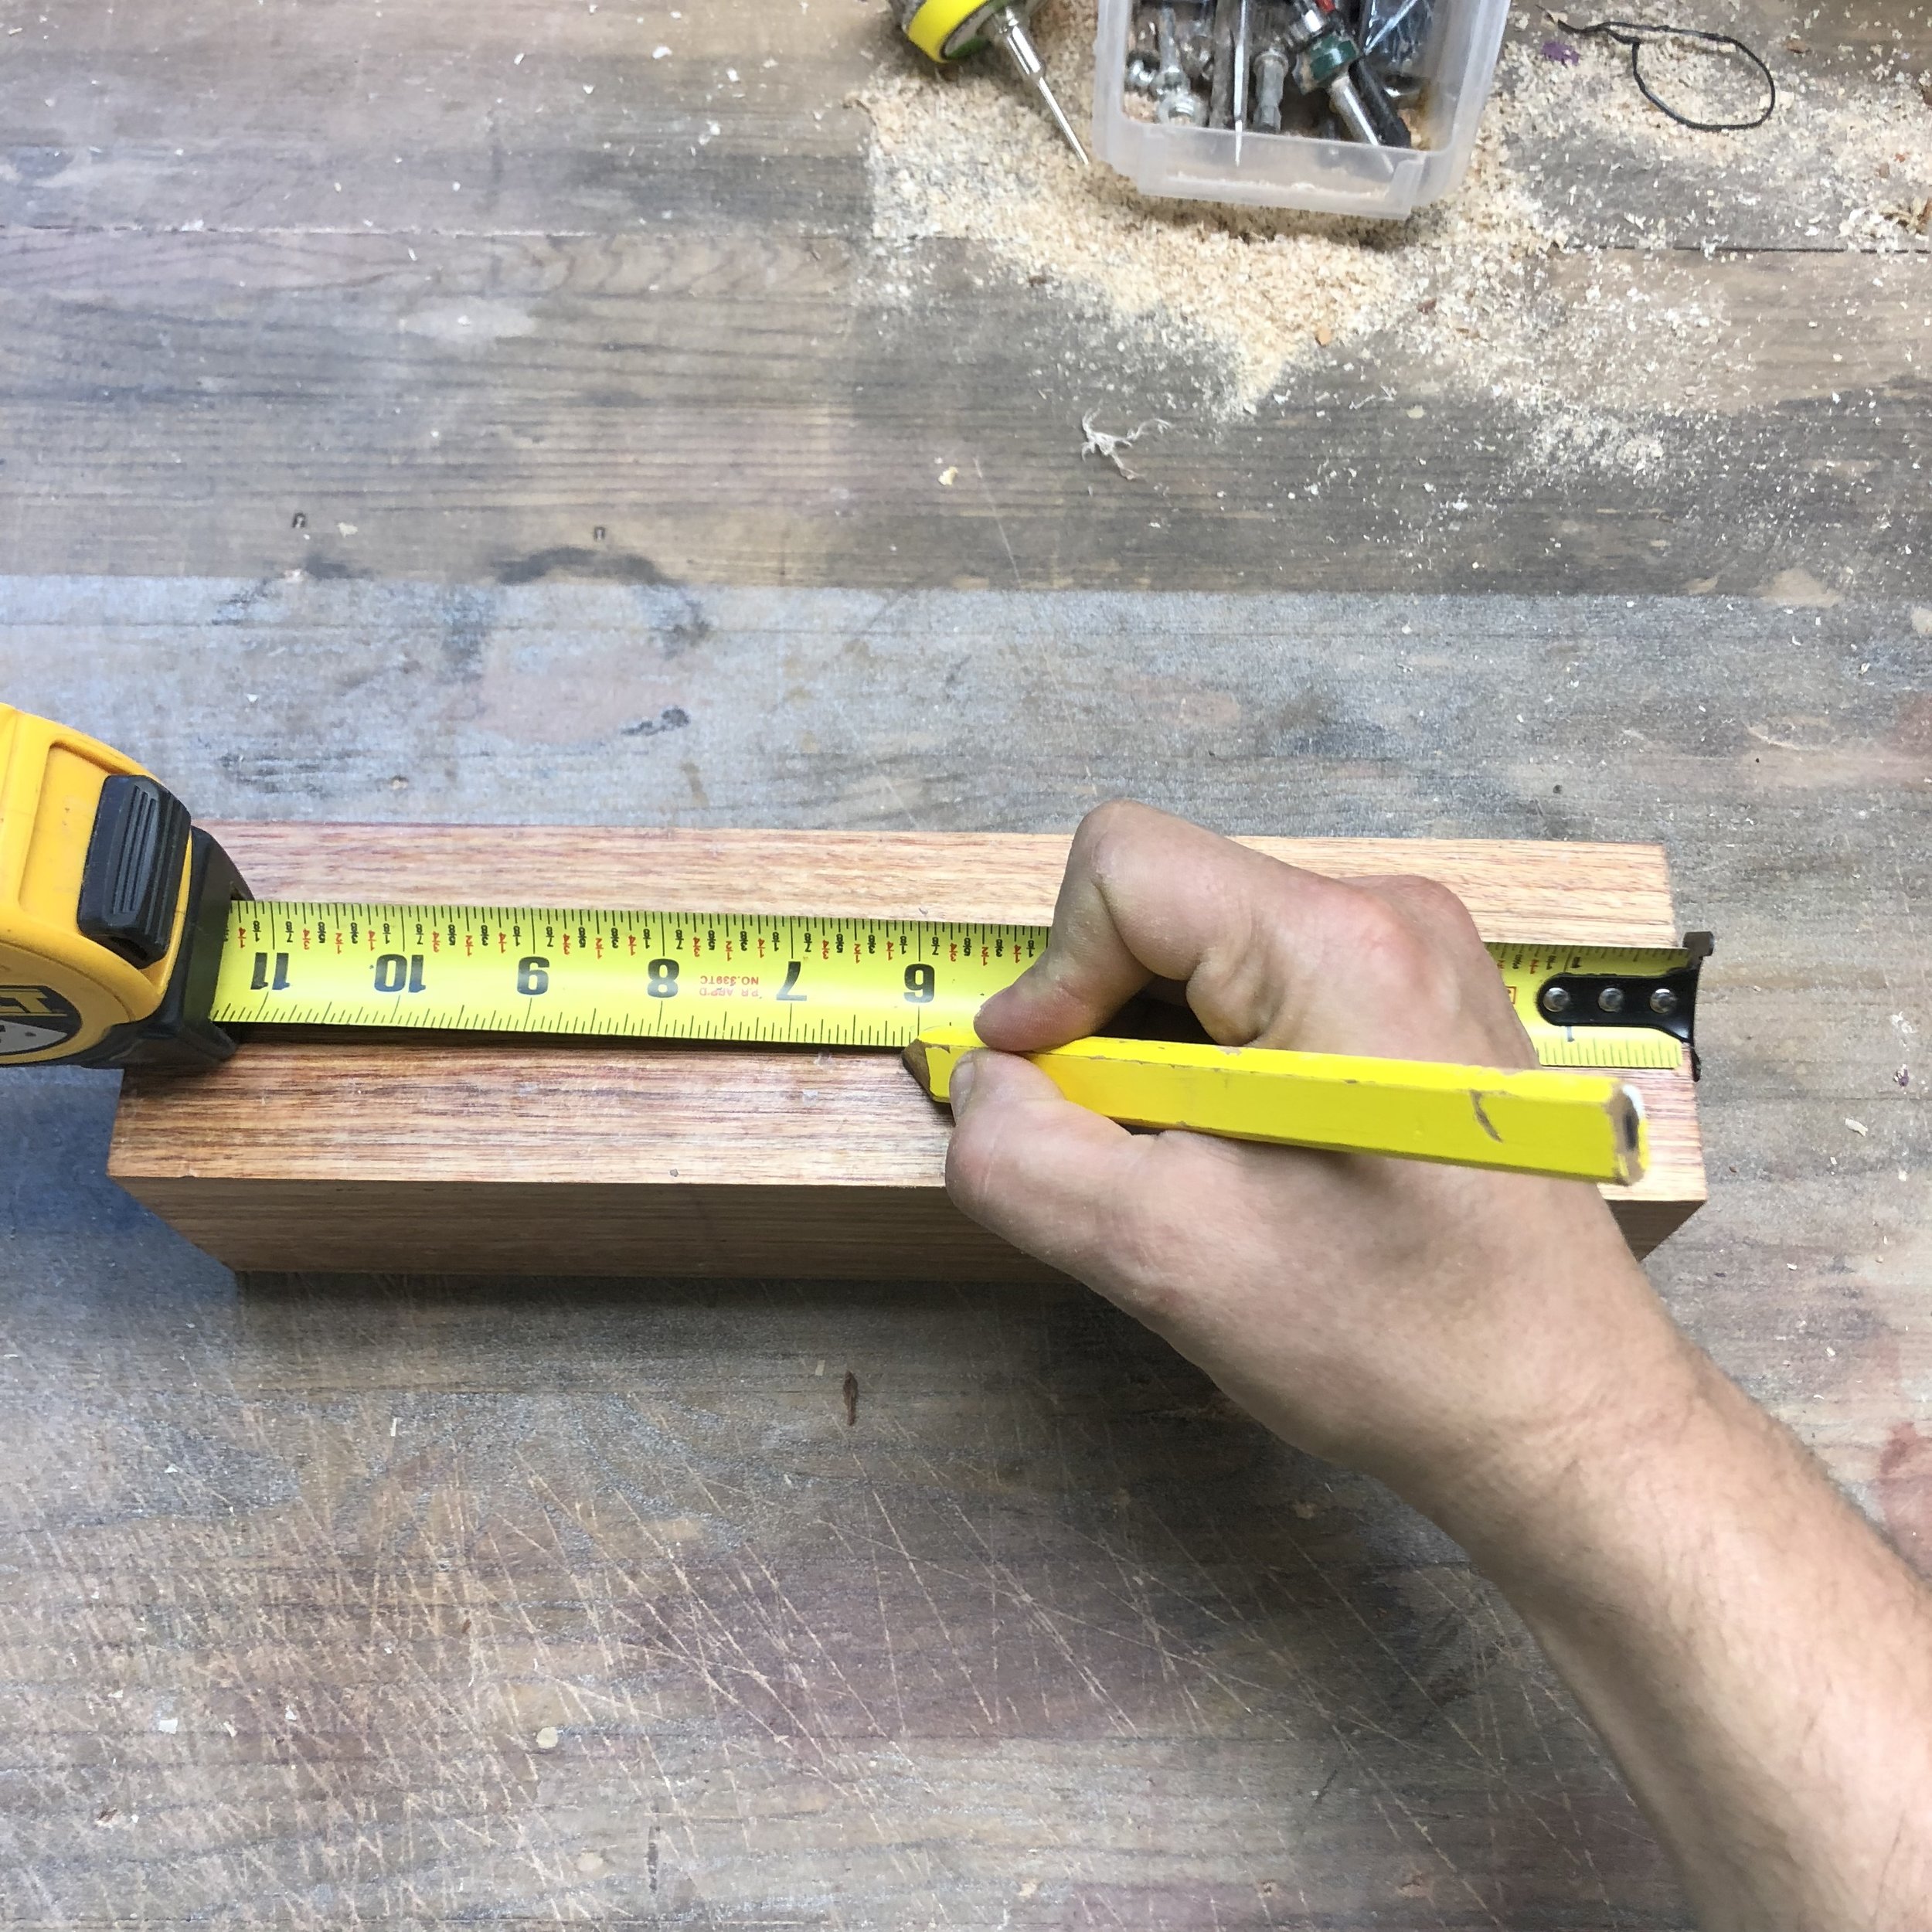
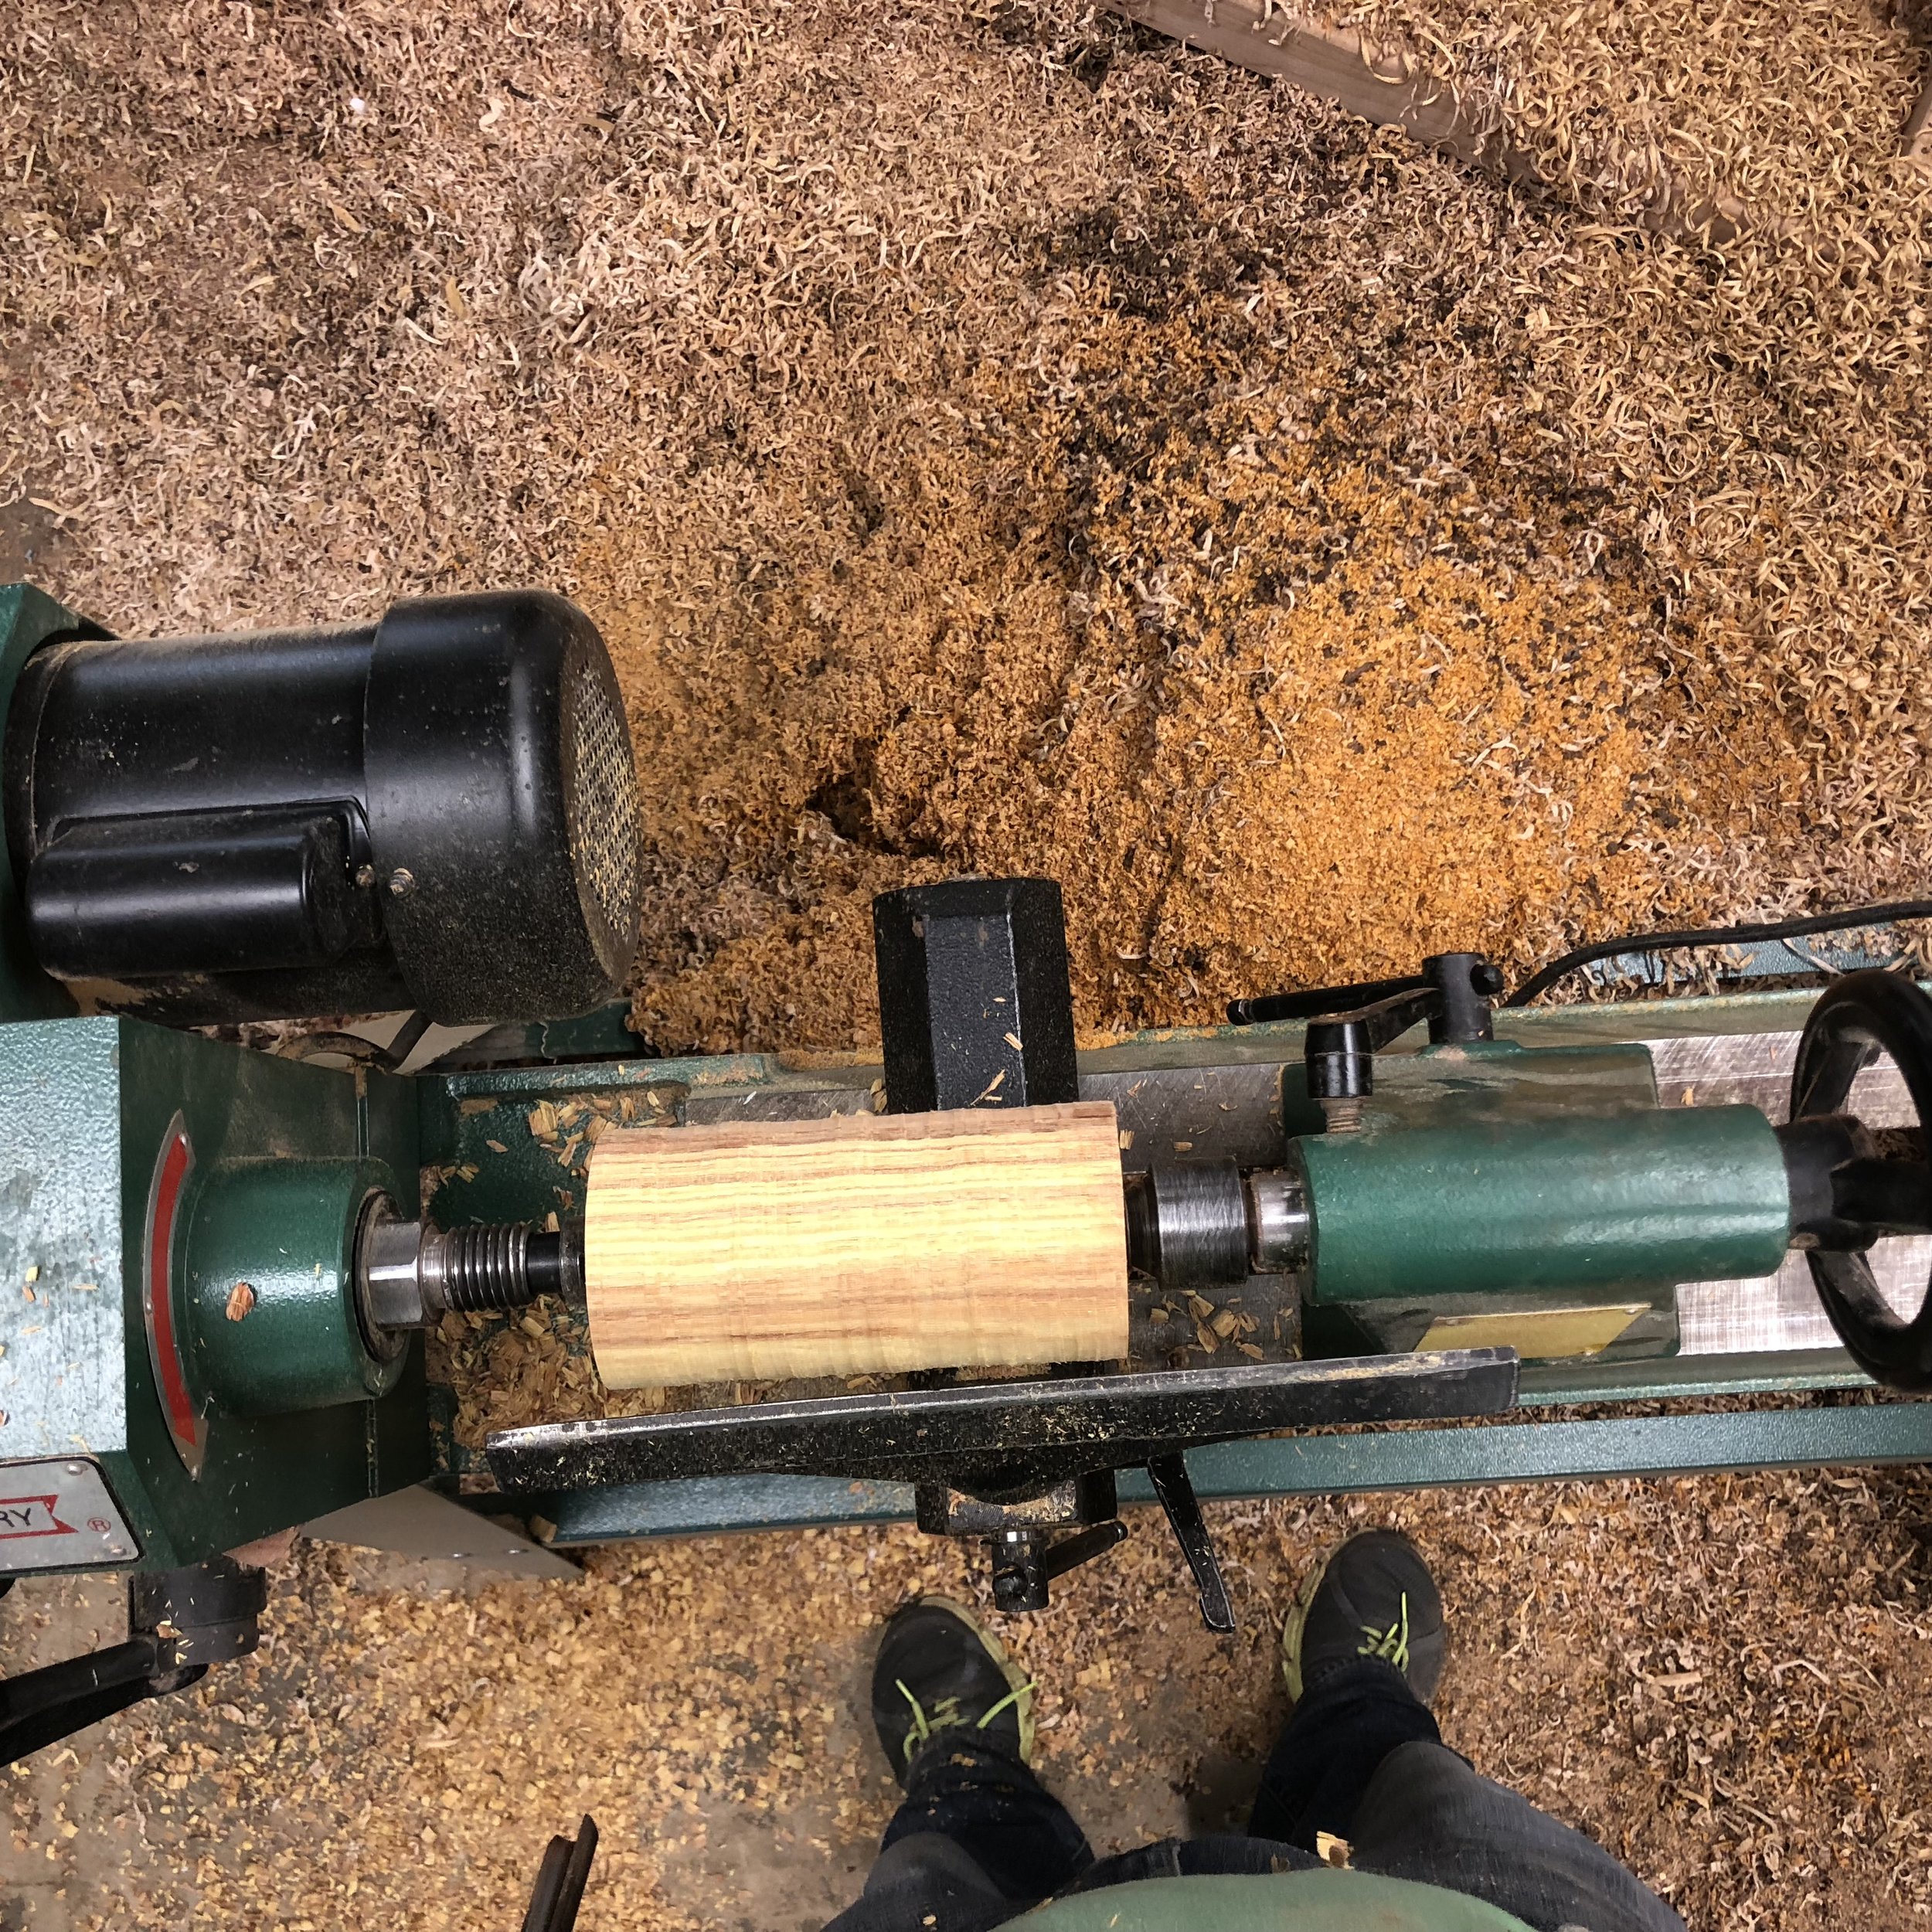
First step is to measure and cut this 3" x 3" x 12" piece in half, which will give me two 6" pepper mill blanks. Then using a straight edge I draw a line from corner to corner (diagonally) so I can find the center. Then using the spur center and hammer I give it a good whack (on each end) to give the spurs a place to dig into when it's on the lathe.


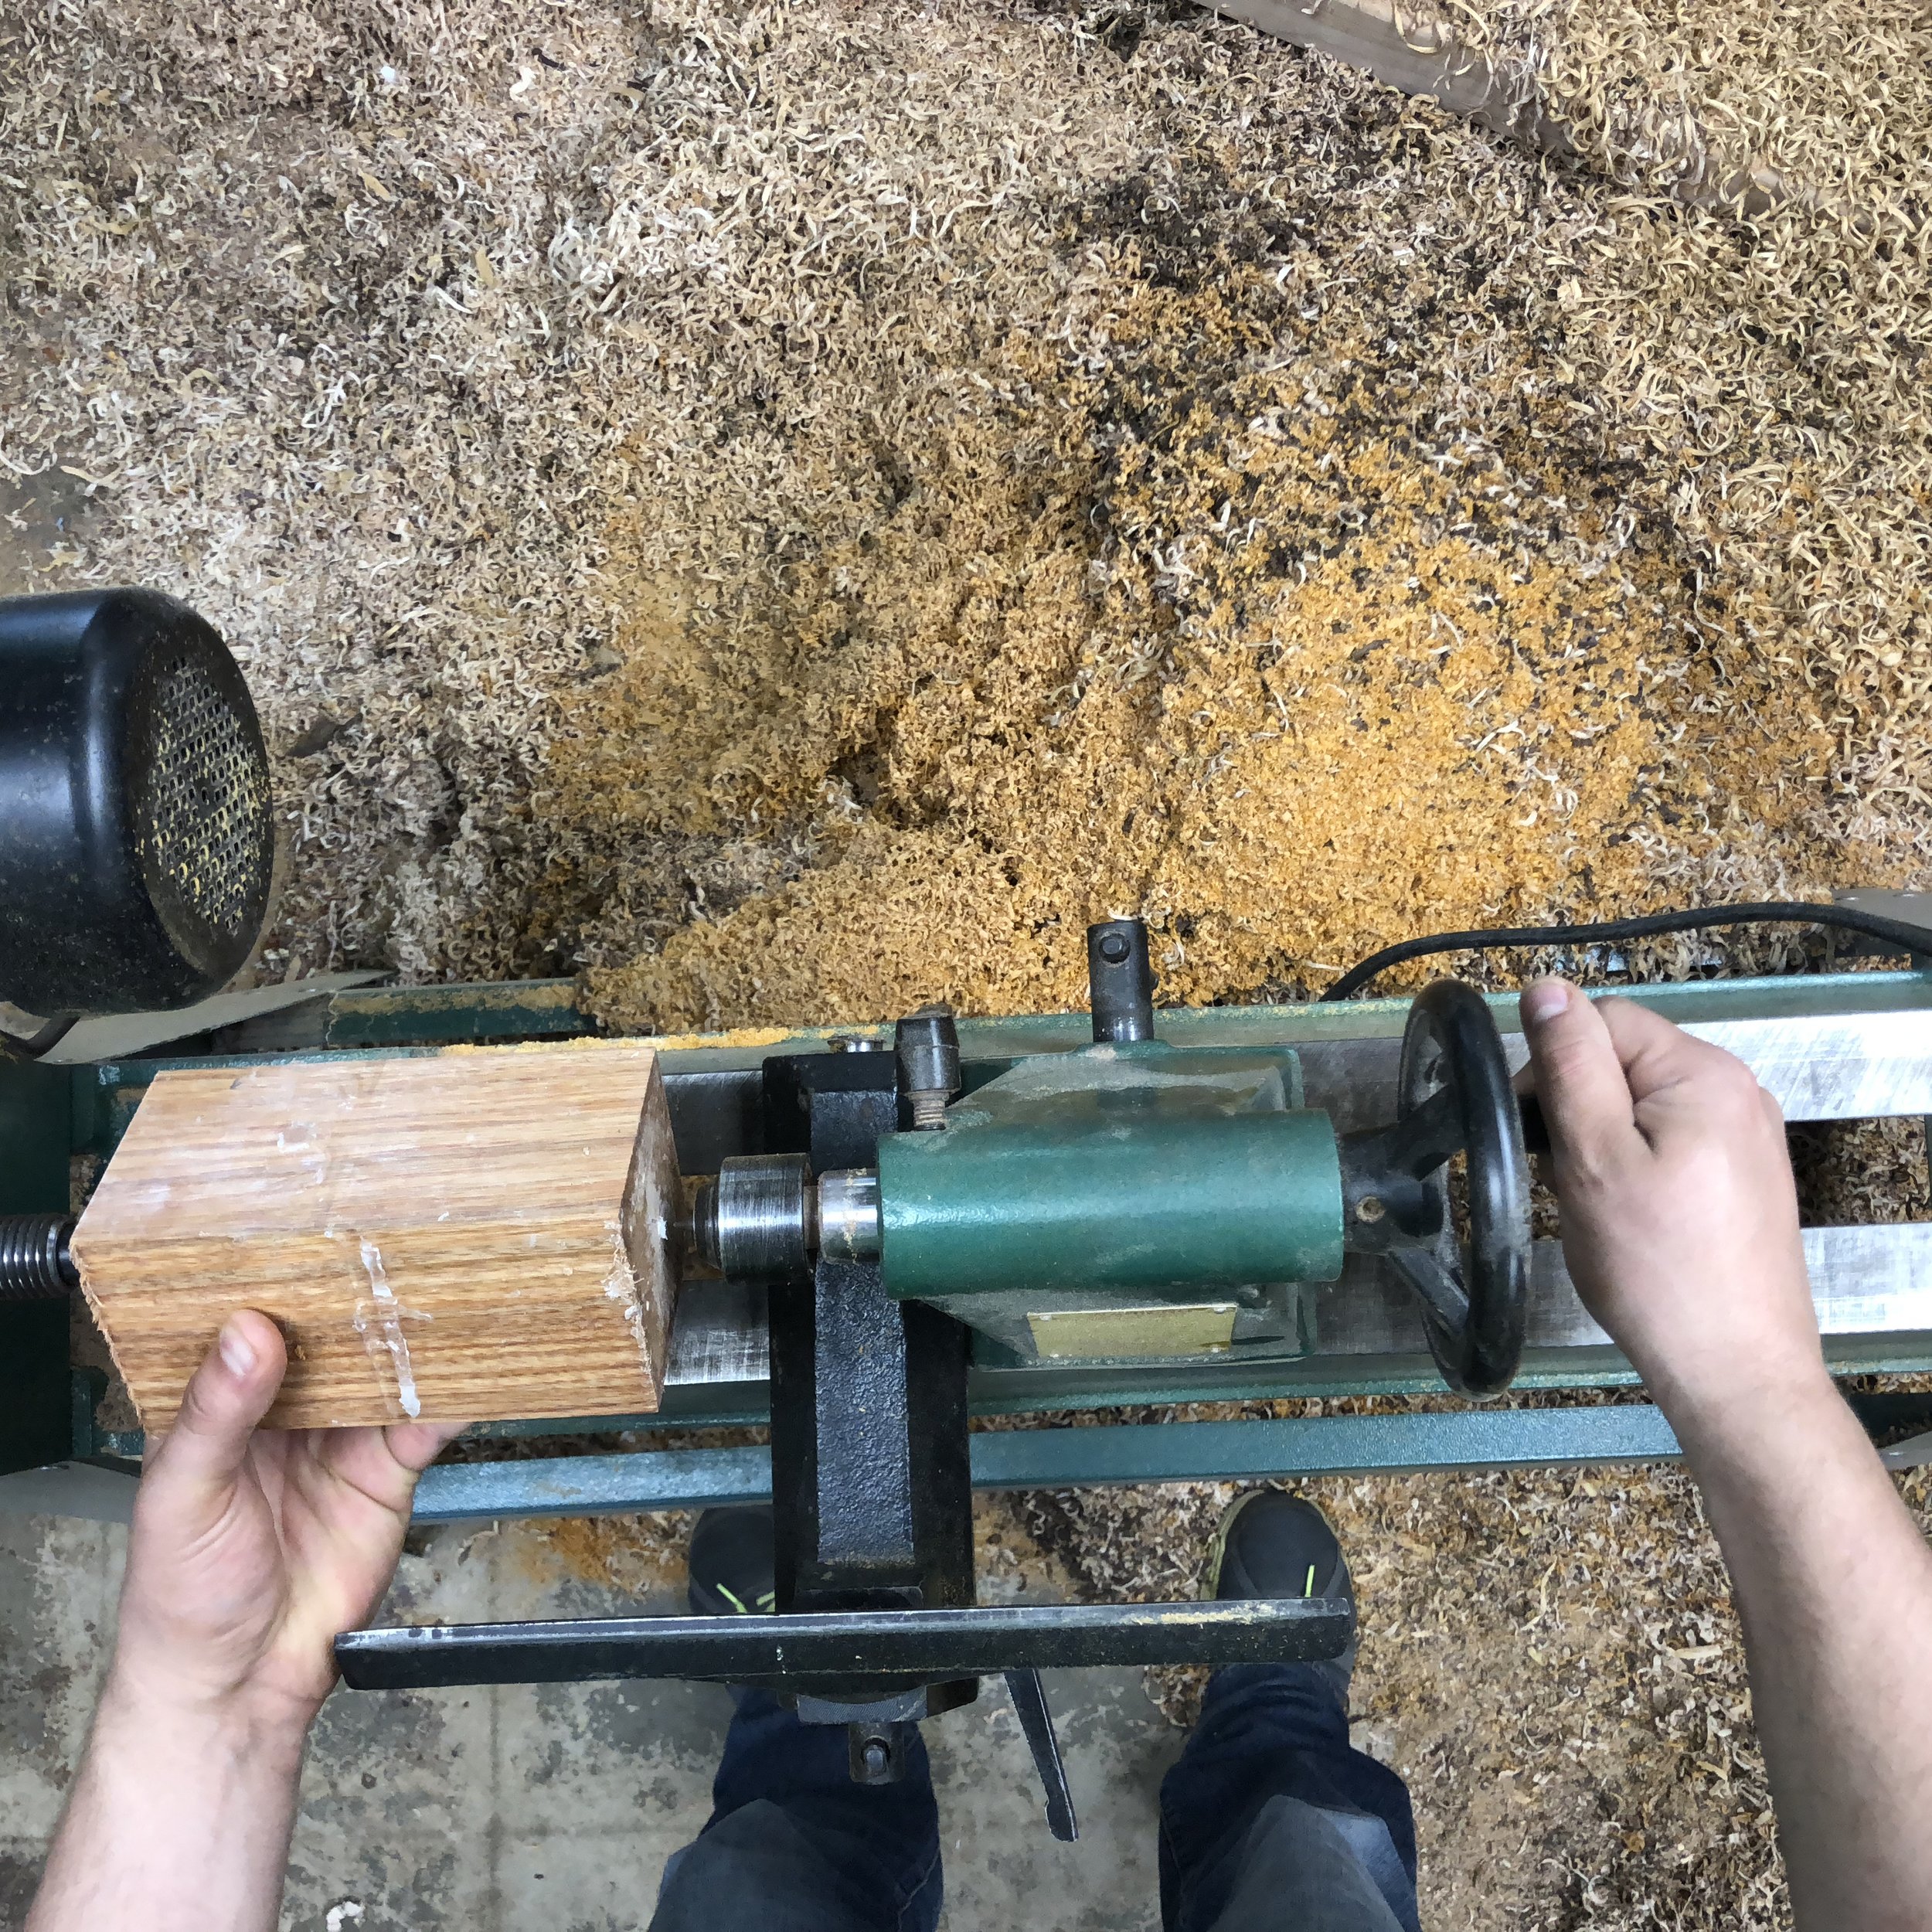
Now the fun begins. Once it's mounted, I used a roughing gouge to turn the blank from squared edges to round. As with and wood working project, it's important to use the proper tools, and in this case, use knives that you have sharpened properly. Everyone has their preference for the type of grind, the angle of the grind and even how you hold your knives, it's something that you'll need to research and figure out which works best for you.
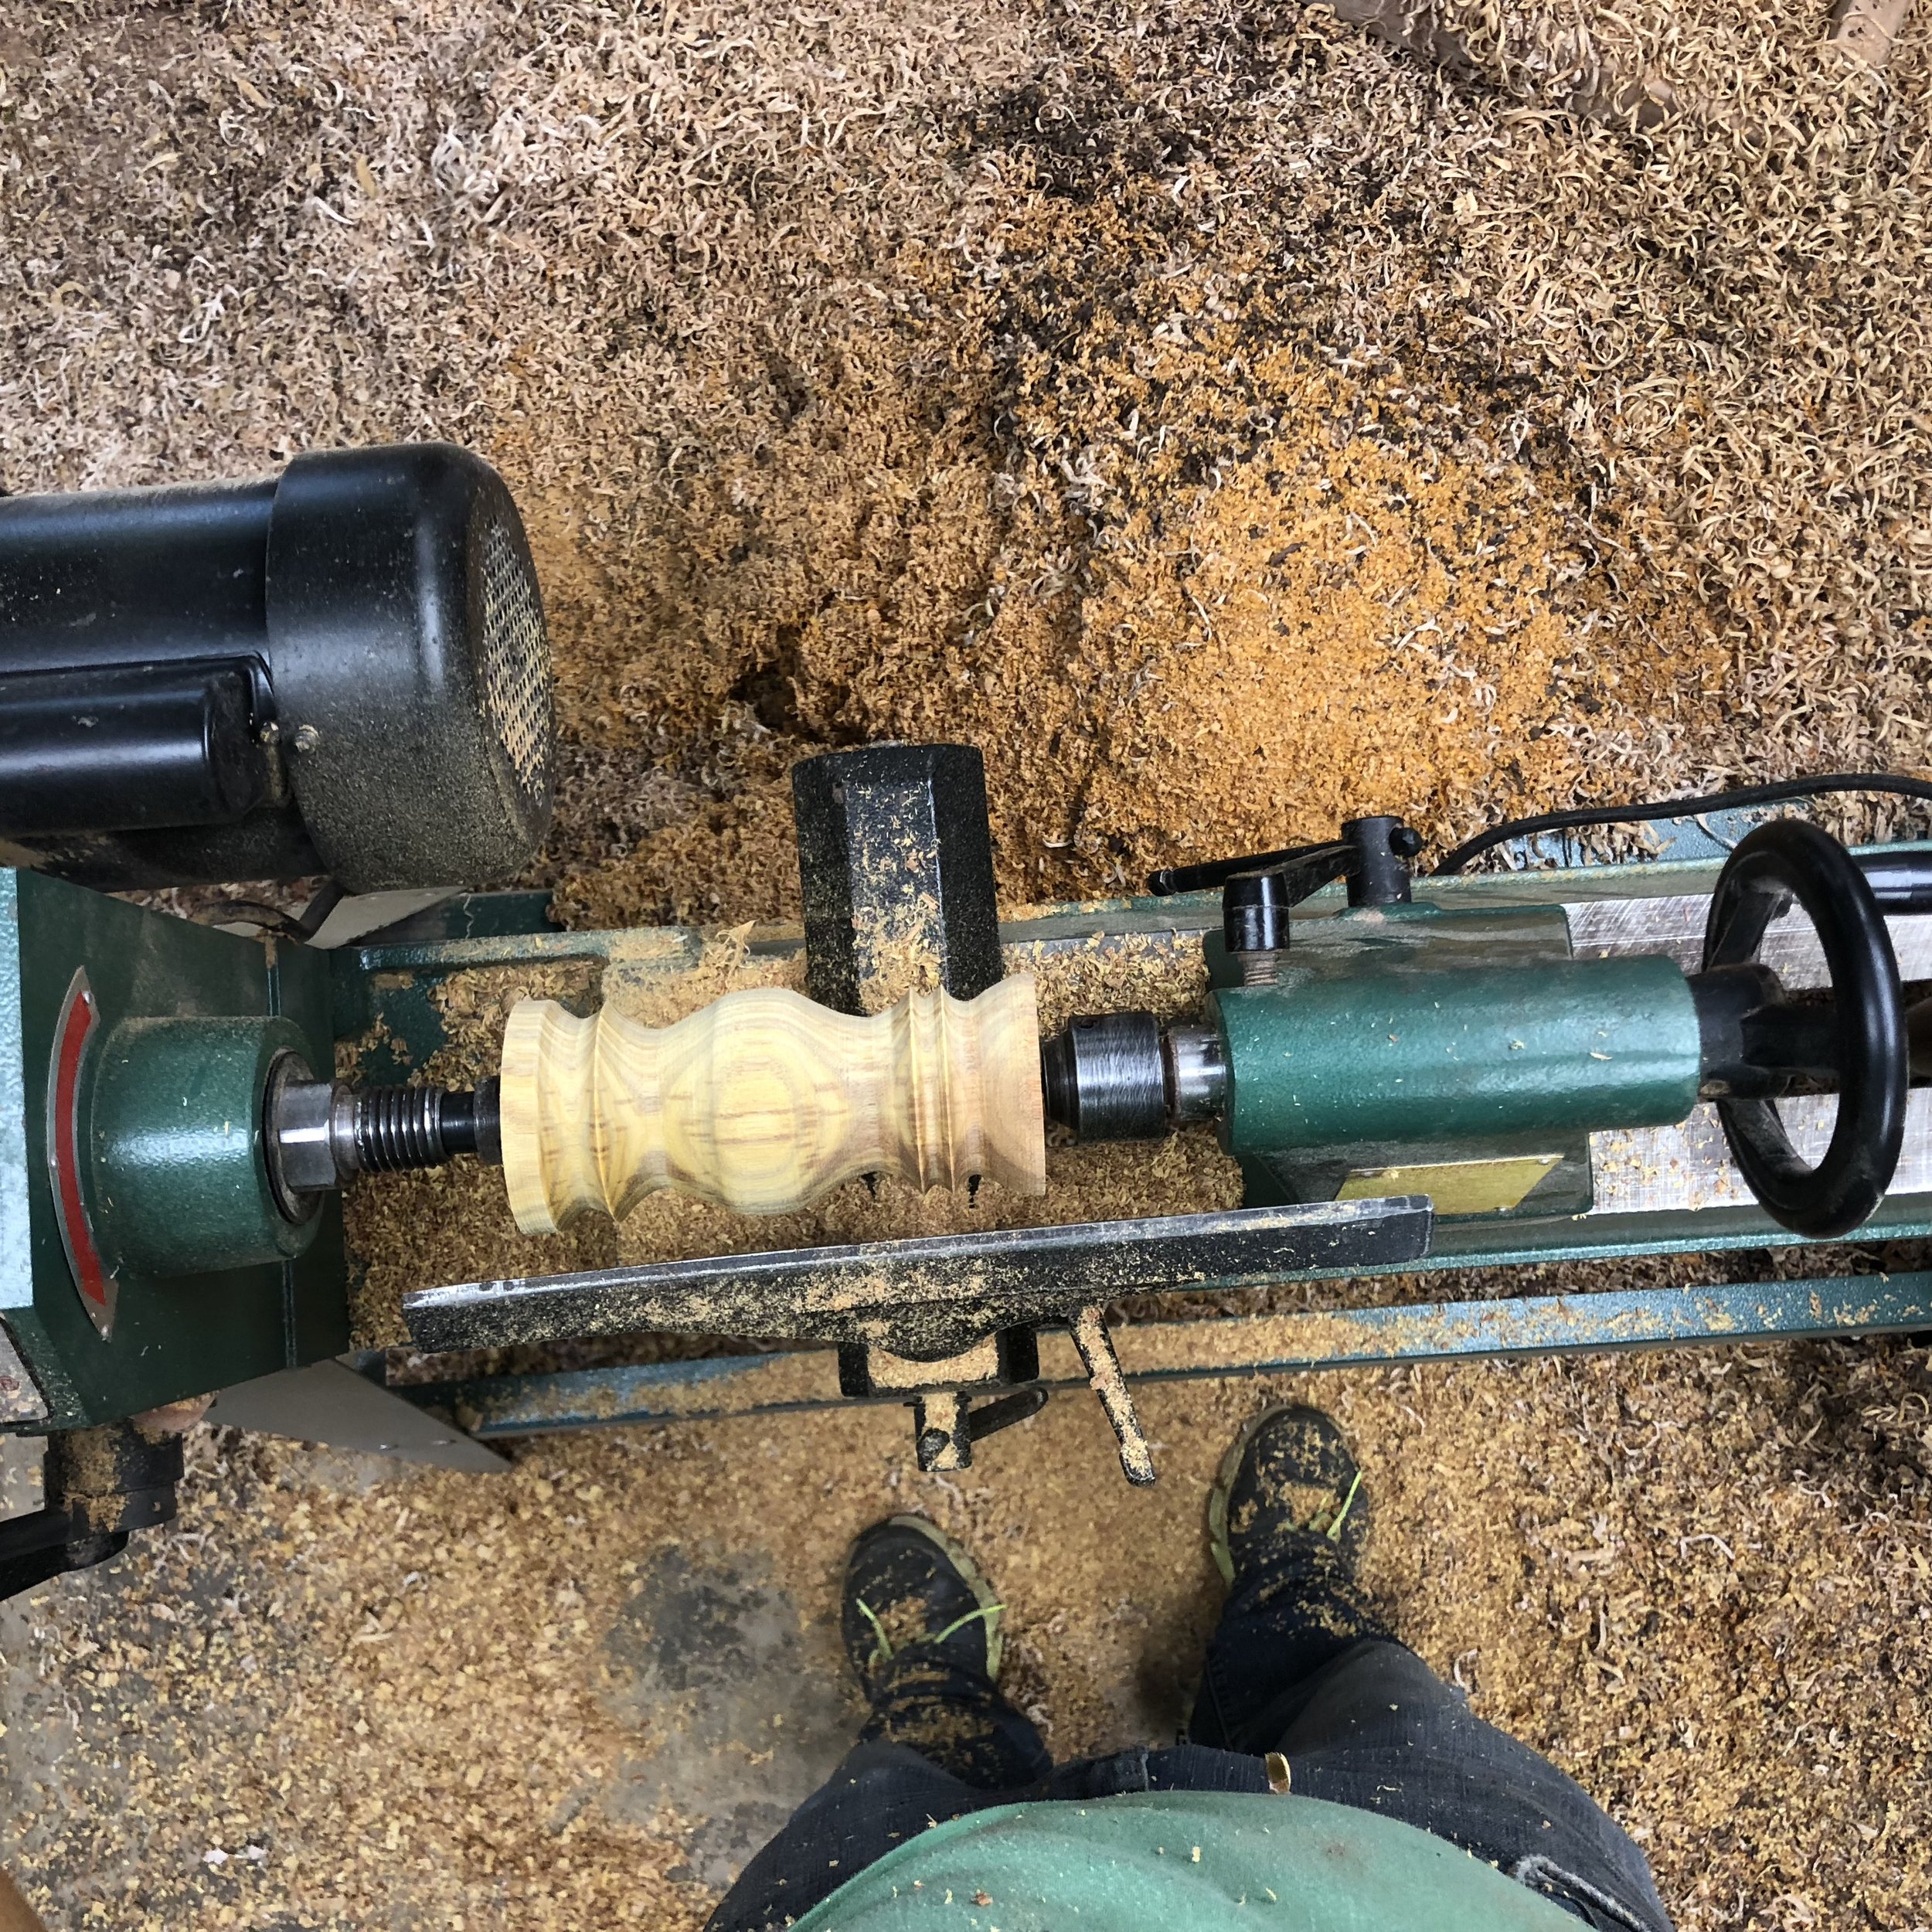
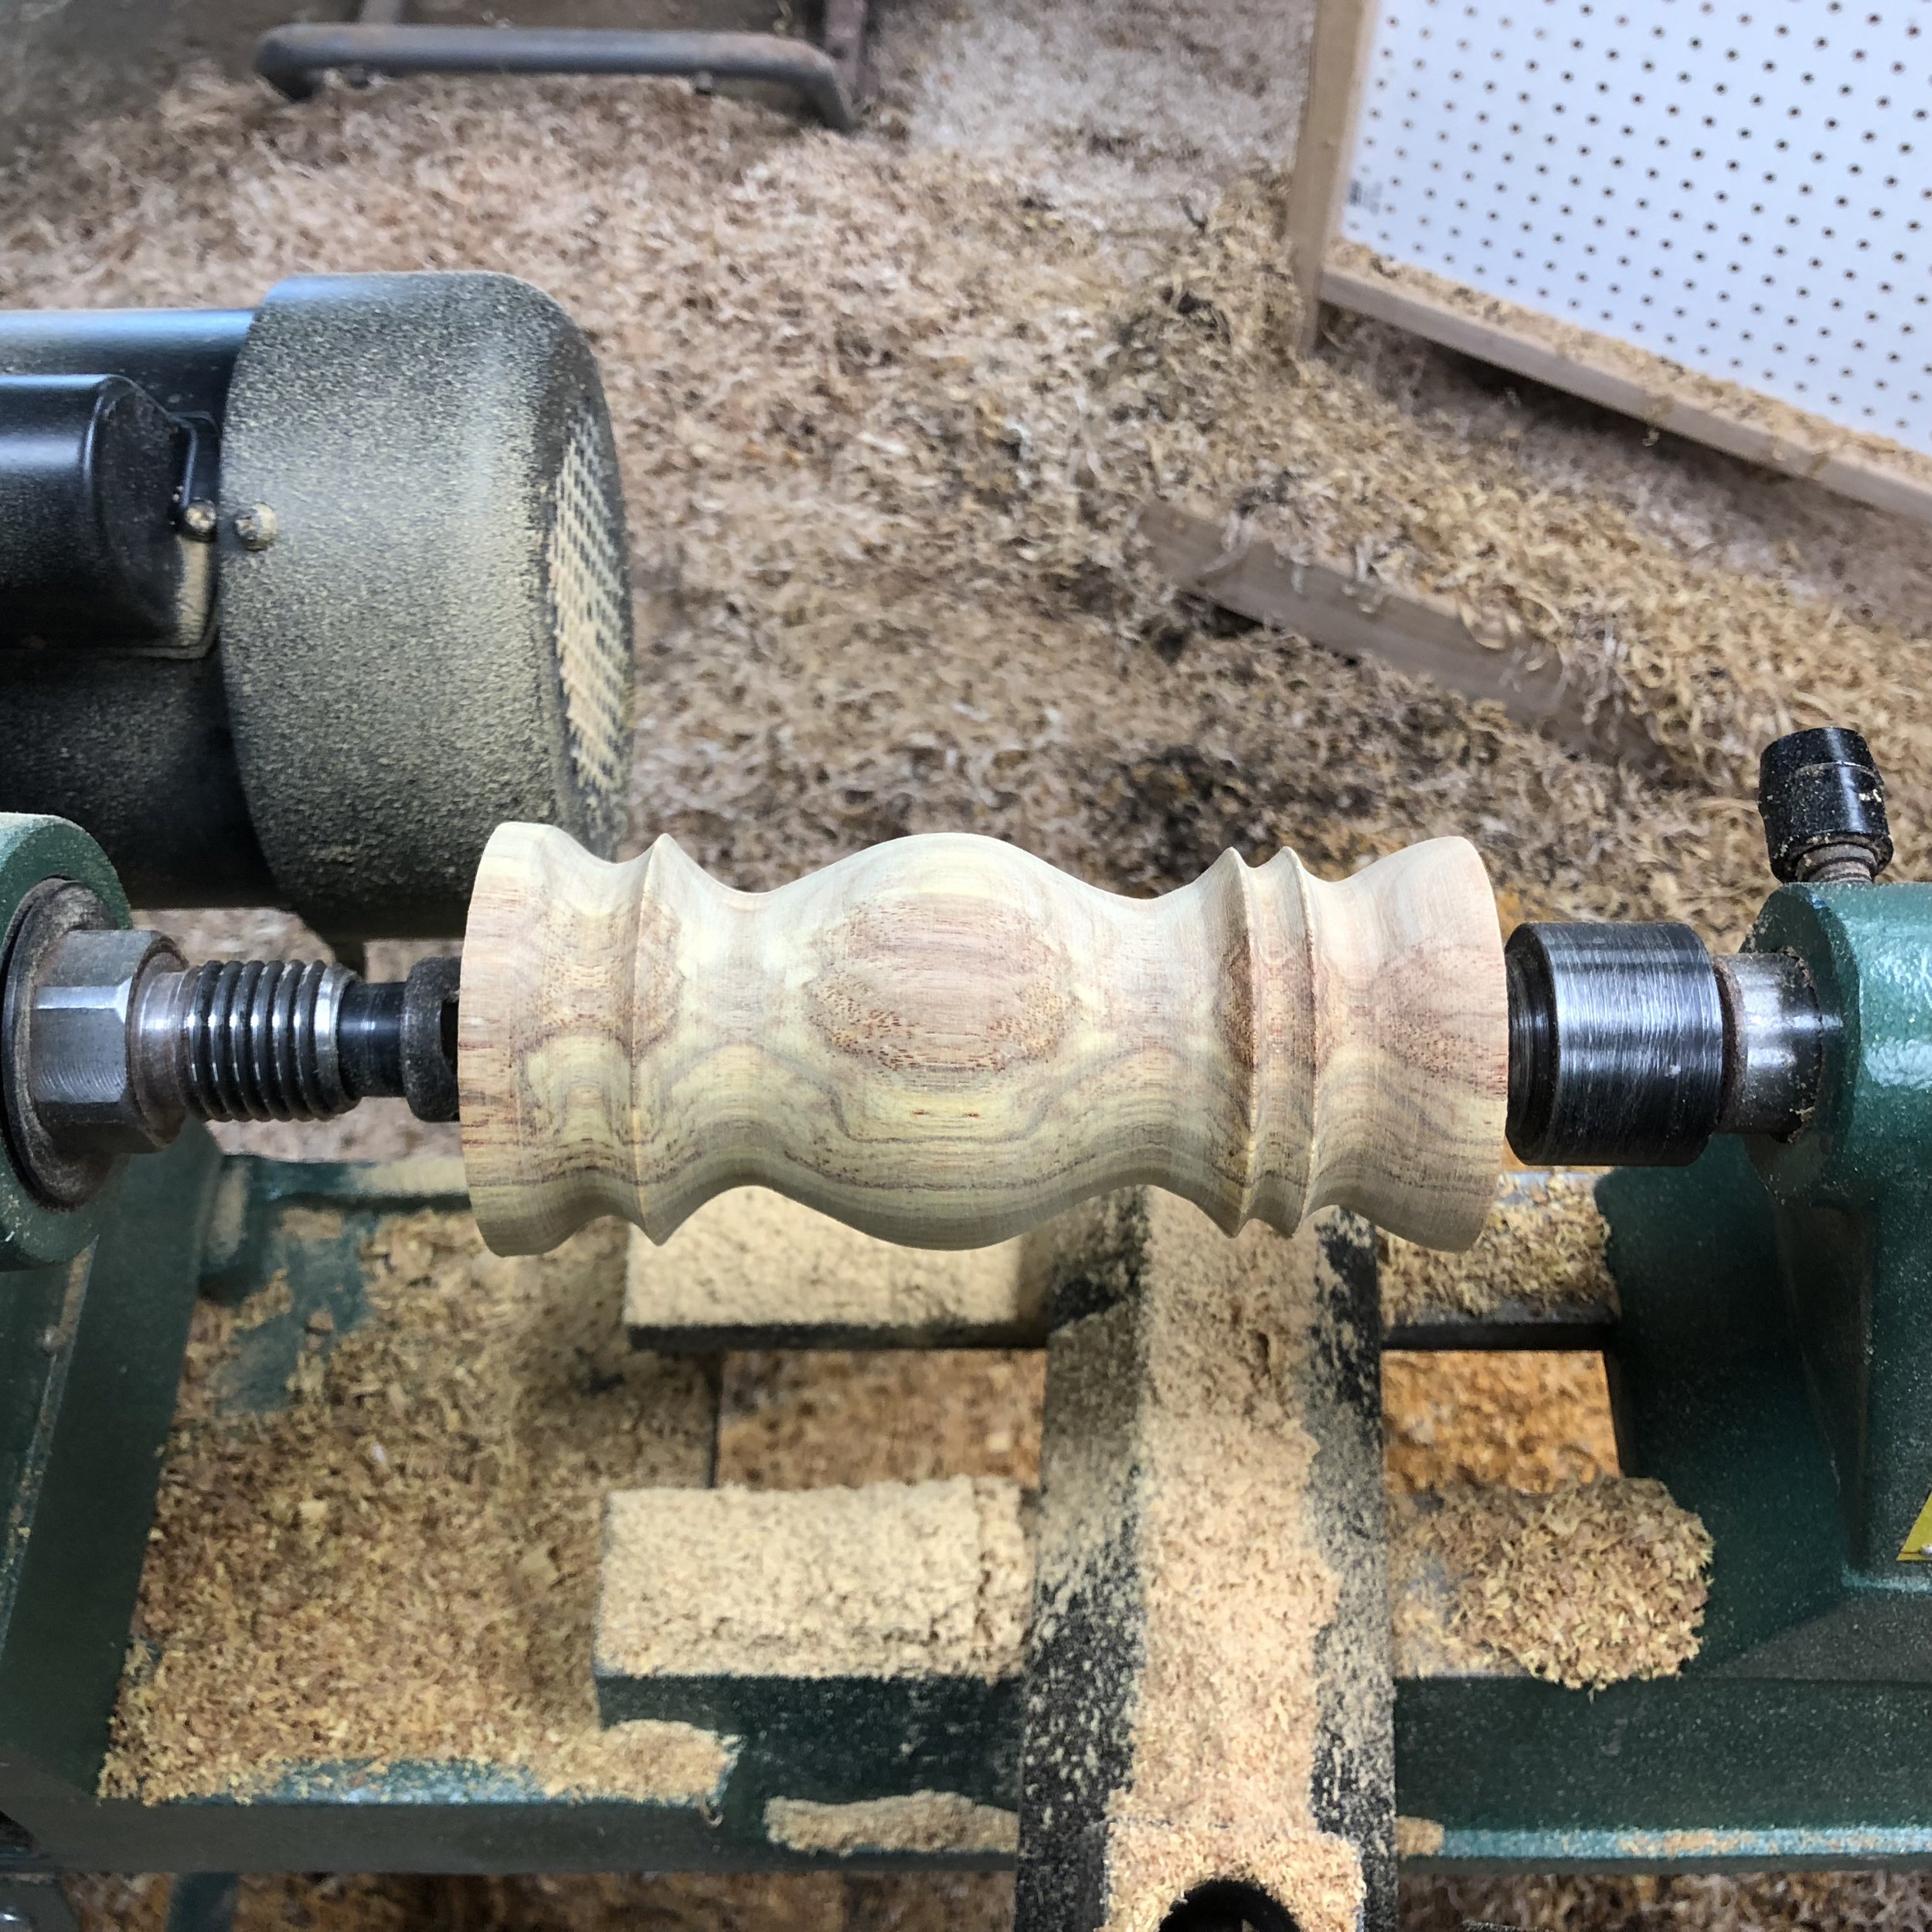
Now that the blank is round(ish), I switch from the roughing gouge to the bowl gouge. Since I turn bowls I've become more comfortable using the bowl gouge over the traditional spindle gouge. But again...figure out which works for you. It's with the bowl gouge that I start to find the shape of the pepper mill. This is the part that truly depends on the piece of wood and my mood. I say that because sometimes I may have a heavier hand when it comes to cutting, and other times I may not cut as deep and the curves are gentler.
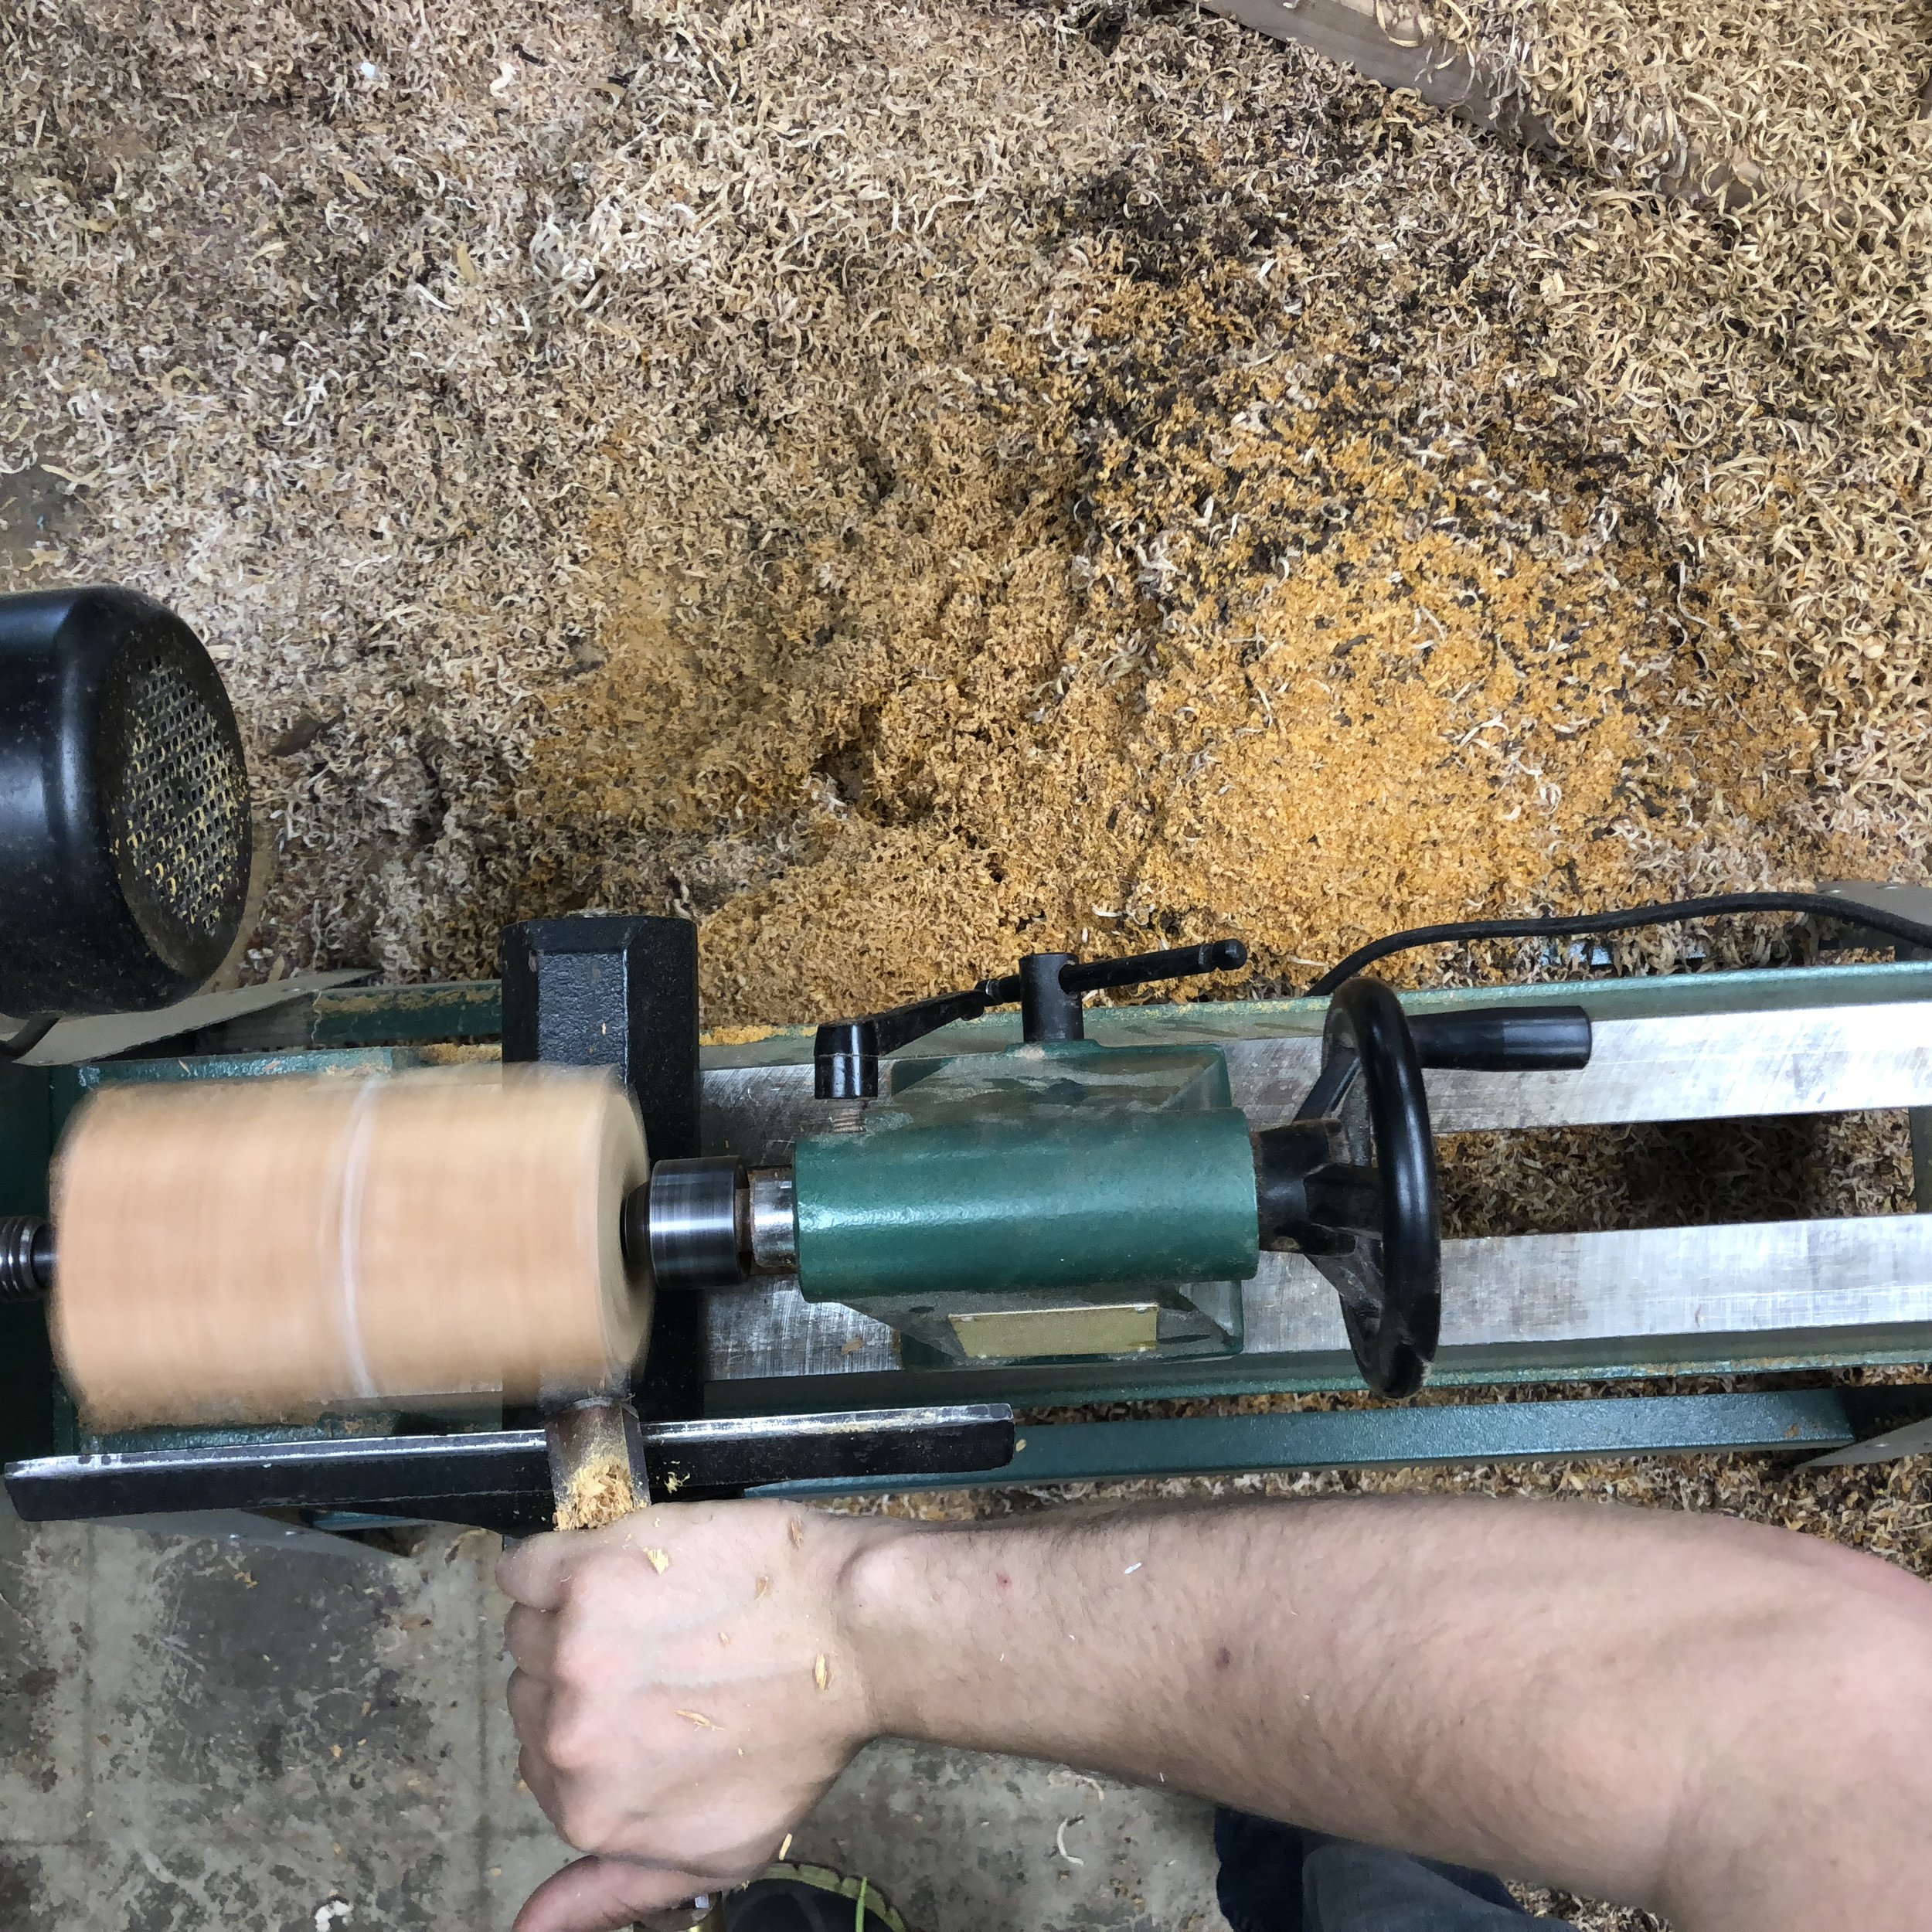
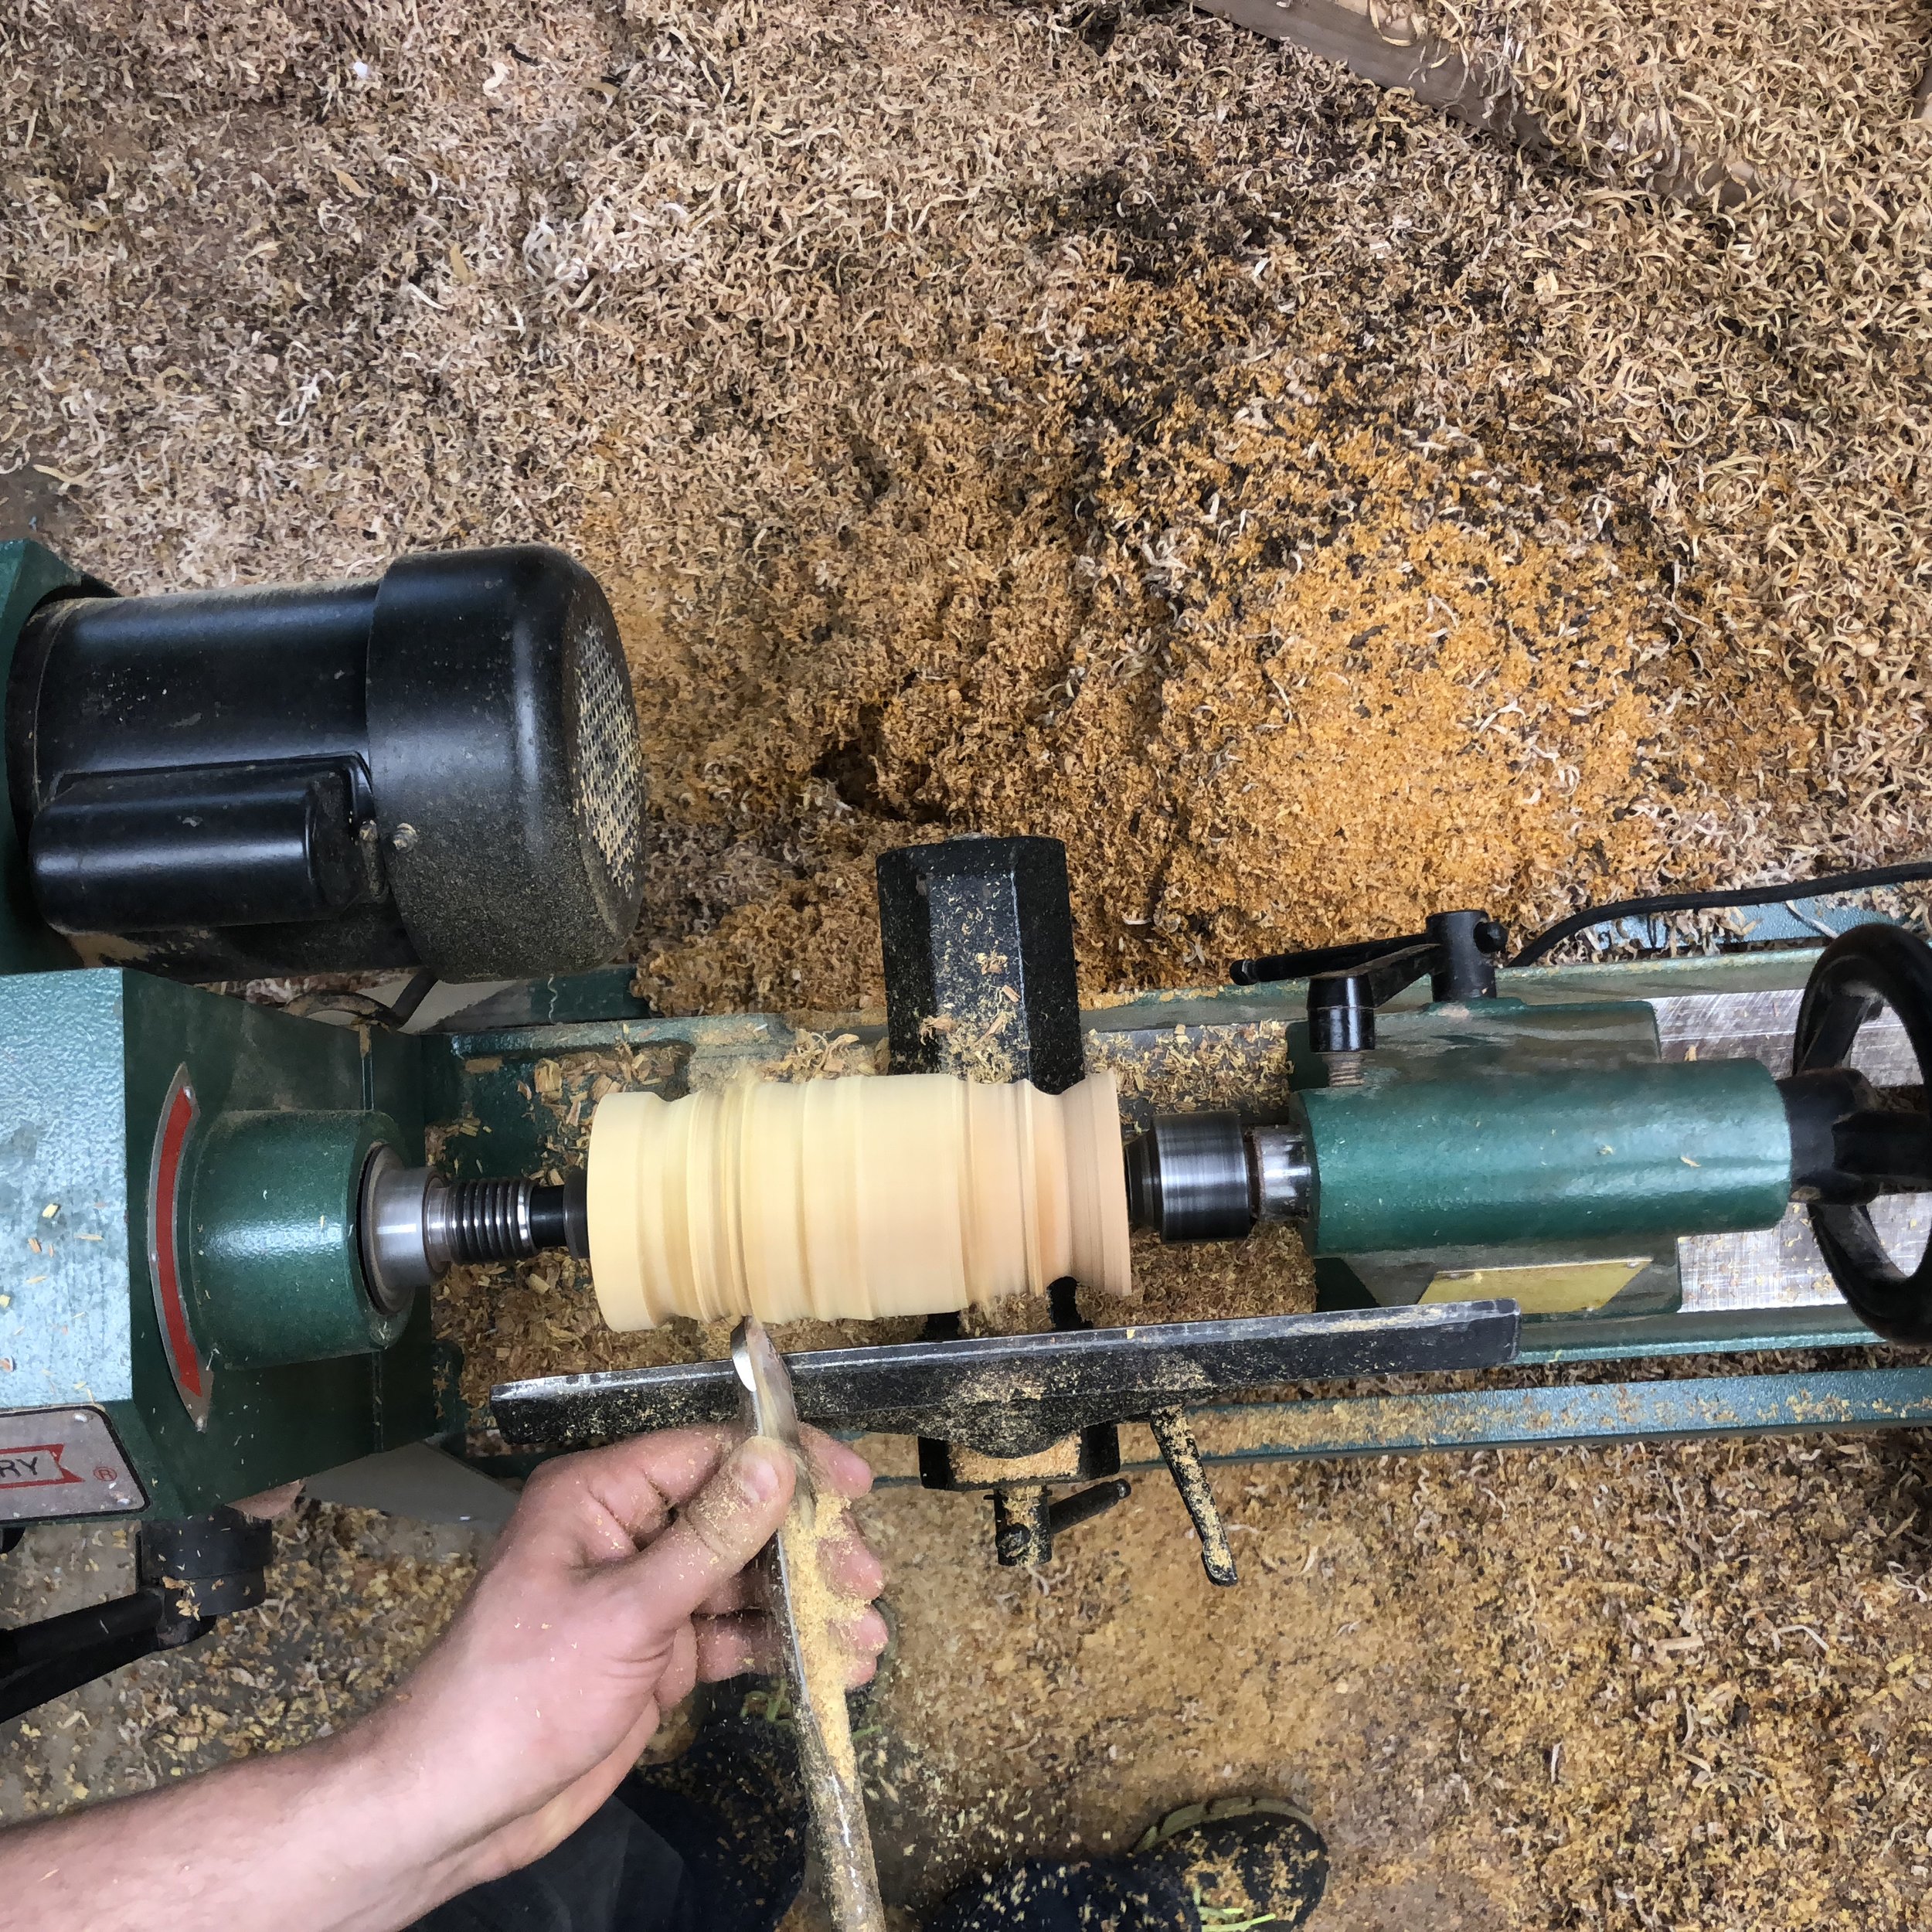
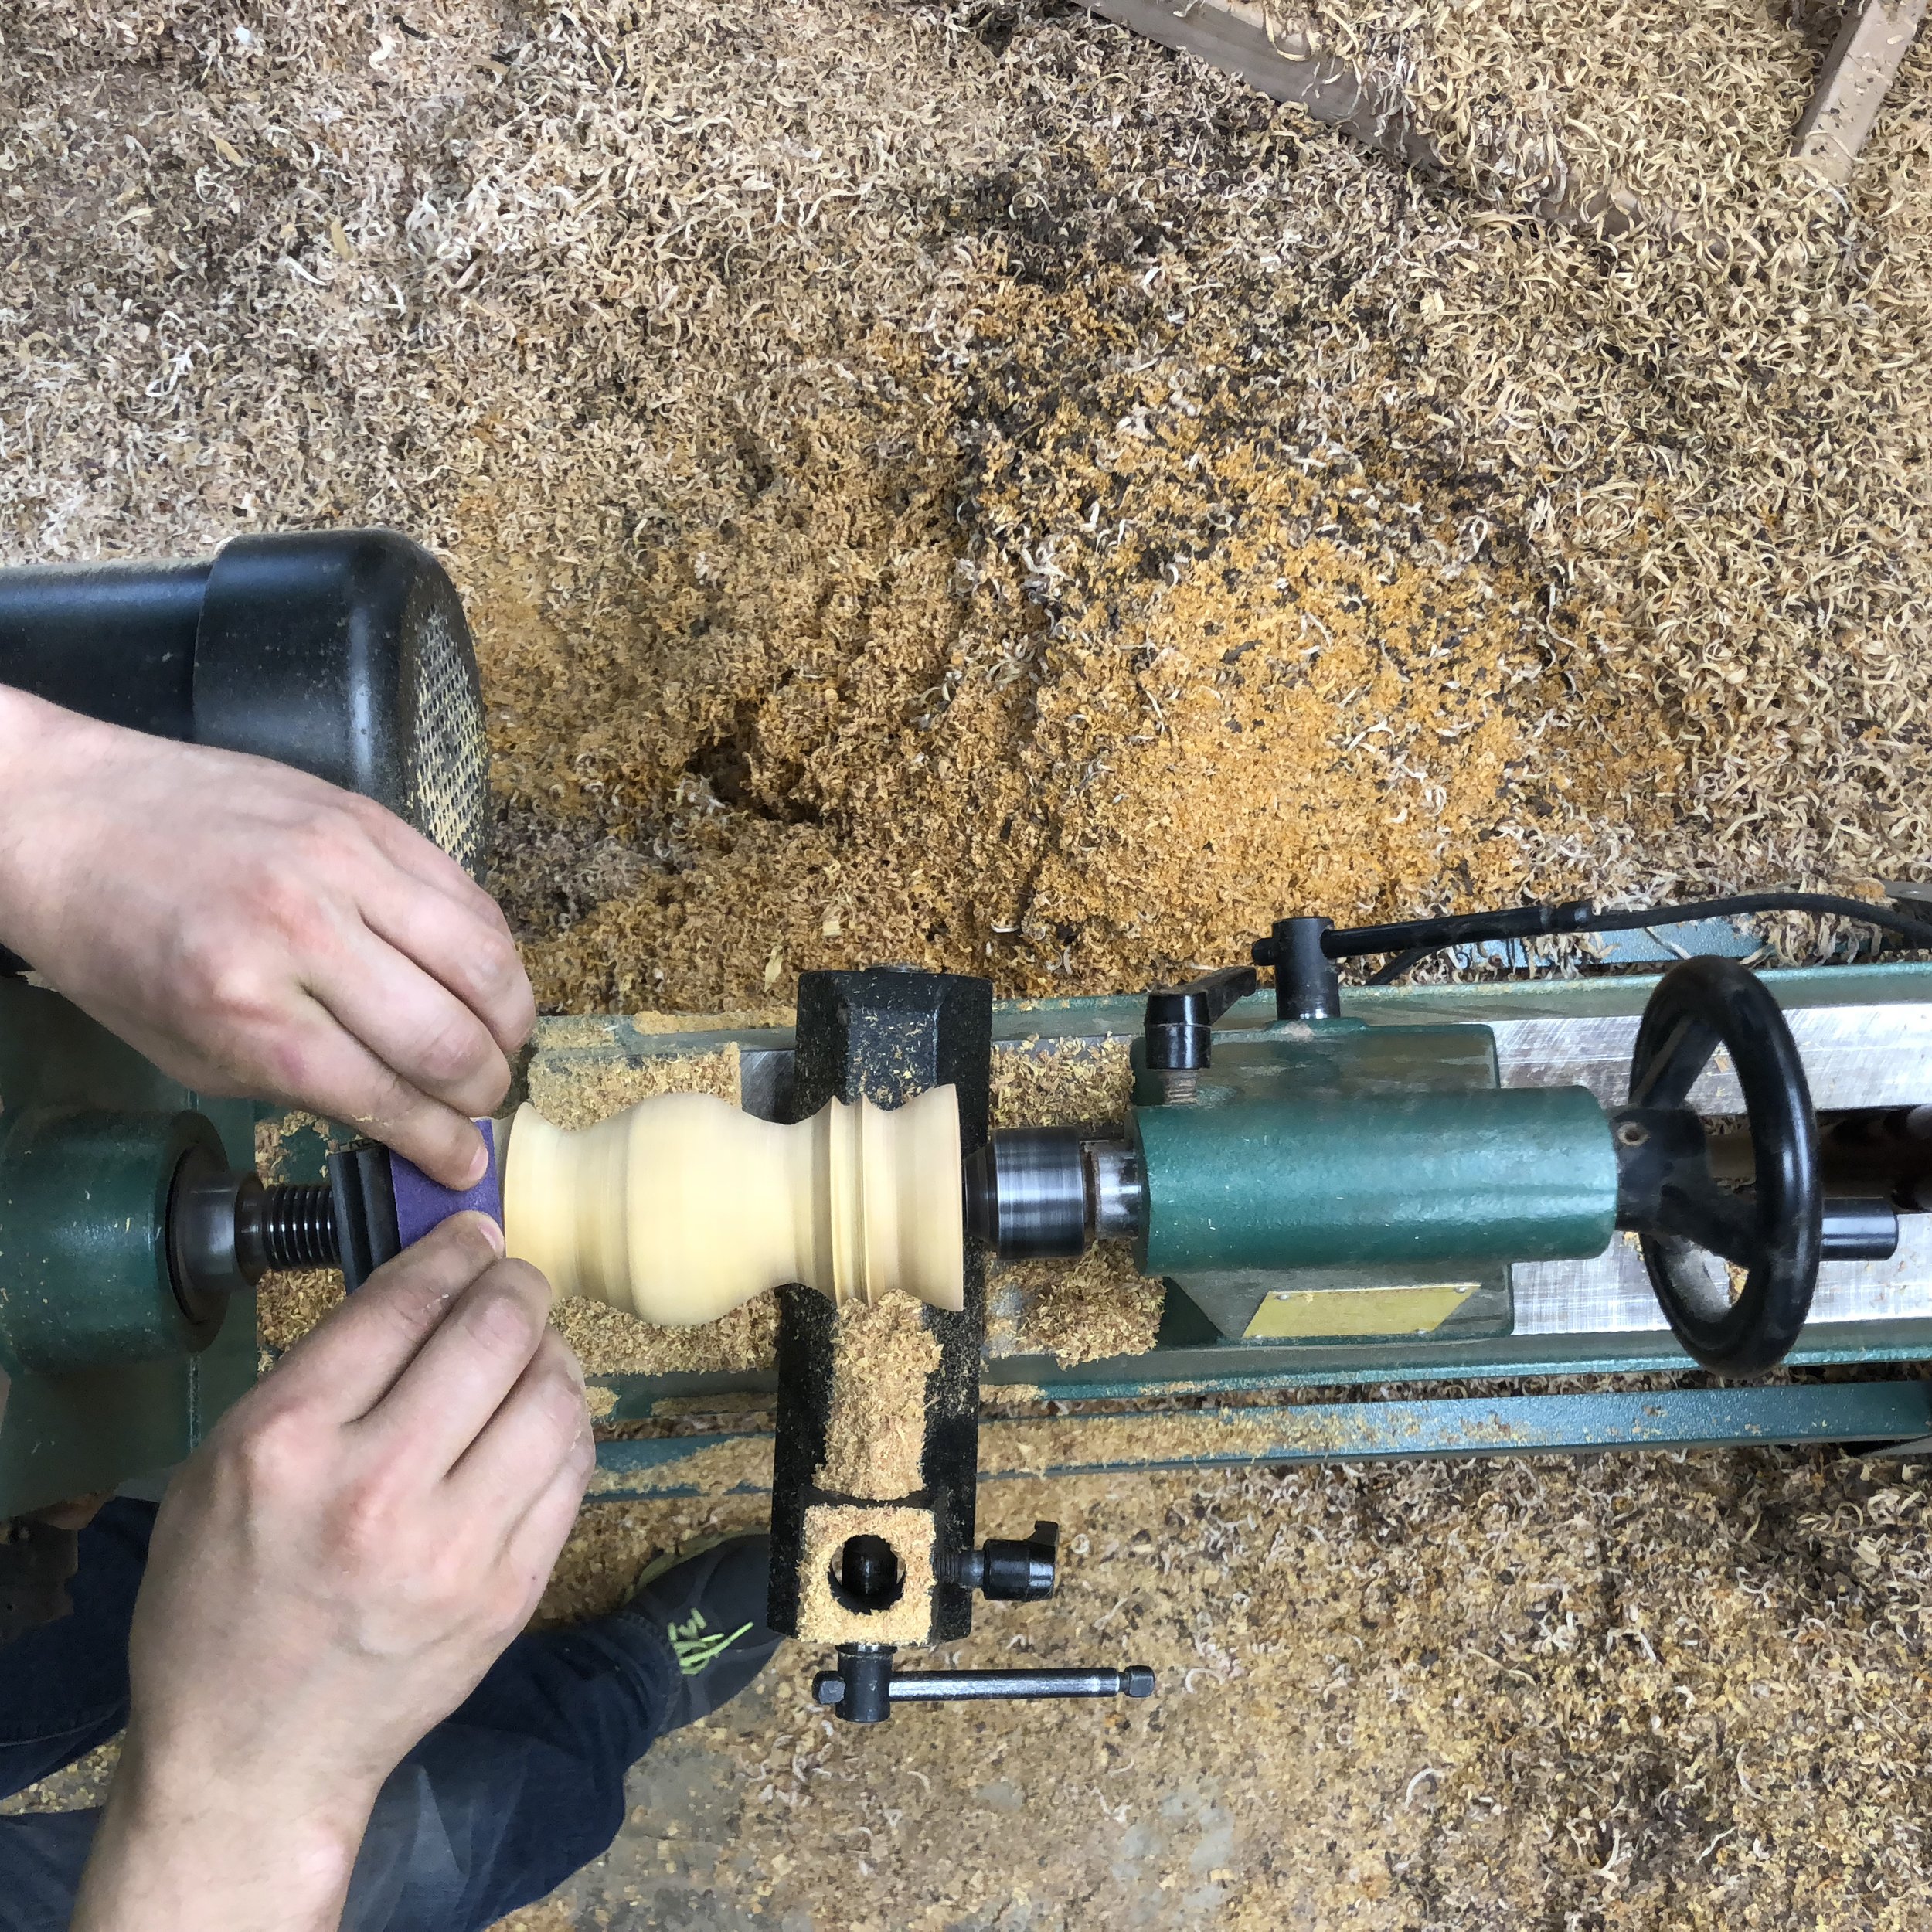
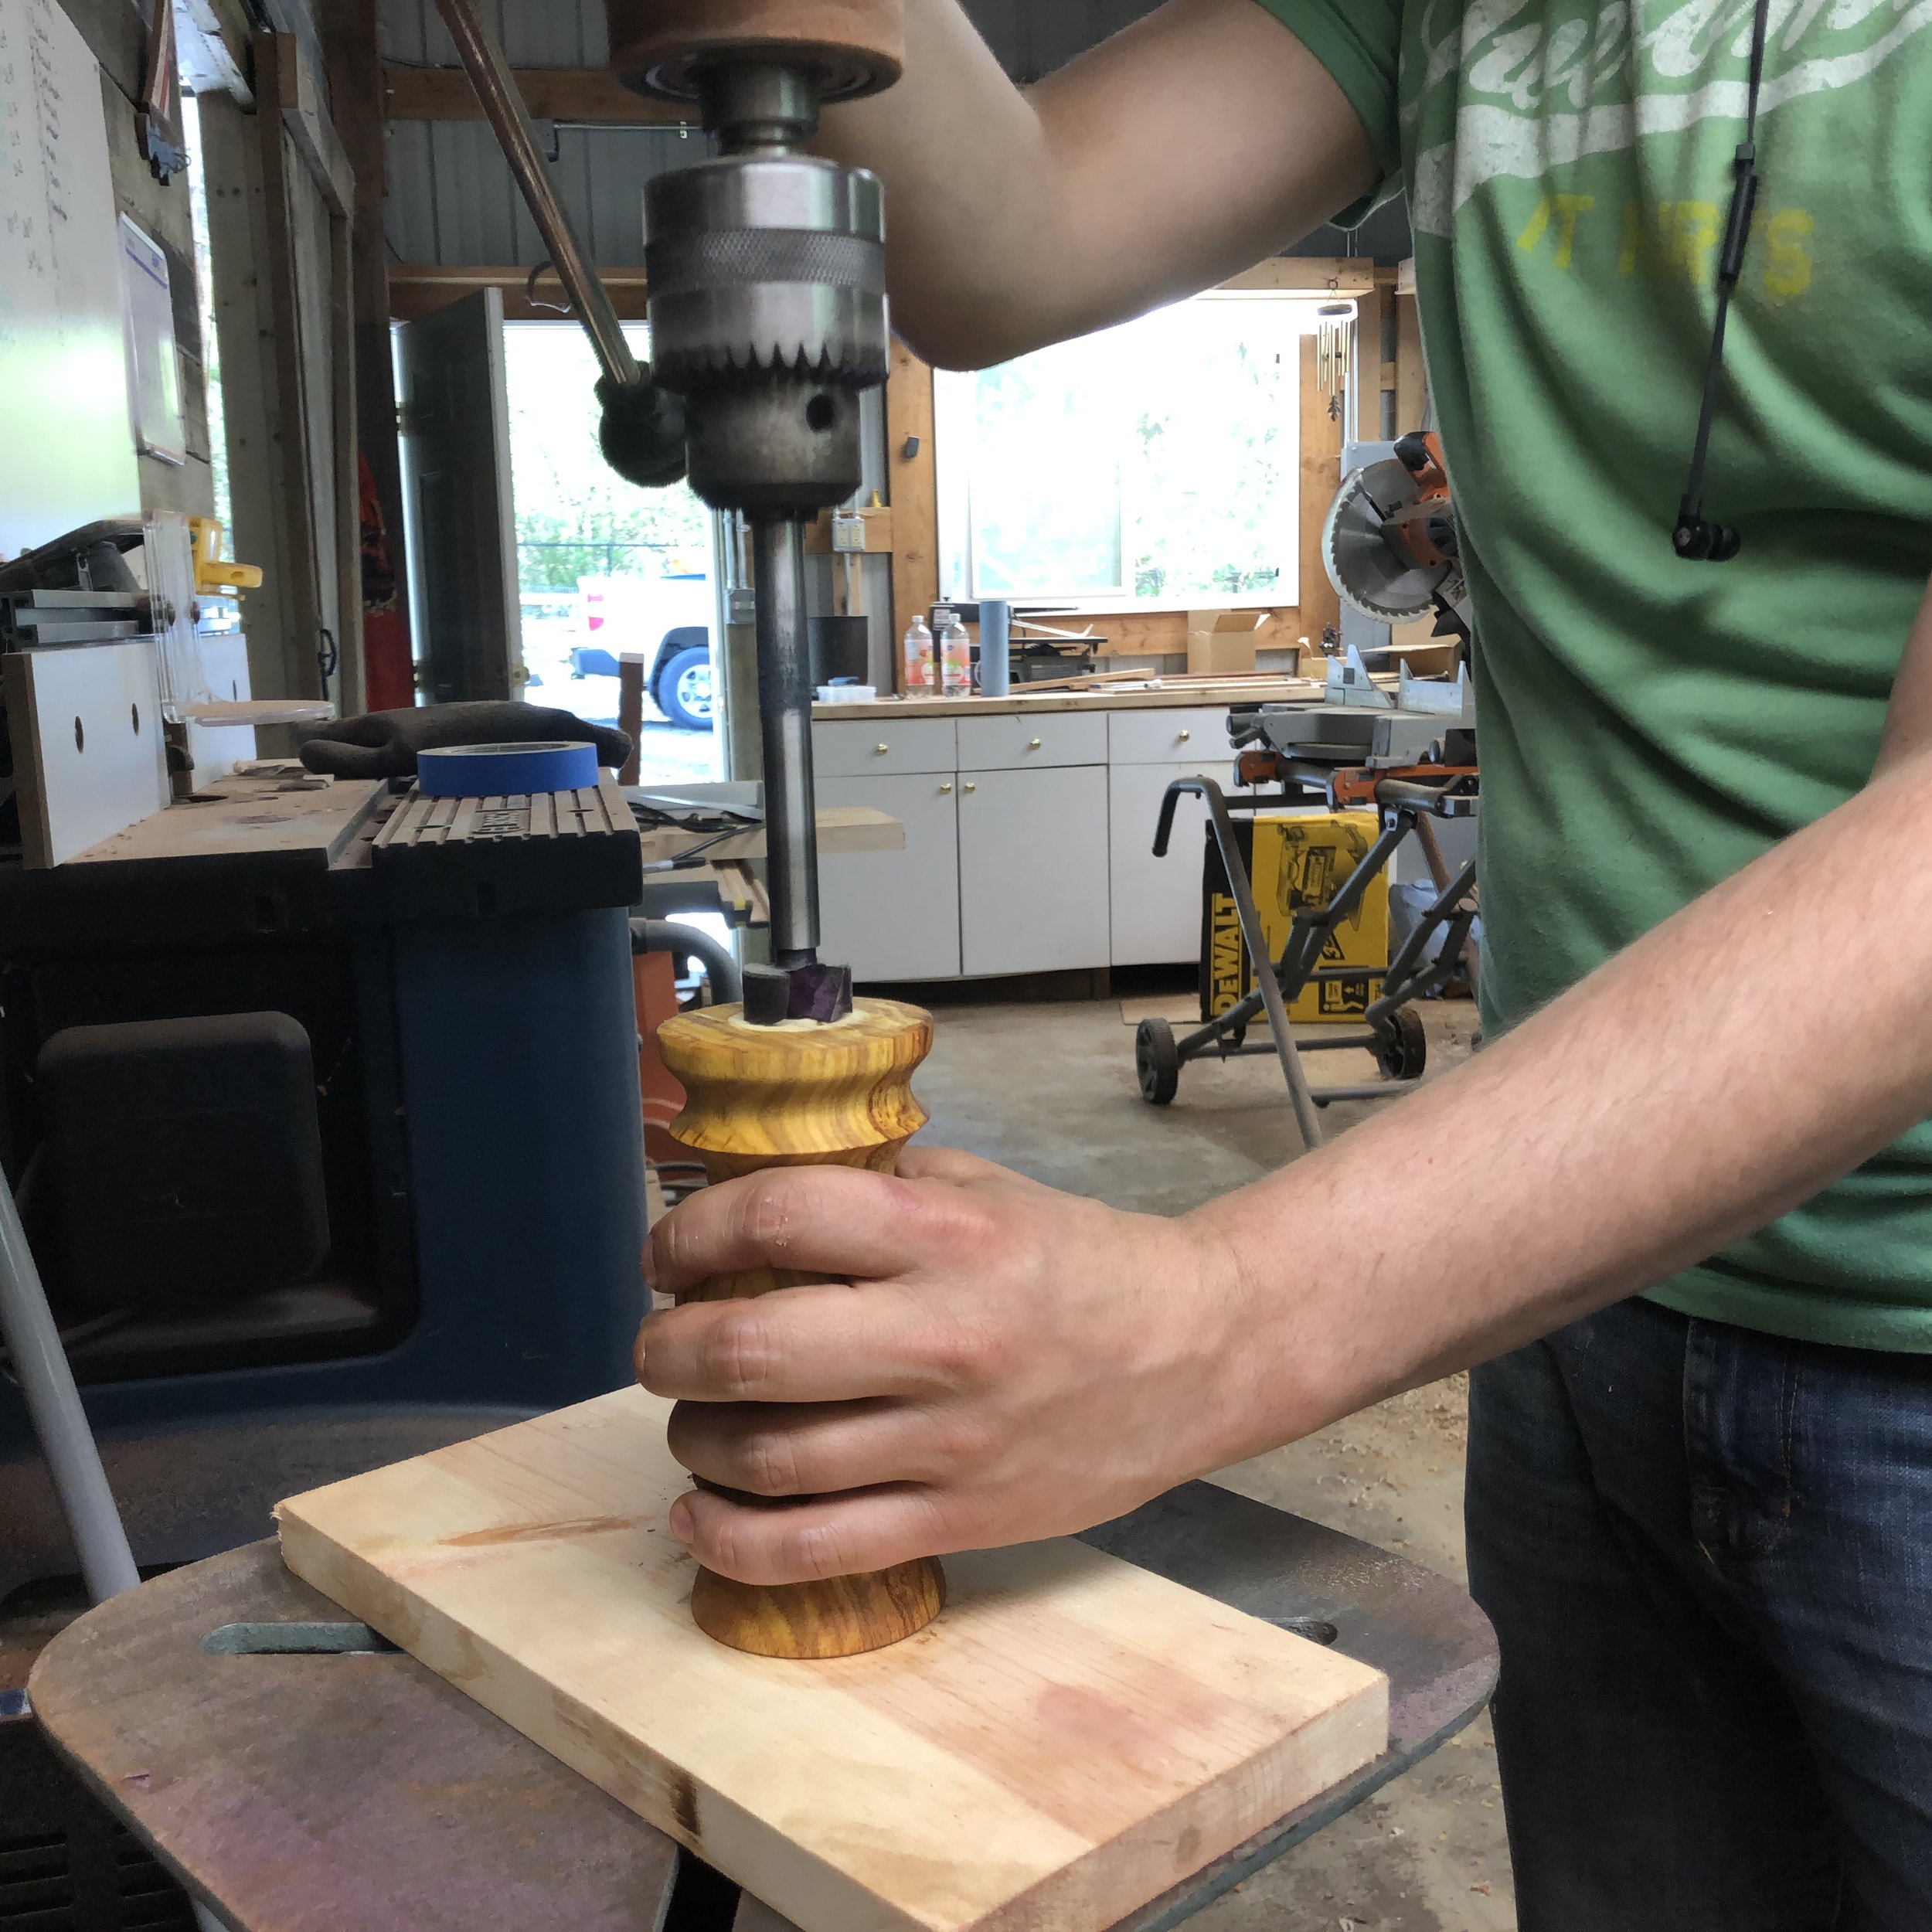
After I've found the shape that I'm happy with, it's time to sand. I start with an 80 grit working my way up to 320 grit. I know some people will go up to even finer grits, but I tend to stop here. At this point you can see the grain and coloring, but it isn't until I apply the oil that they truly pop! I use the same oil, Mahoney's Heat Treated Filtered Walnut Oil, that I use for my bowls and rolling pins. Once it's sanded and oiled I'm able to drill out the center of the pepper mill. I prefer to use the drill press for this, but some use the lathe by attaching a chuck and forstner bit to the tailstock. I tried it that way once, only once.
I wait until I've finished the outside before drilling out the center. However, you could core the blank before turning, but then you'll need to use jam chucks to hold the blank between centers. Personally, I find using jam chucks to be an unnecessary pain in the rear end, so I core it after turning.
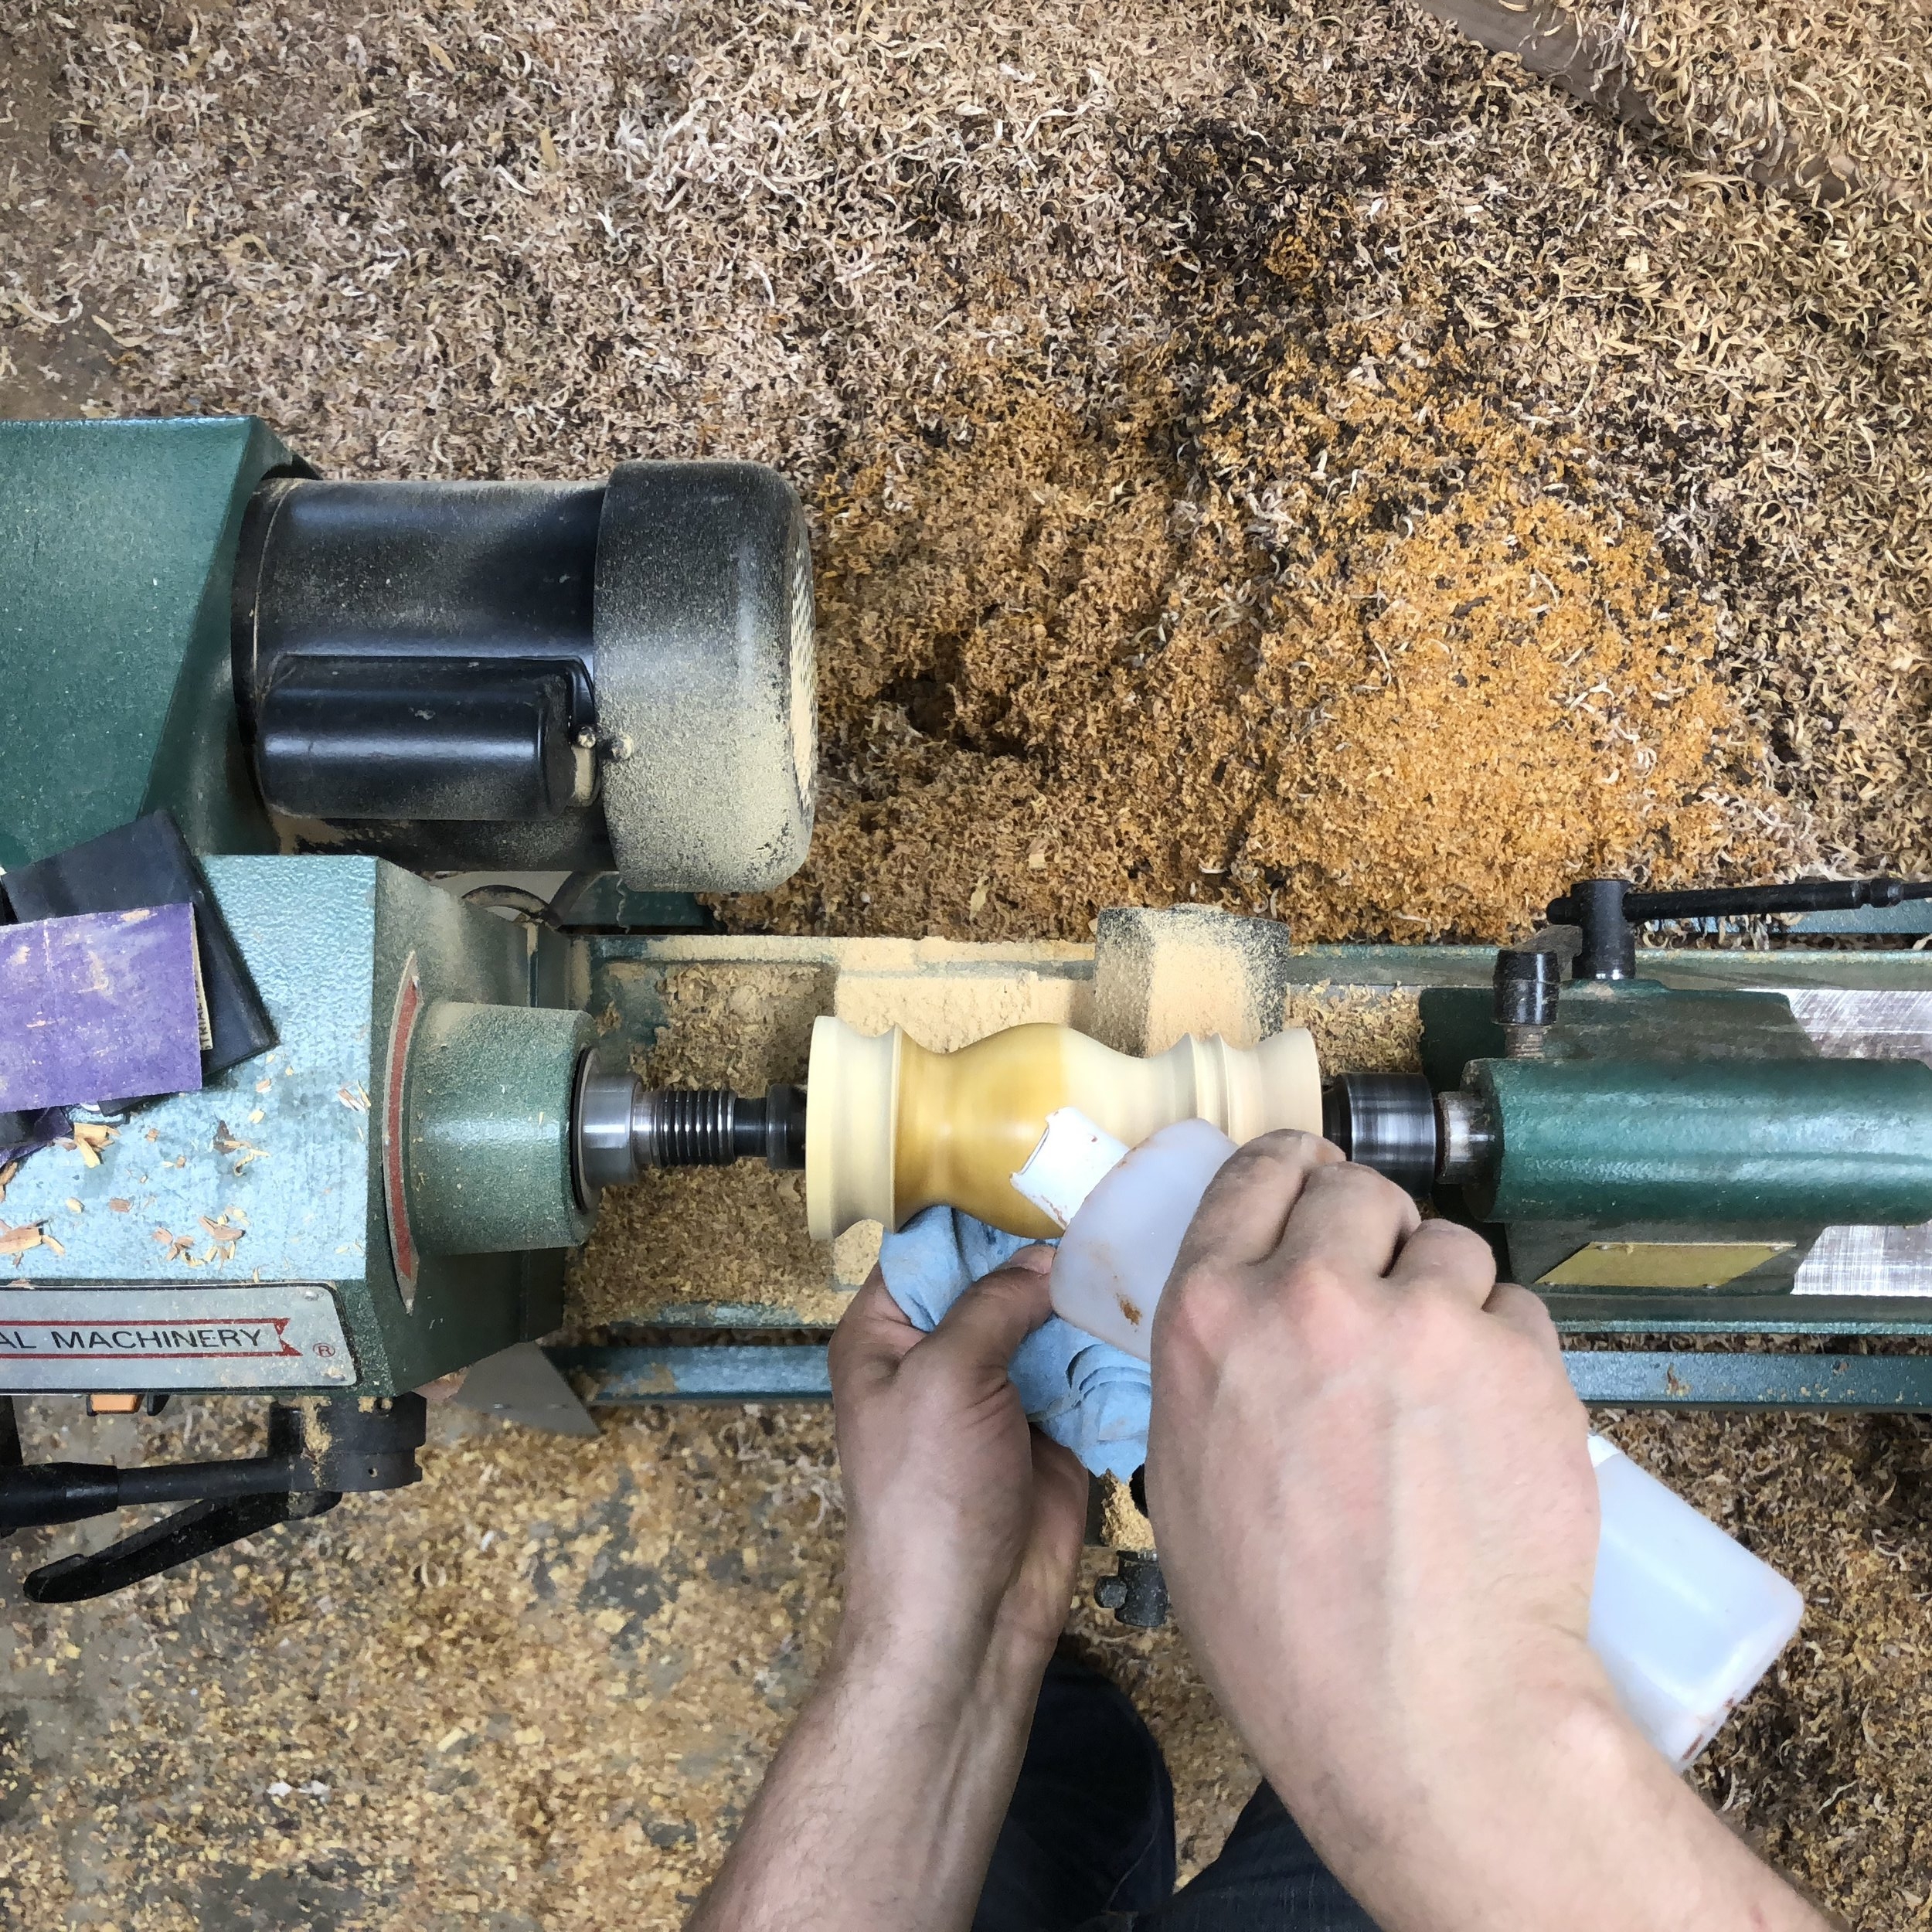
Once it's cored, I wipe it down and give it another rub down with the walnut oil. And then it's on to putting on the grinder hardware.
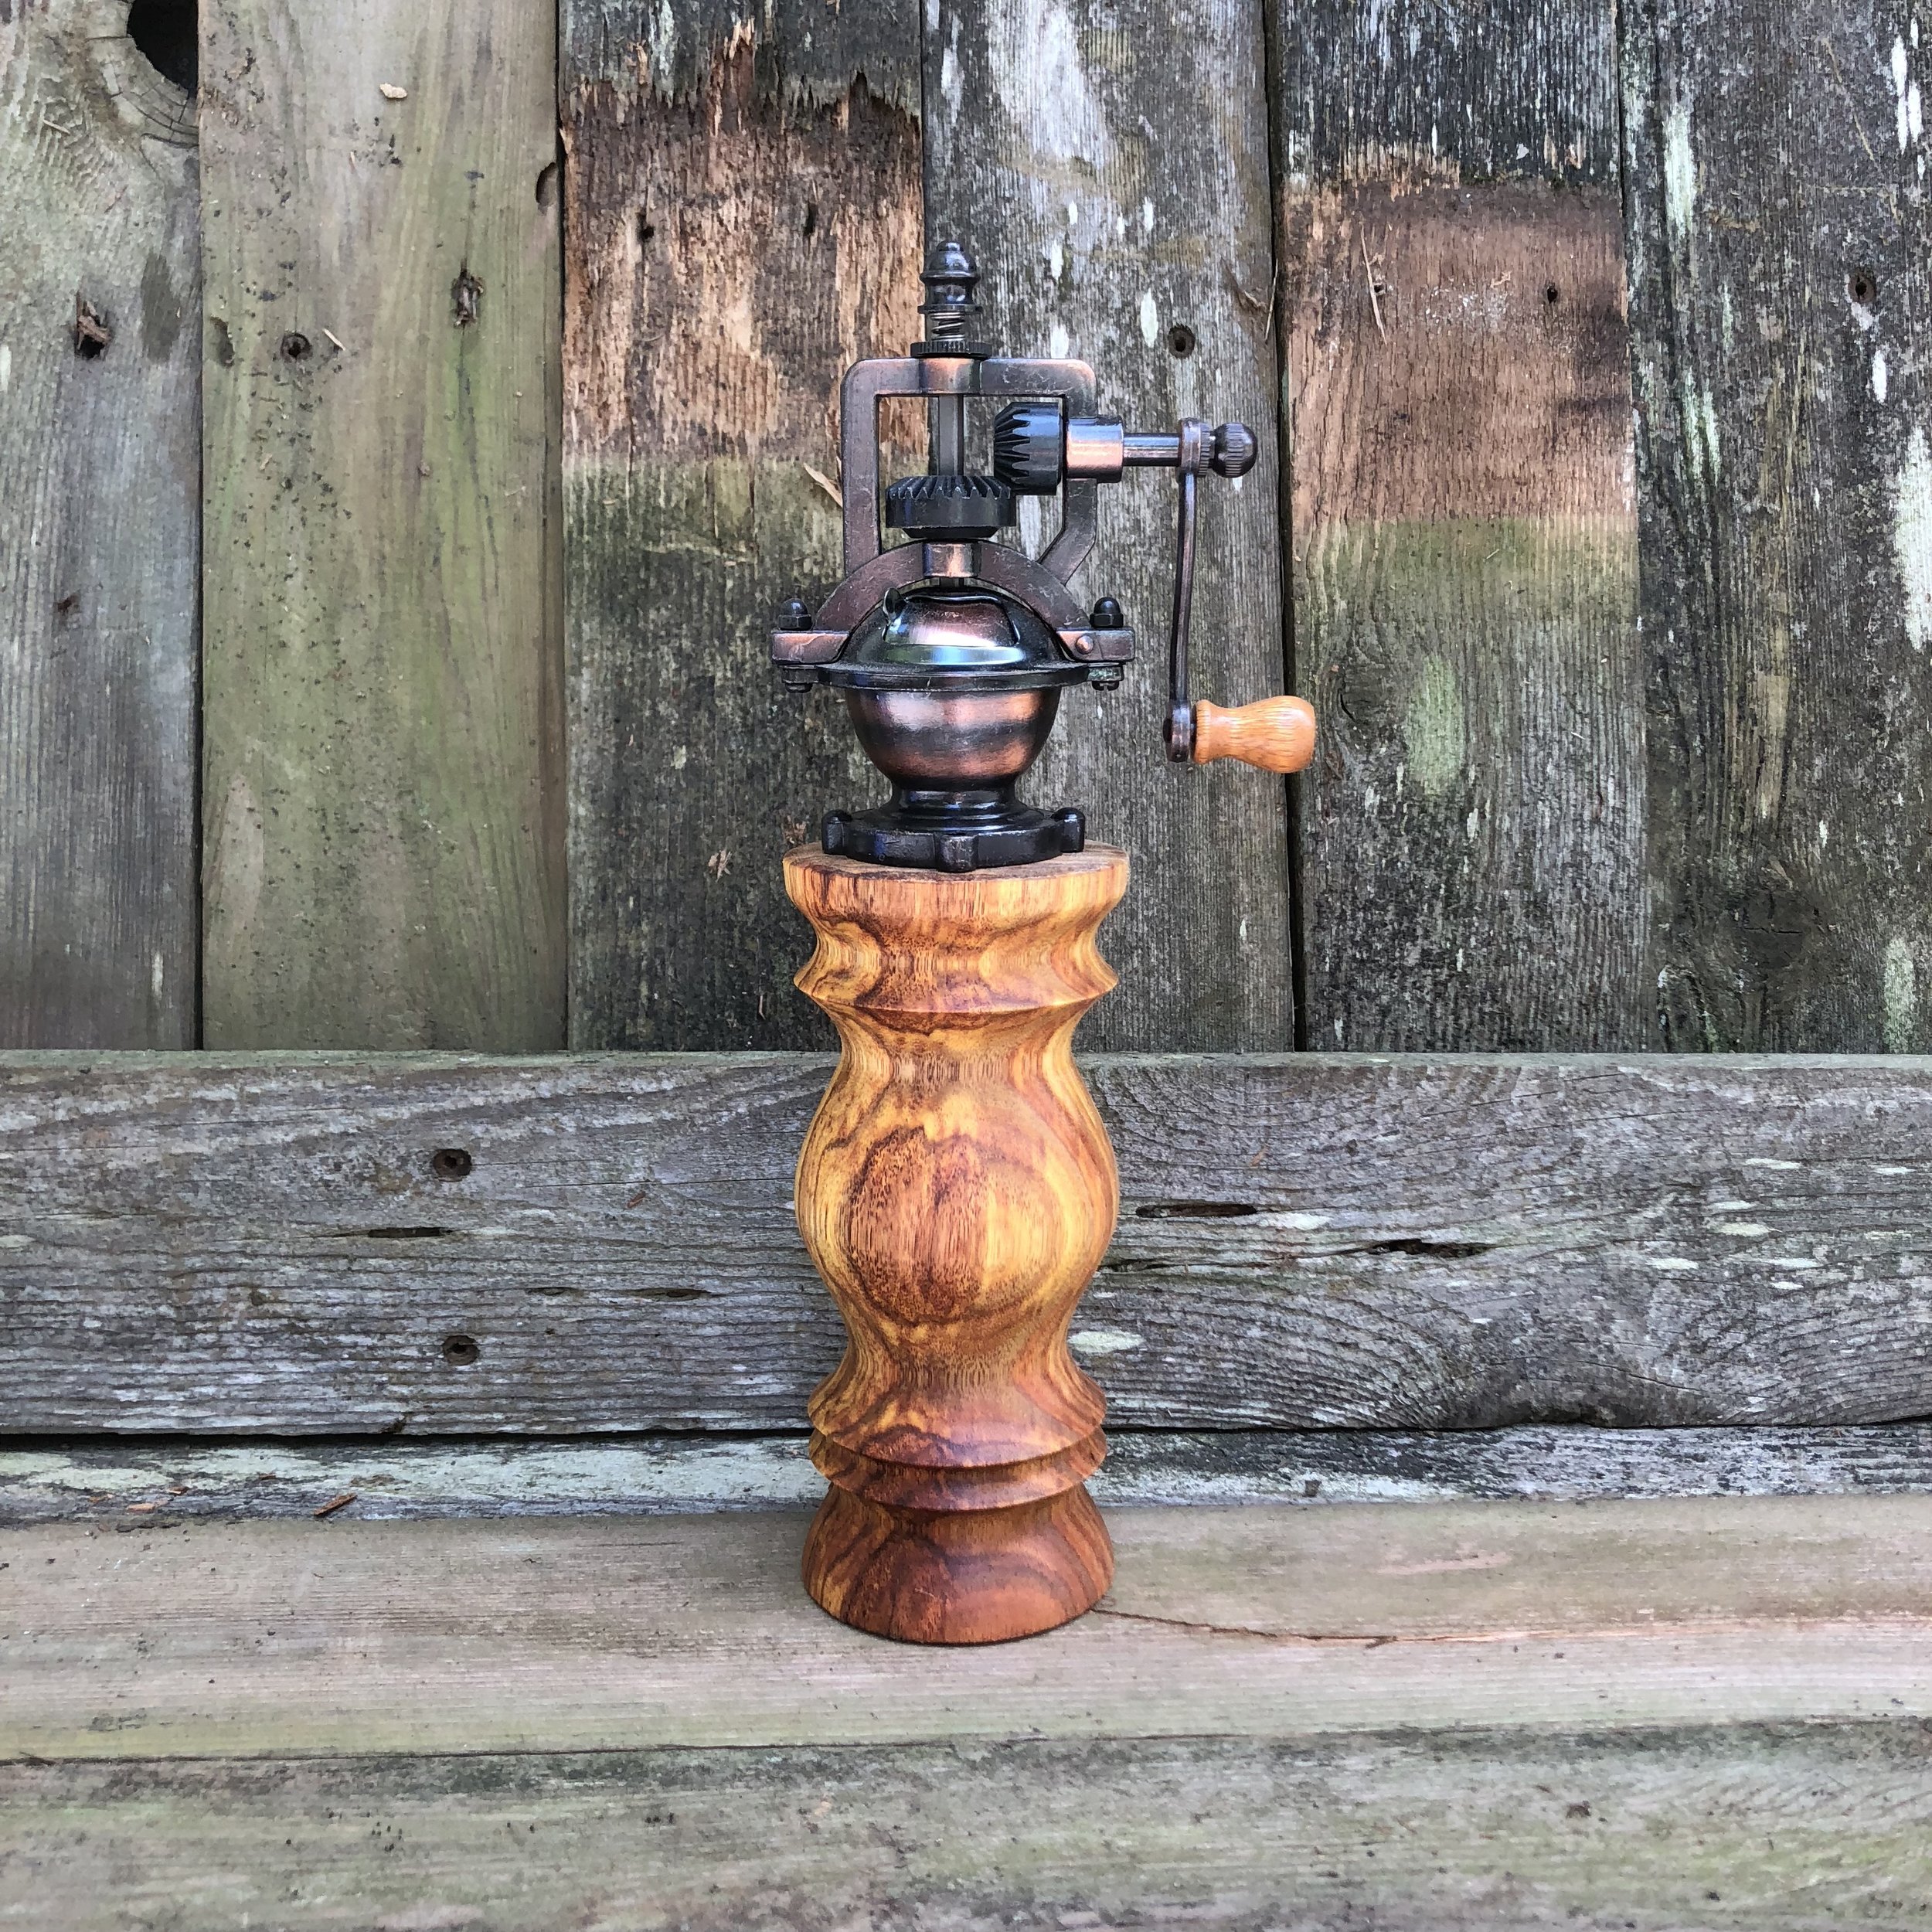
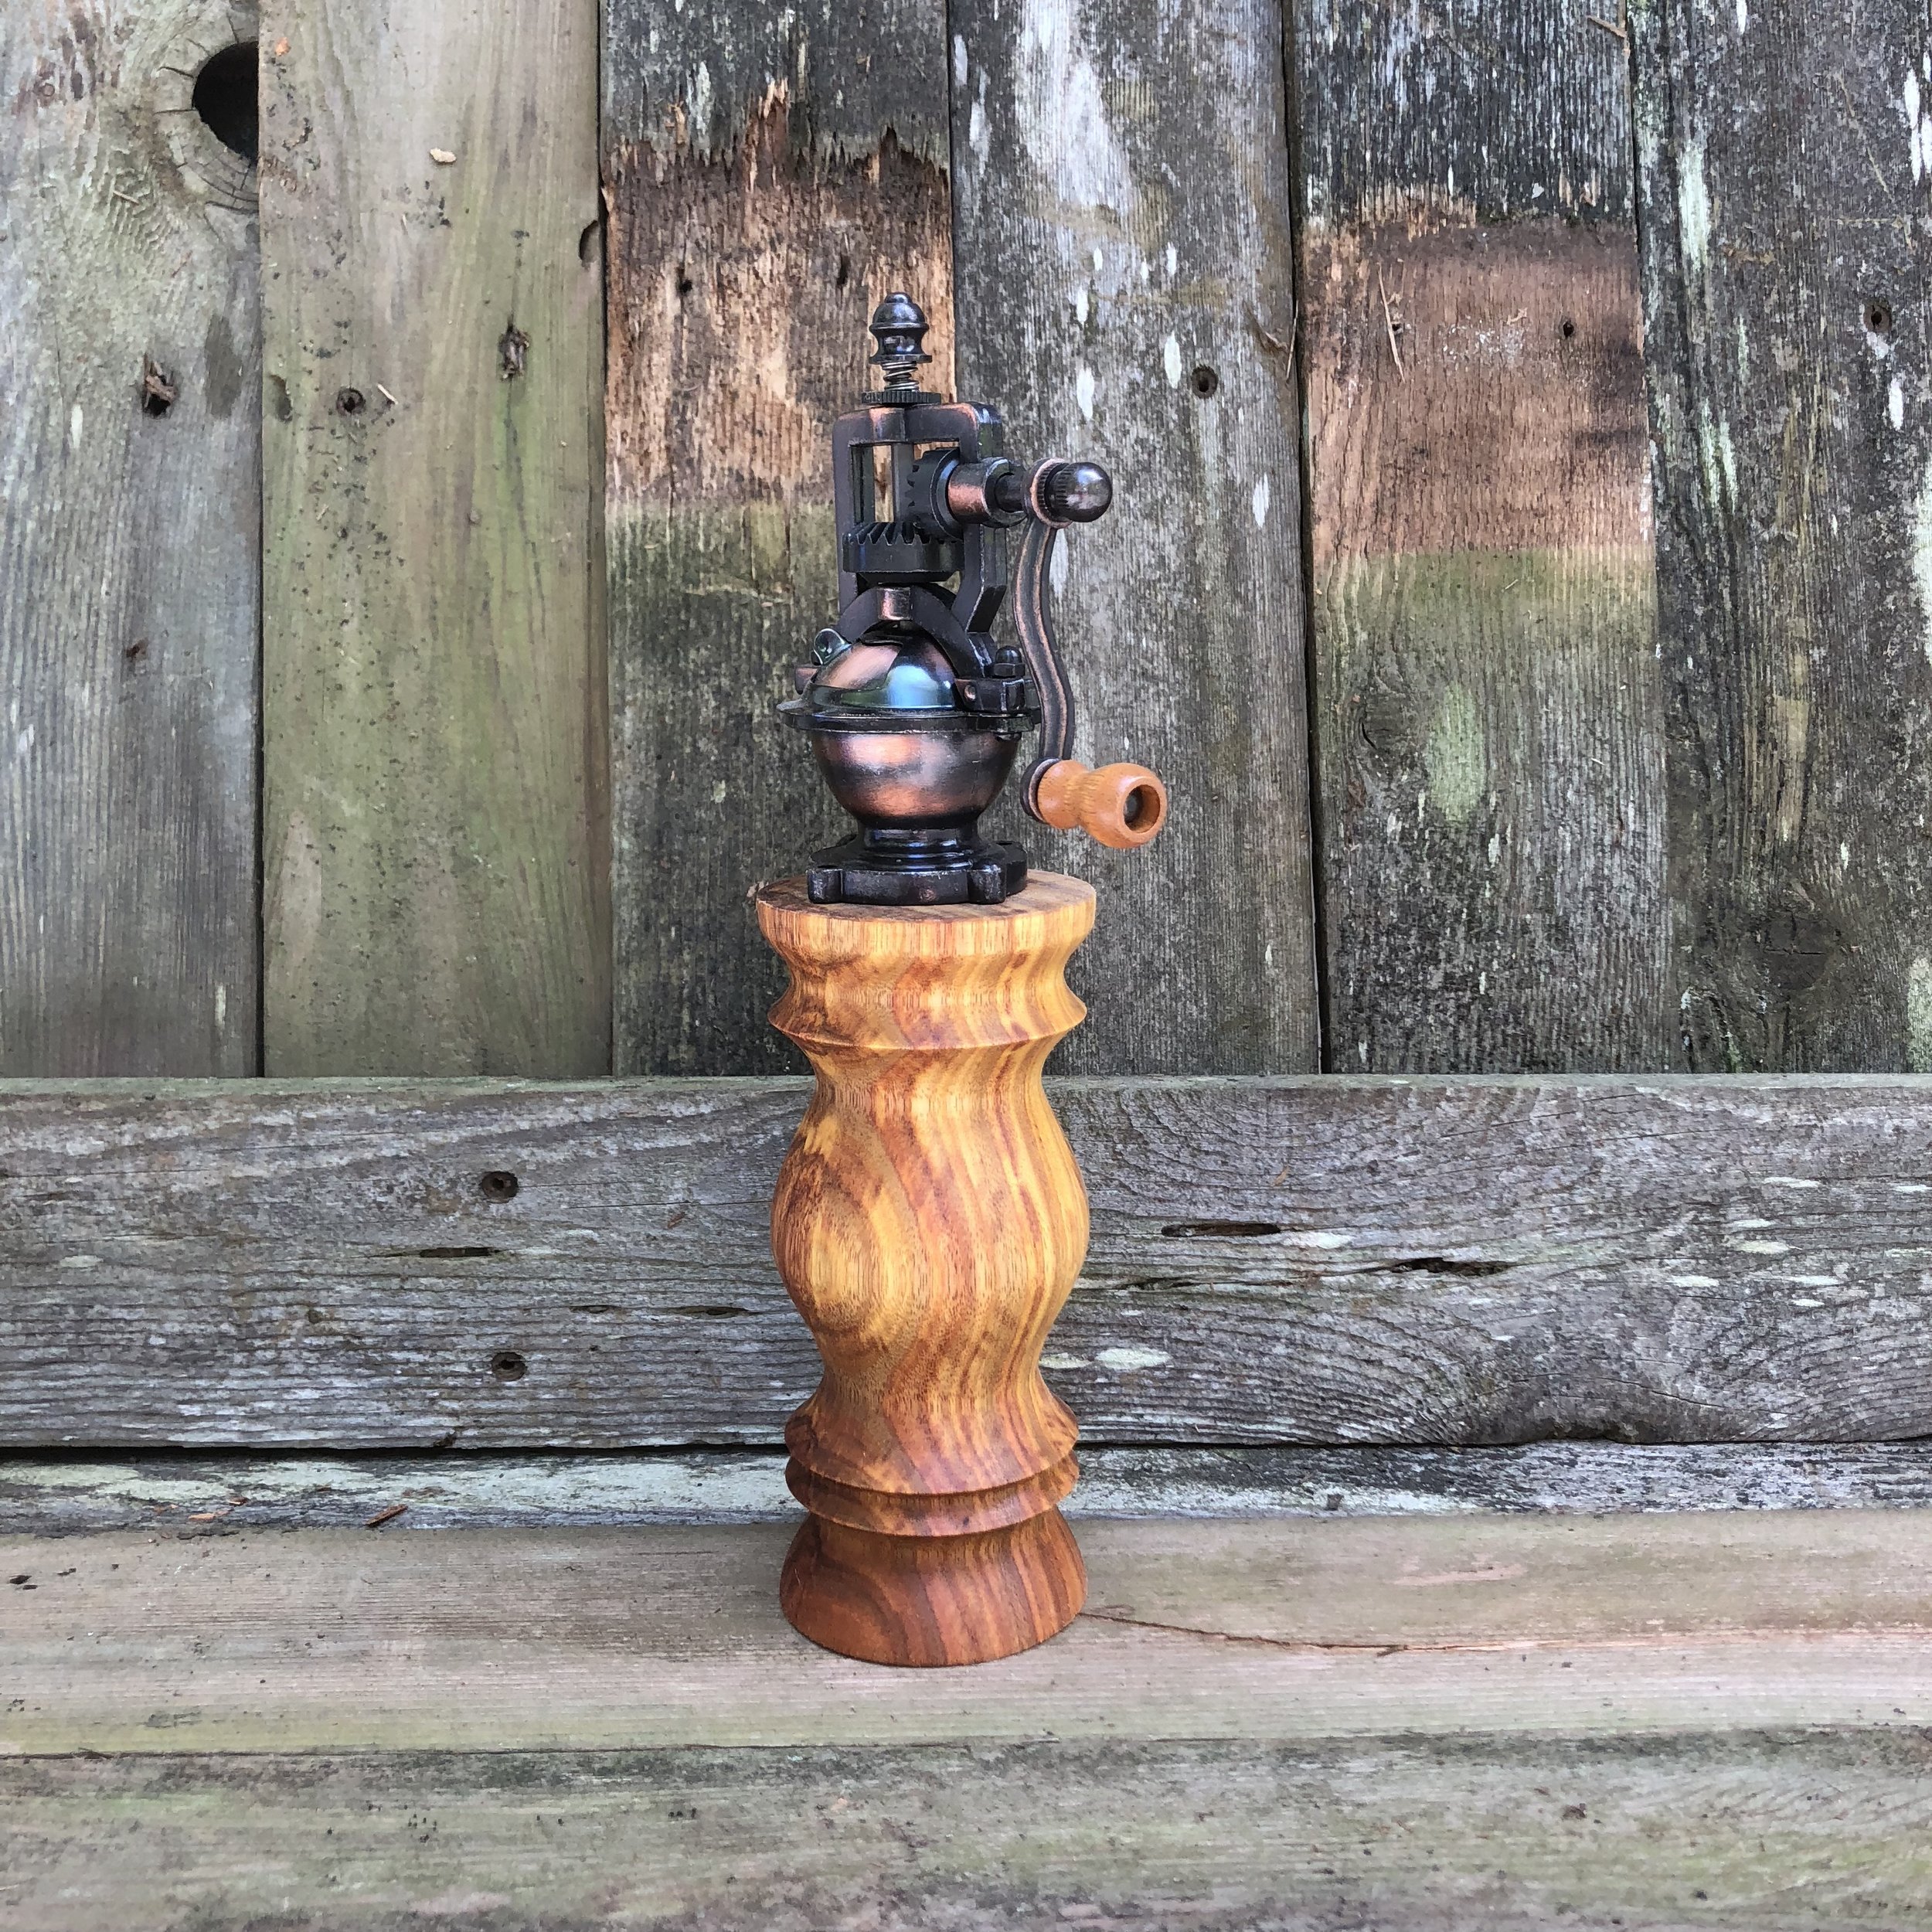
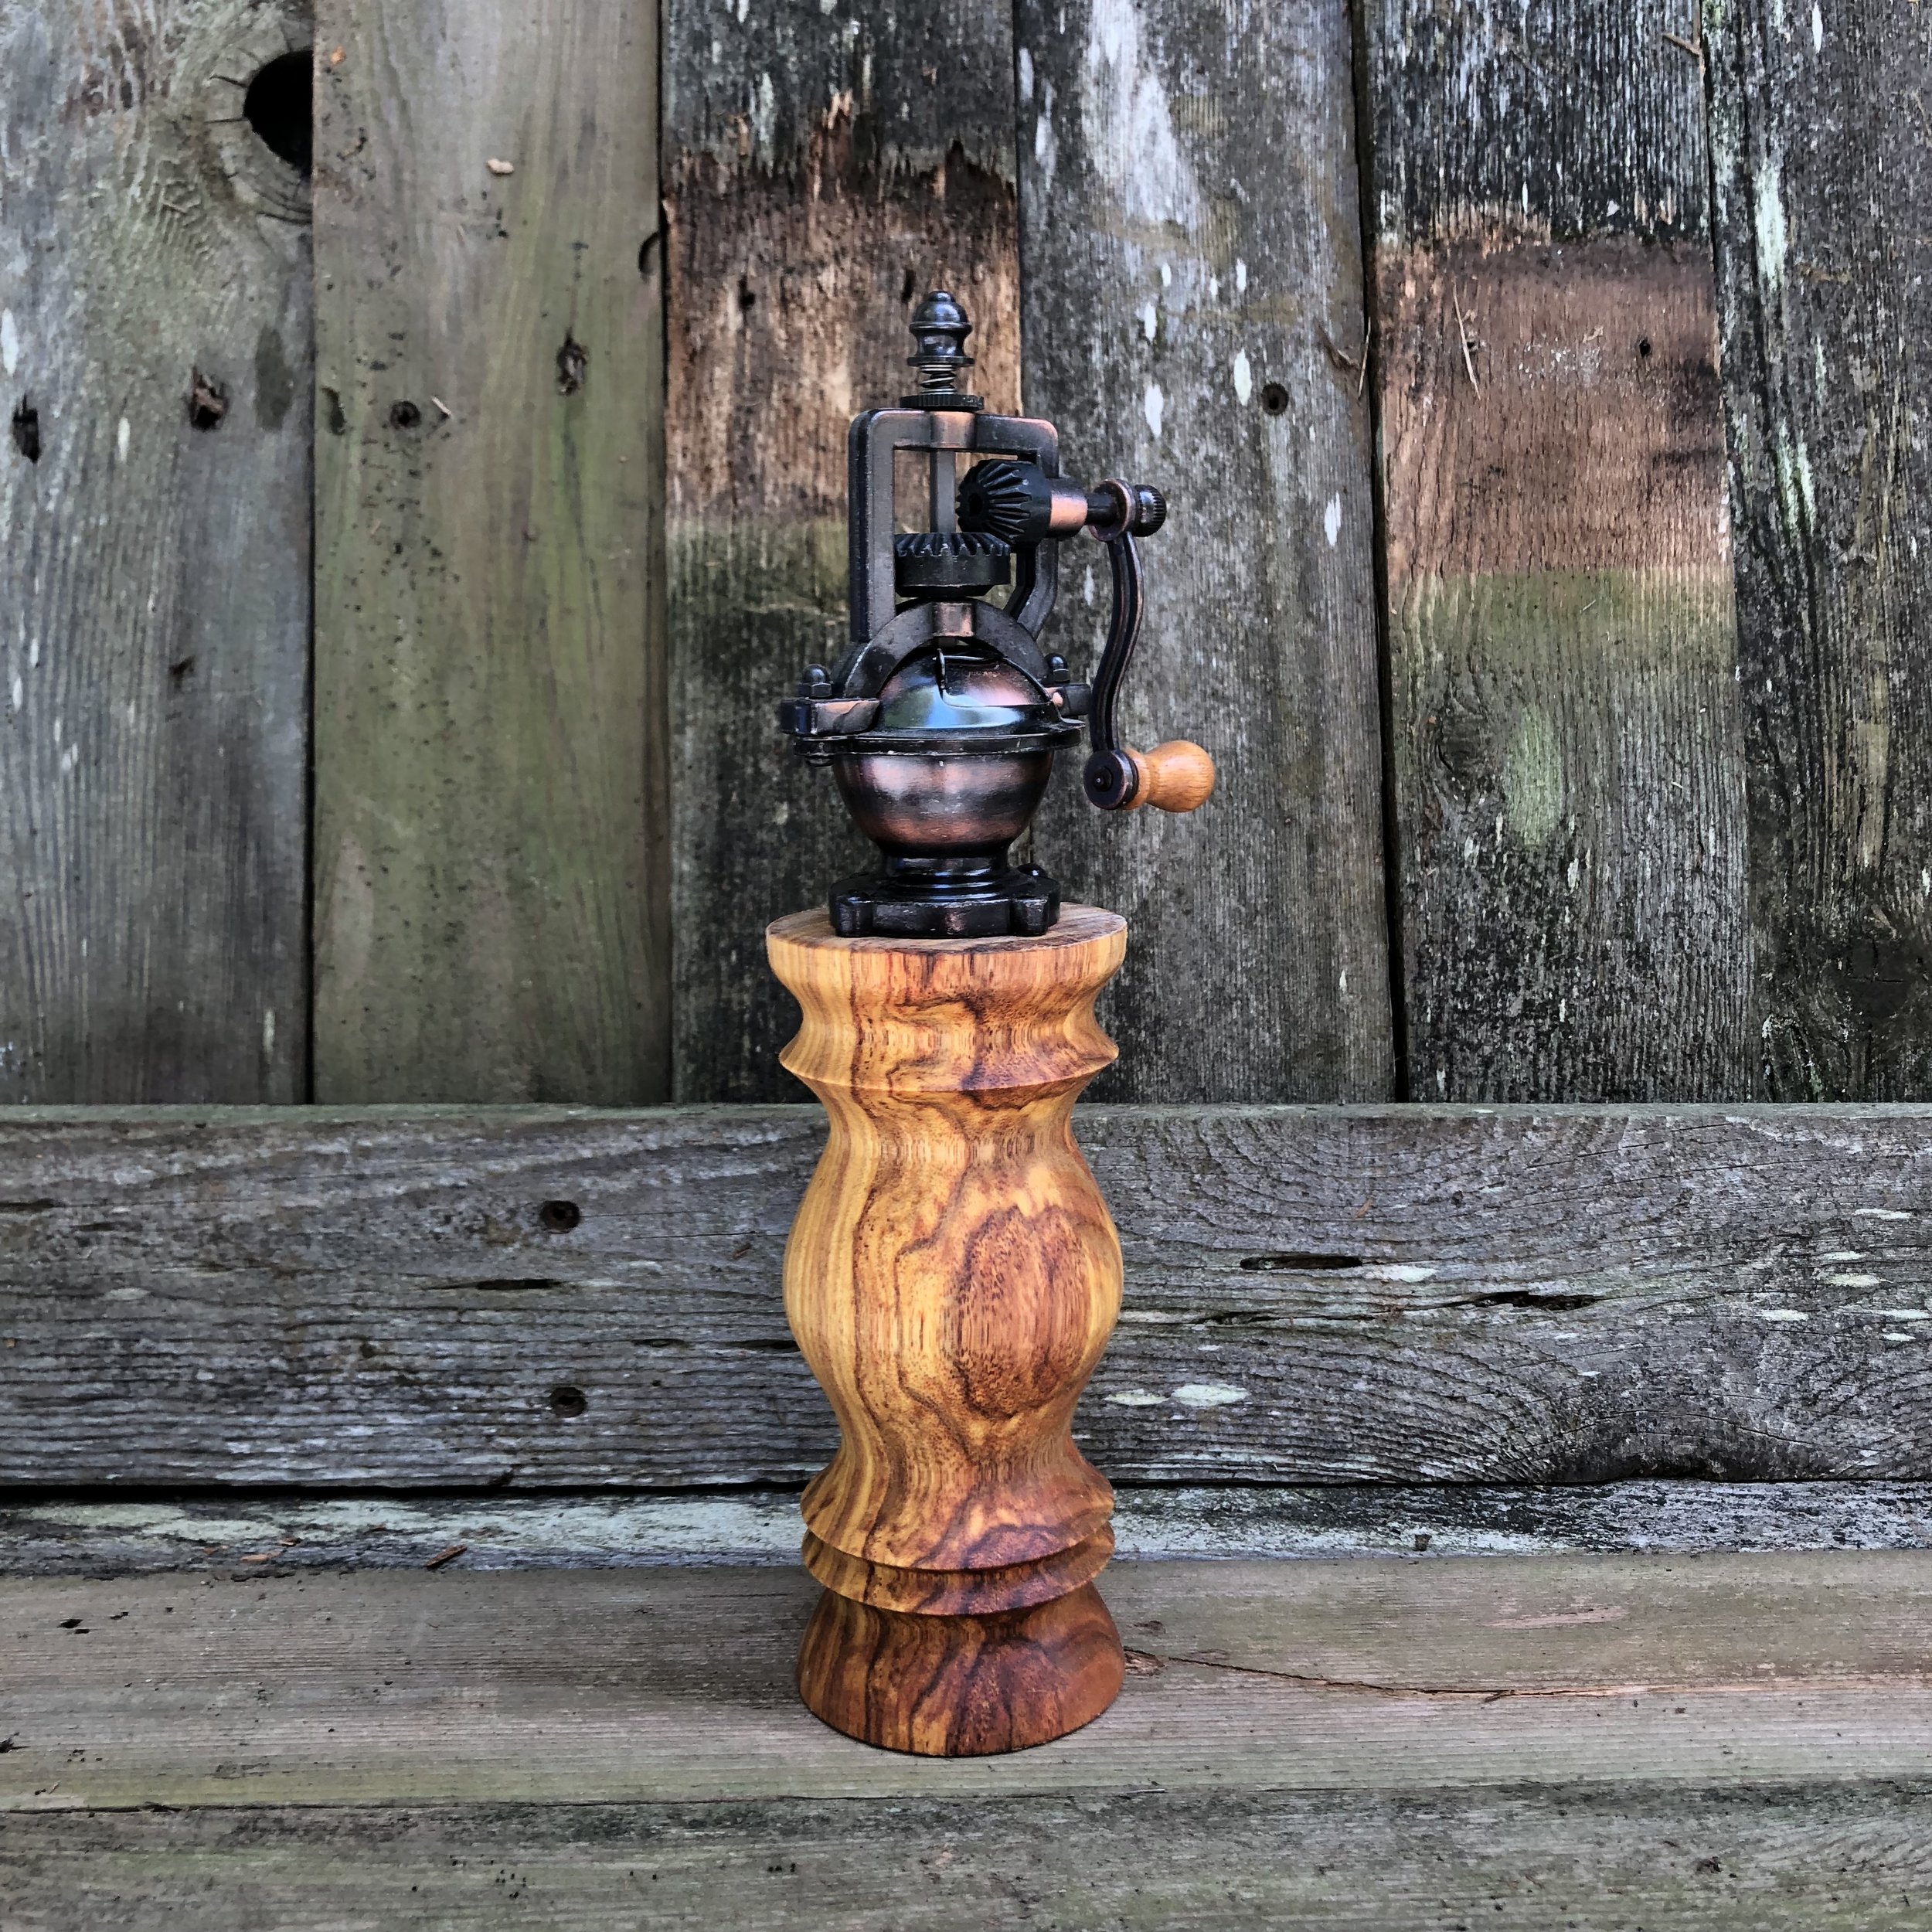

Every time I turn a piece of canary wood I can't help but smile at the finished product. The grain and coloring throughout the piece is so beautiful. And I've had buyers receive their pepper mill and let me know how much more beautiful it is in person! I mentioned it earlier, but its crazy how different each pepper mill is. The two in this picture are made from the same piece of wood, but the way they were turned makes them look totally different.
I love that I have a platform to share my work with everyone, and it truly has been fun venturing into other products on the lathe. But these pepper mills have quickly become my favorite things to make! What do you think? Have you purchased one from me? Let me know what you think! Click HERE to check the store to see if any are available for purchase!
I almost forgot! I have yet to make myself a pepper mill for my kitchen! But that isn't surprising since it took me over two years to make myself a rolling pin. Hopefully soon I'll turn one for myself and it'll take its place on the kitchen island next to range.